Jenkins
Jenkins is a widely used open-source automation server that supports continuous integration and continuous delivery (CI/CD). In the context of software testing, Jenkins plays a critical role in automating the execution of test cases and streamlining the testing process as part of the development lifecycle.
Navigation in FireFlink to Jenkins.
Steps to Integrate FireFlink with Jenkins
- Once User login to FireFlink, you will be navigated to the "All project" level.
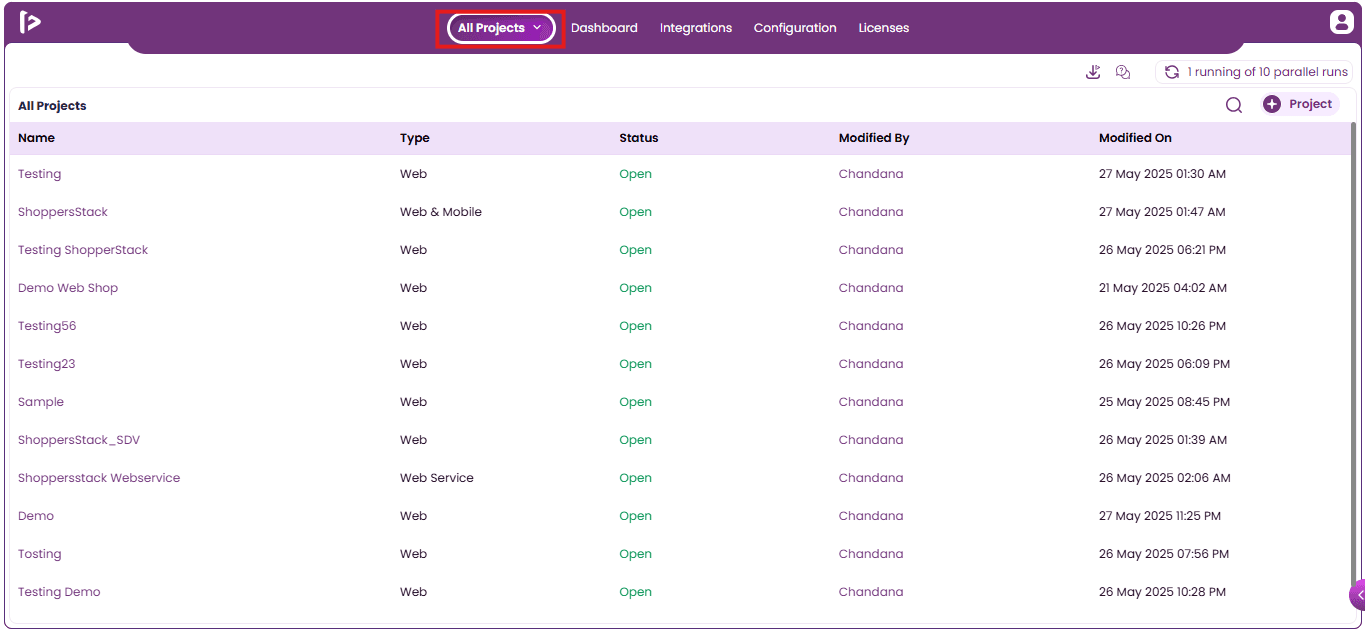
- Click on "Integrations" in the top bar, as shown in the screenshot, to go to the Integrations section.
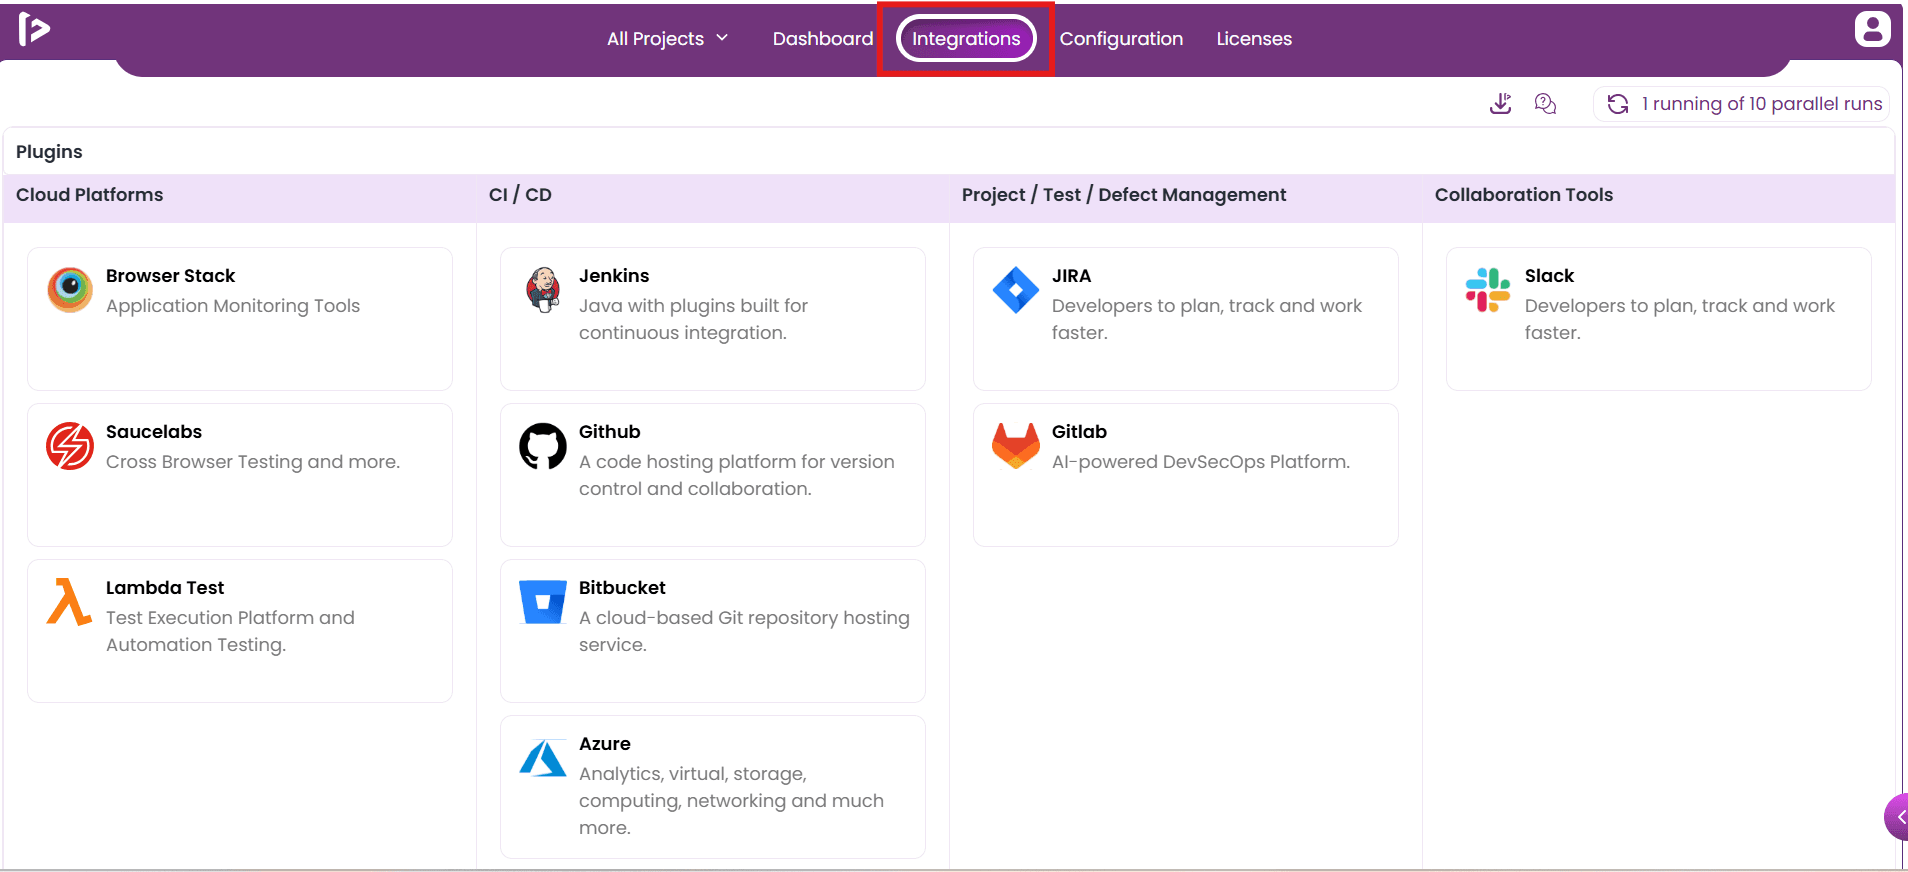
- Once the user has clicked on the "Integrations", we will be landing on the Plugin page.
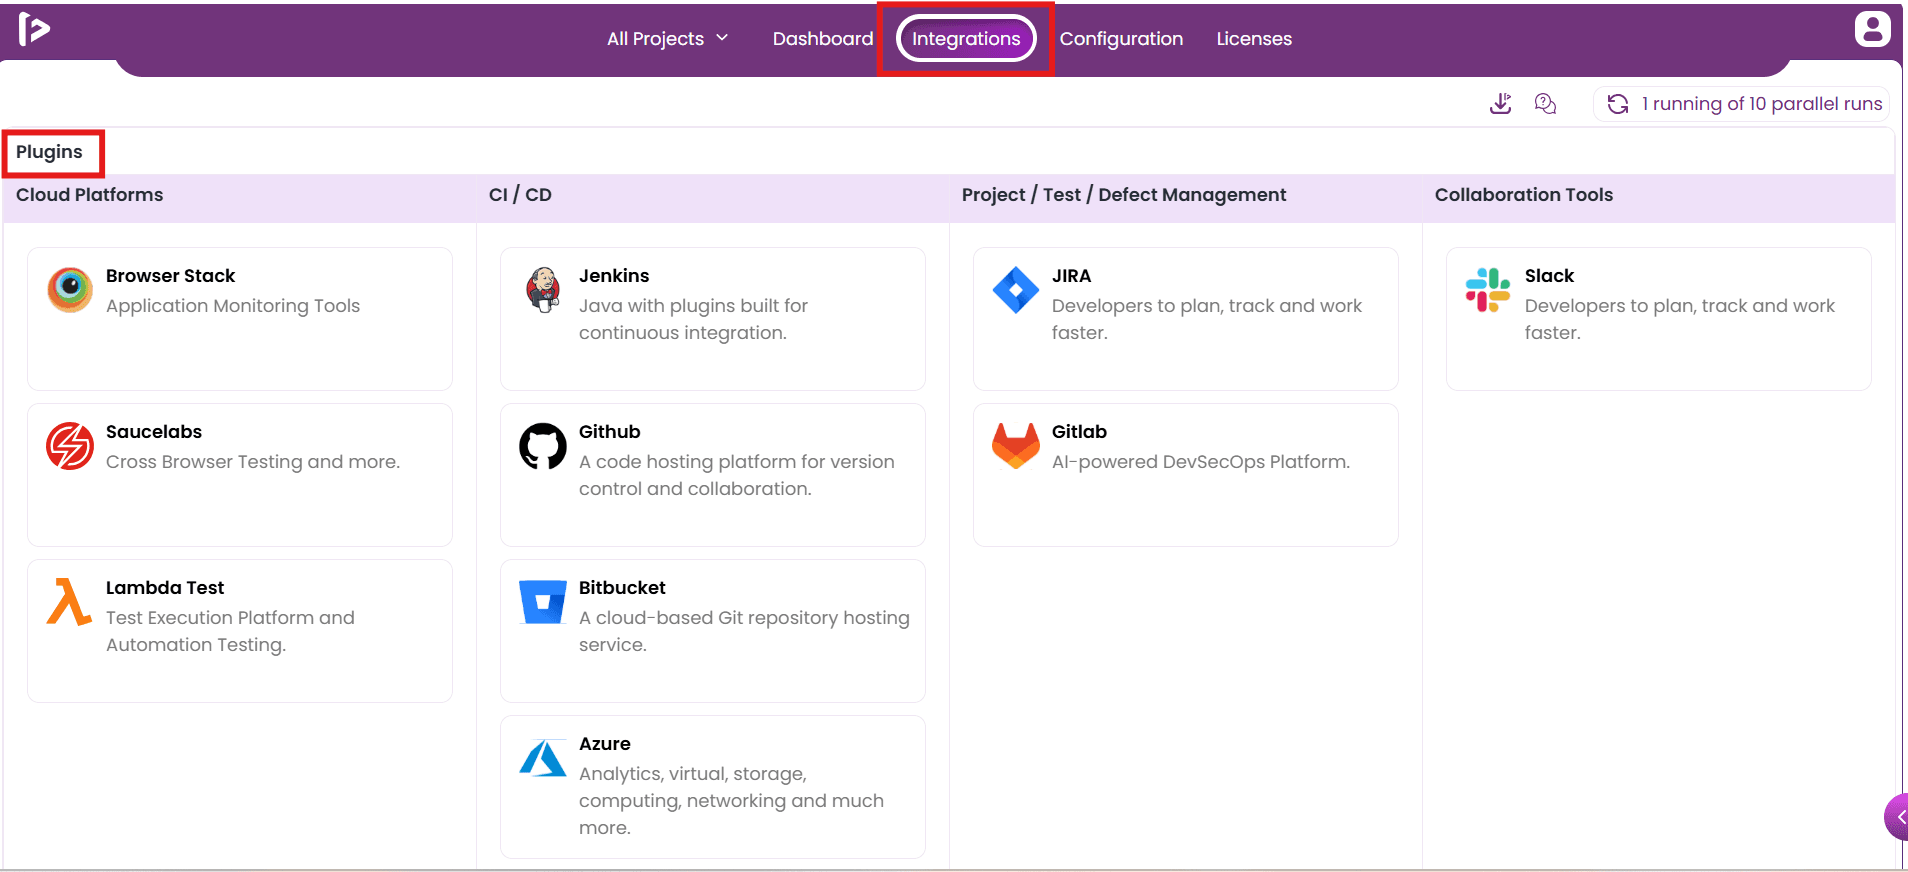
- Click on the “Jenkins logo” as shown below to download the FireFlink plugin.
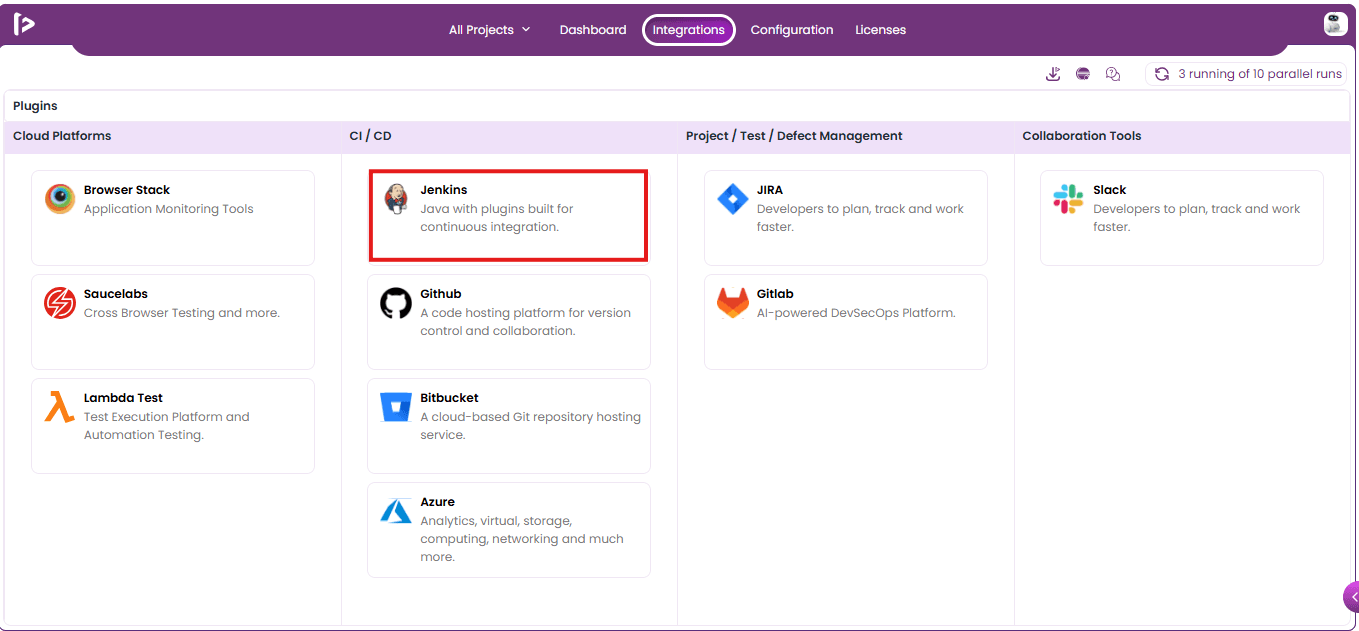
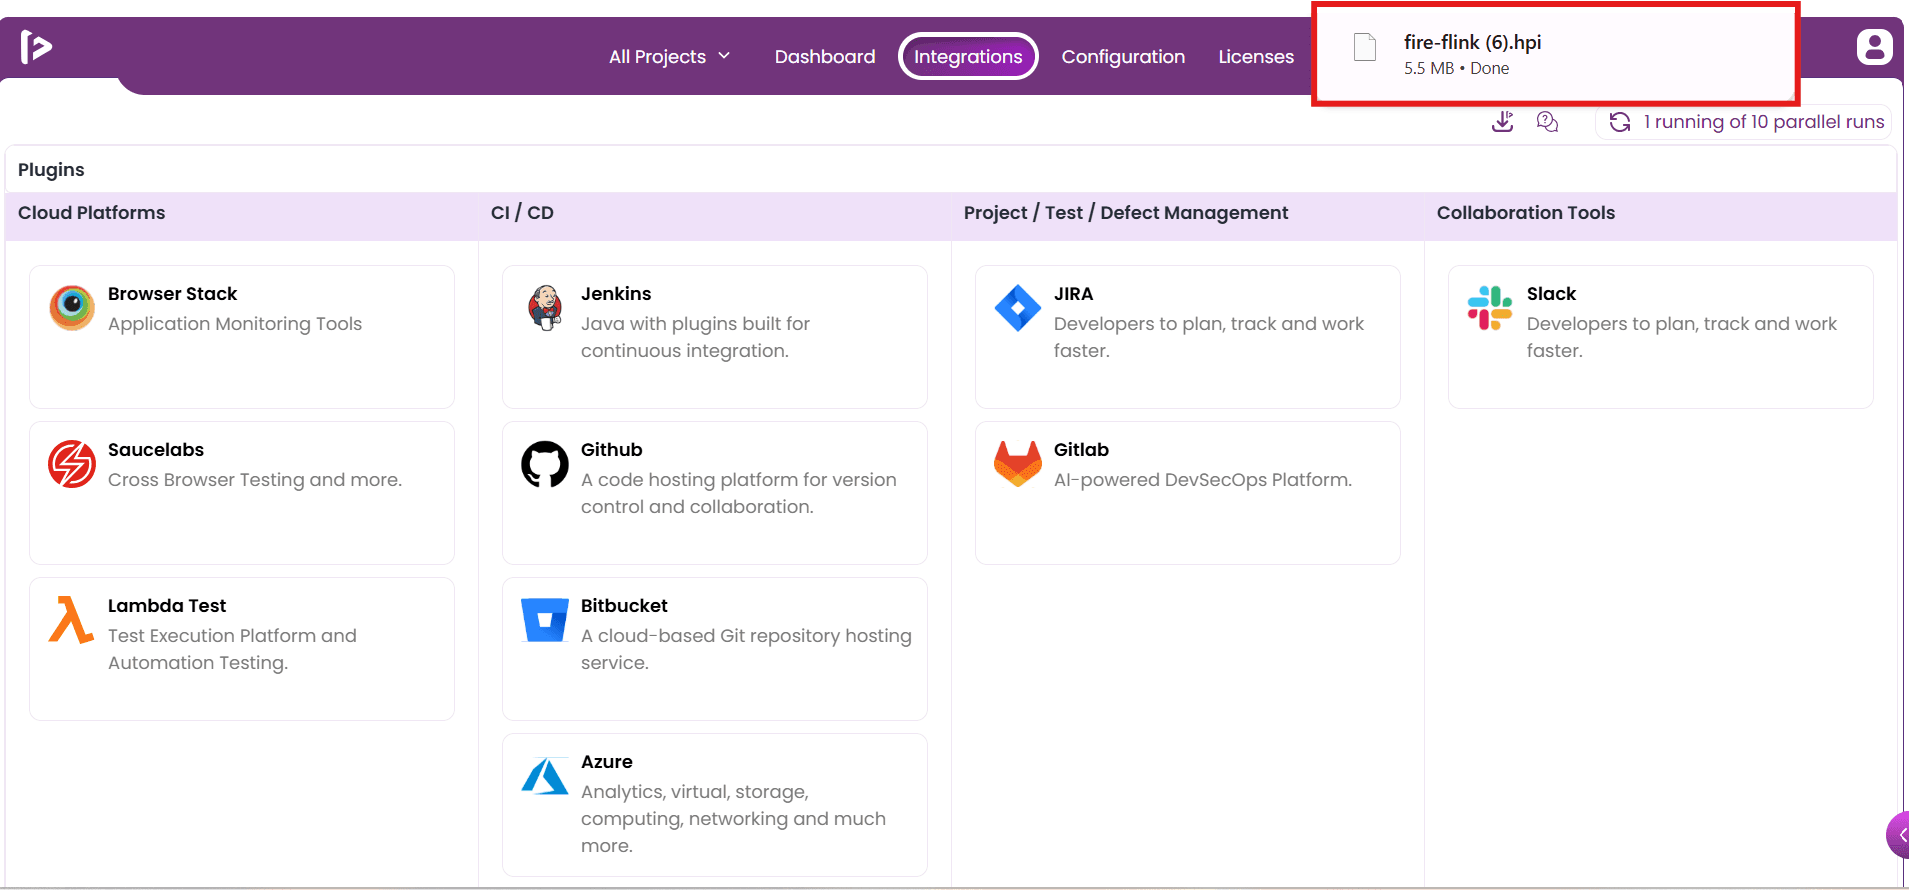
- Upon clicking the Jenkins logo, the FireFlink plugin will initiate its download as shown below.
Process of Installing Jenkins In Local Machine.
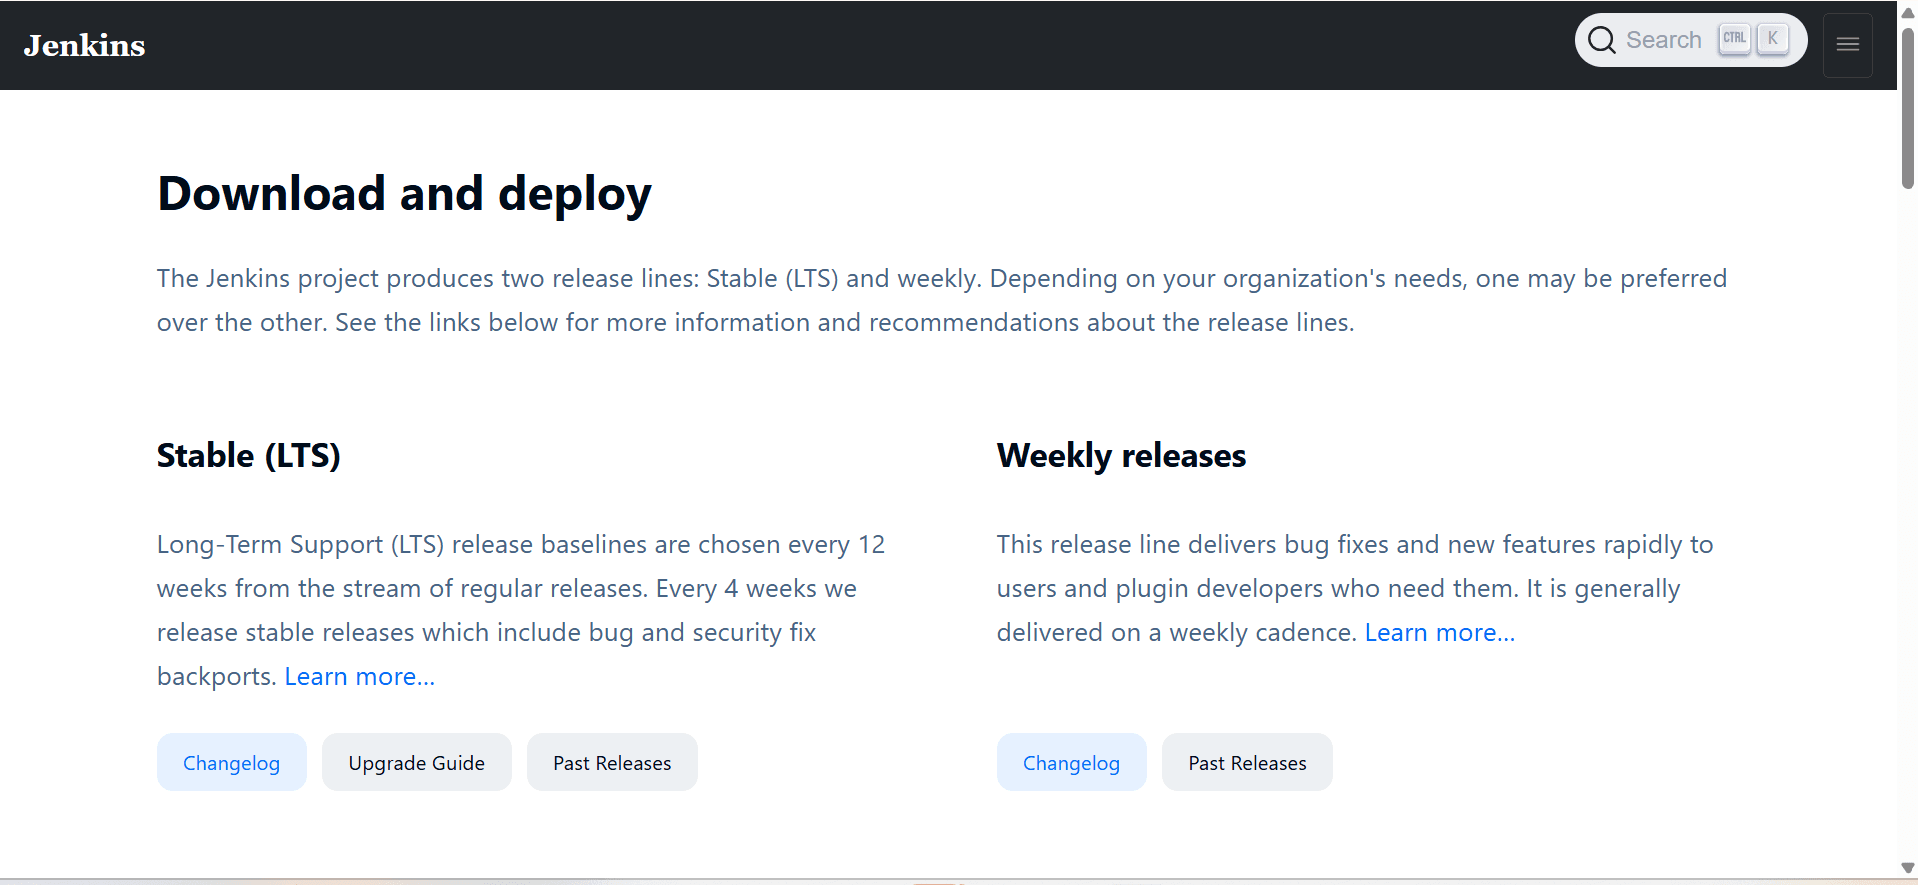
- Open Google Chrome and go to the Jenkins download page: https://www.jenkins.io/download/
- Scroll Down to Find the Generic Java Package Option.
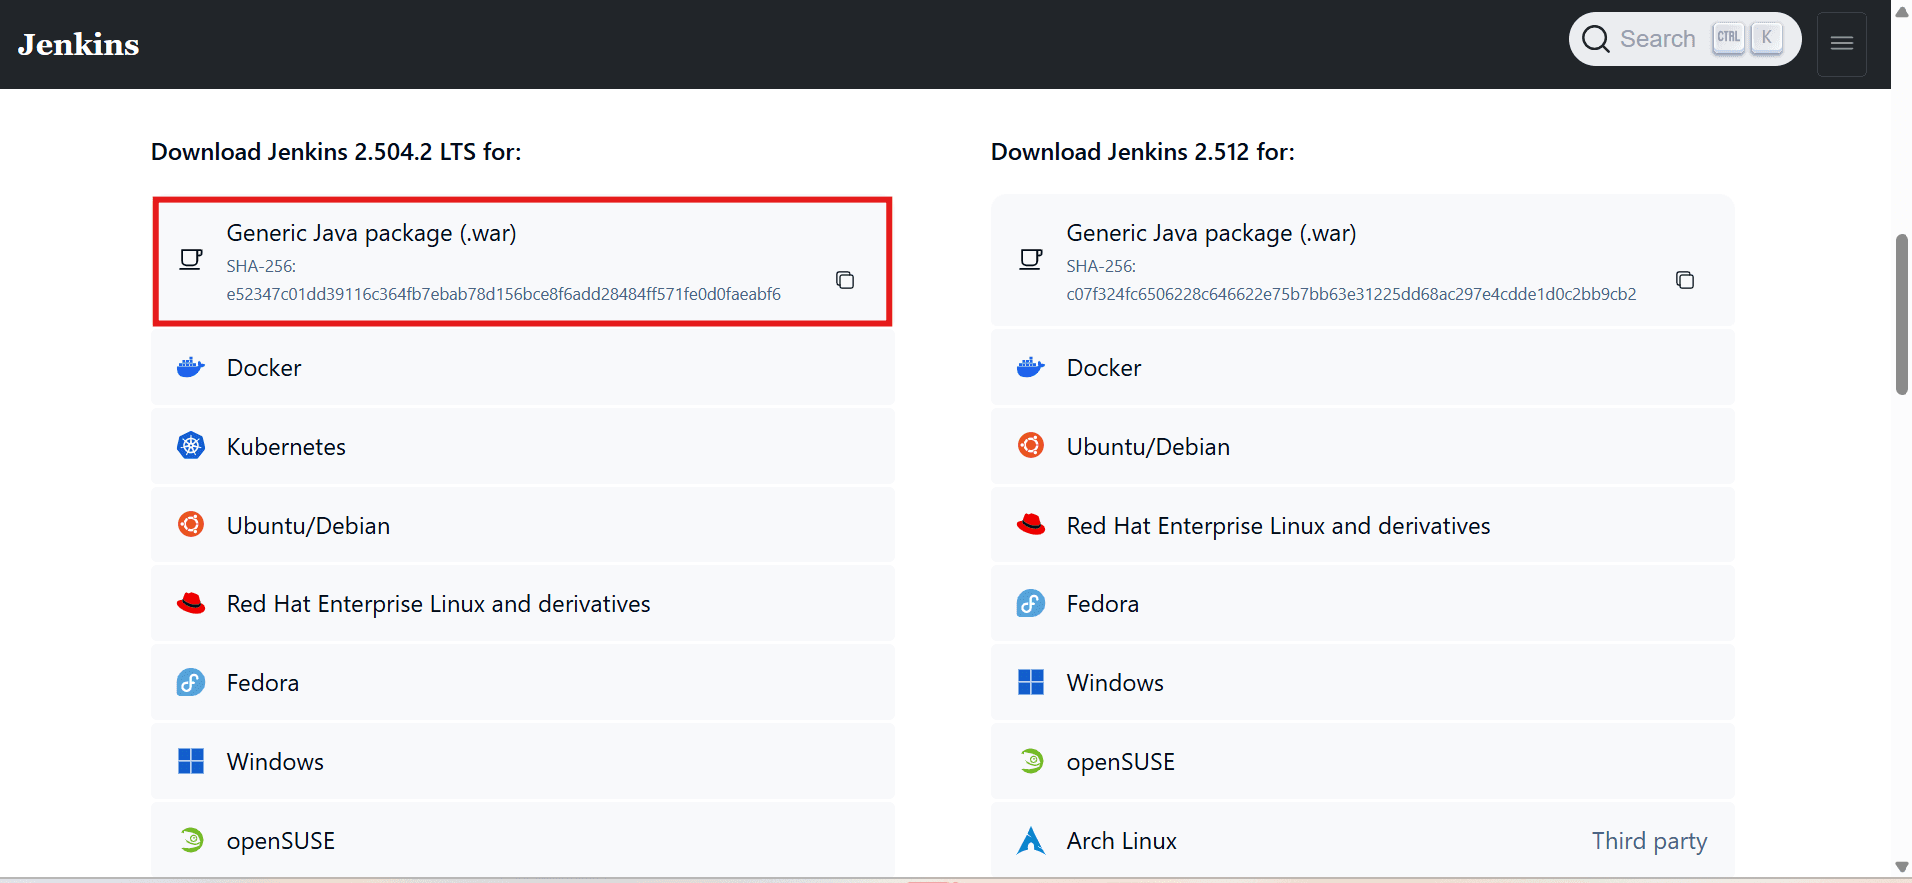
Note: Create a separate folder to store the jenkins.war file.
- After downloading, User will get the jenkins.war file in your Downloads folder.
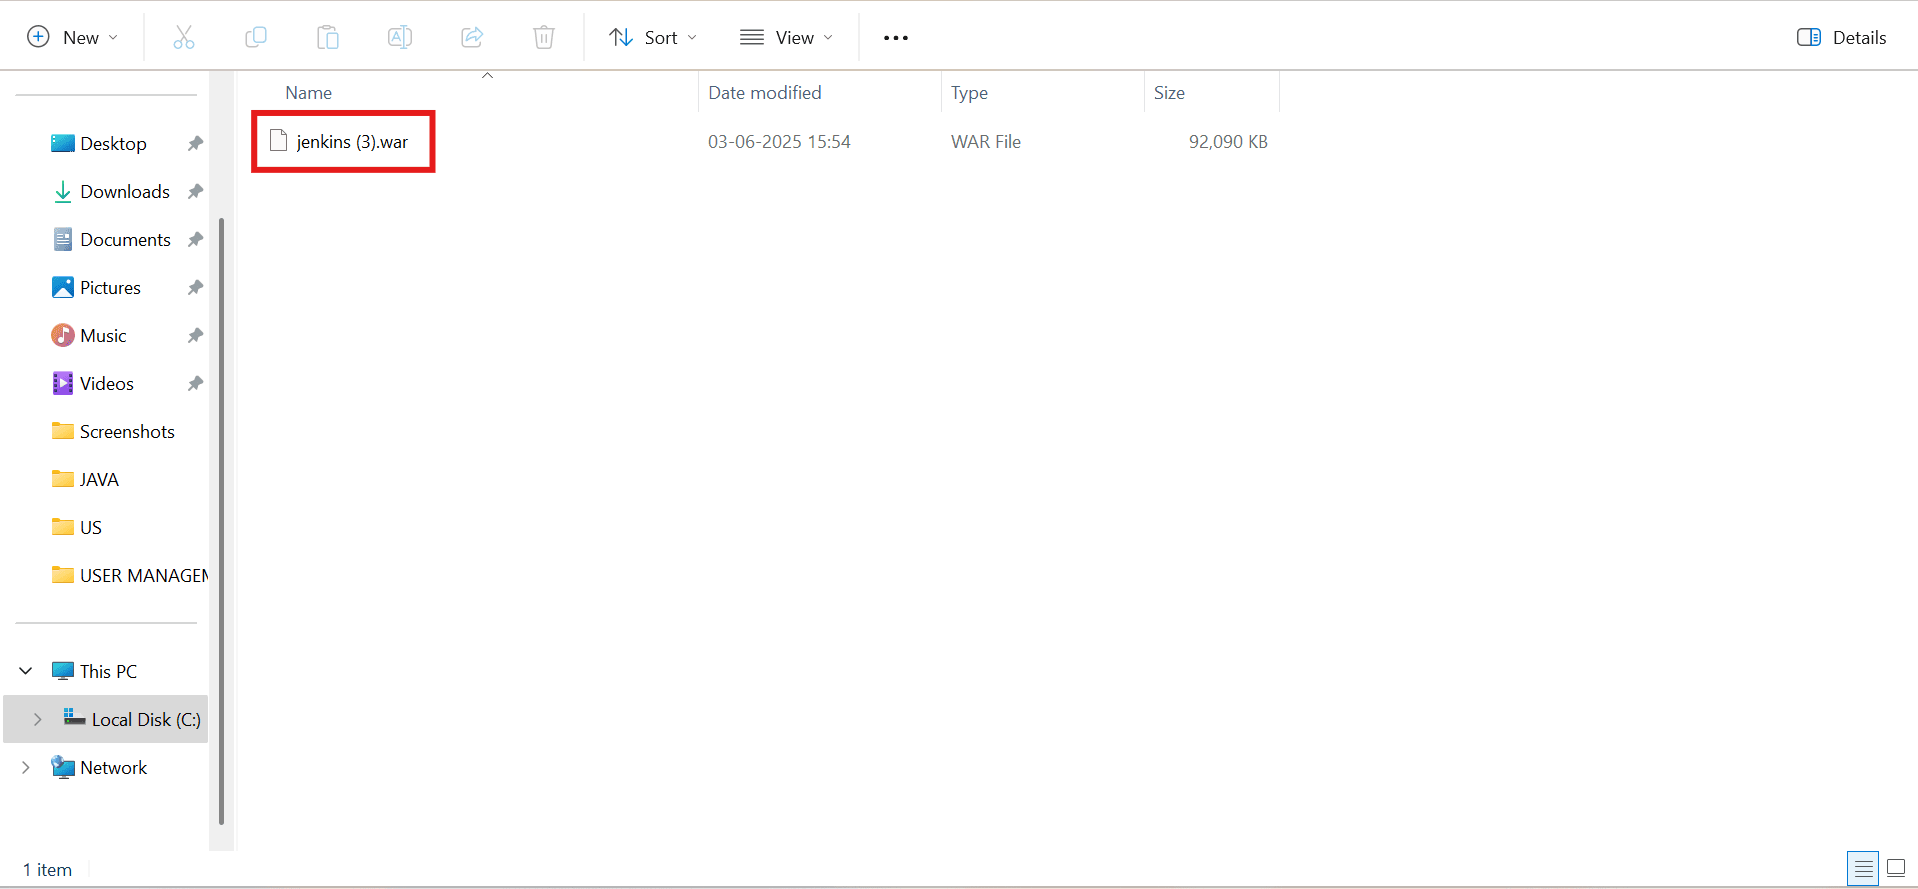
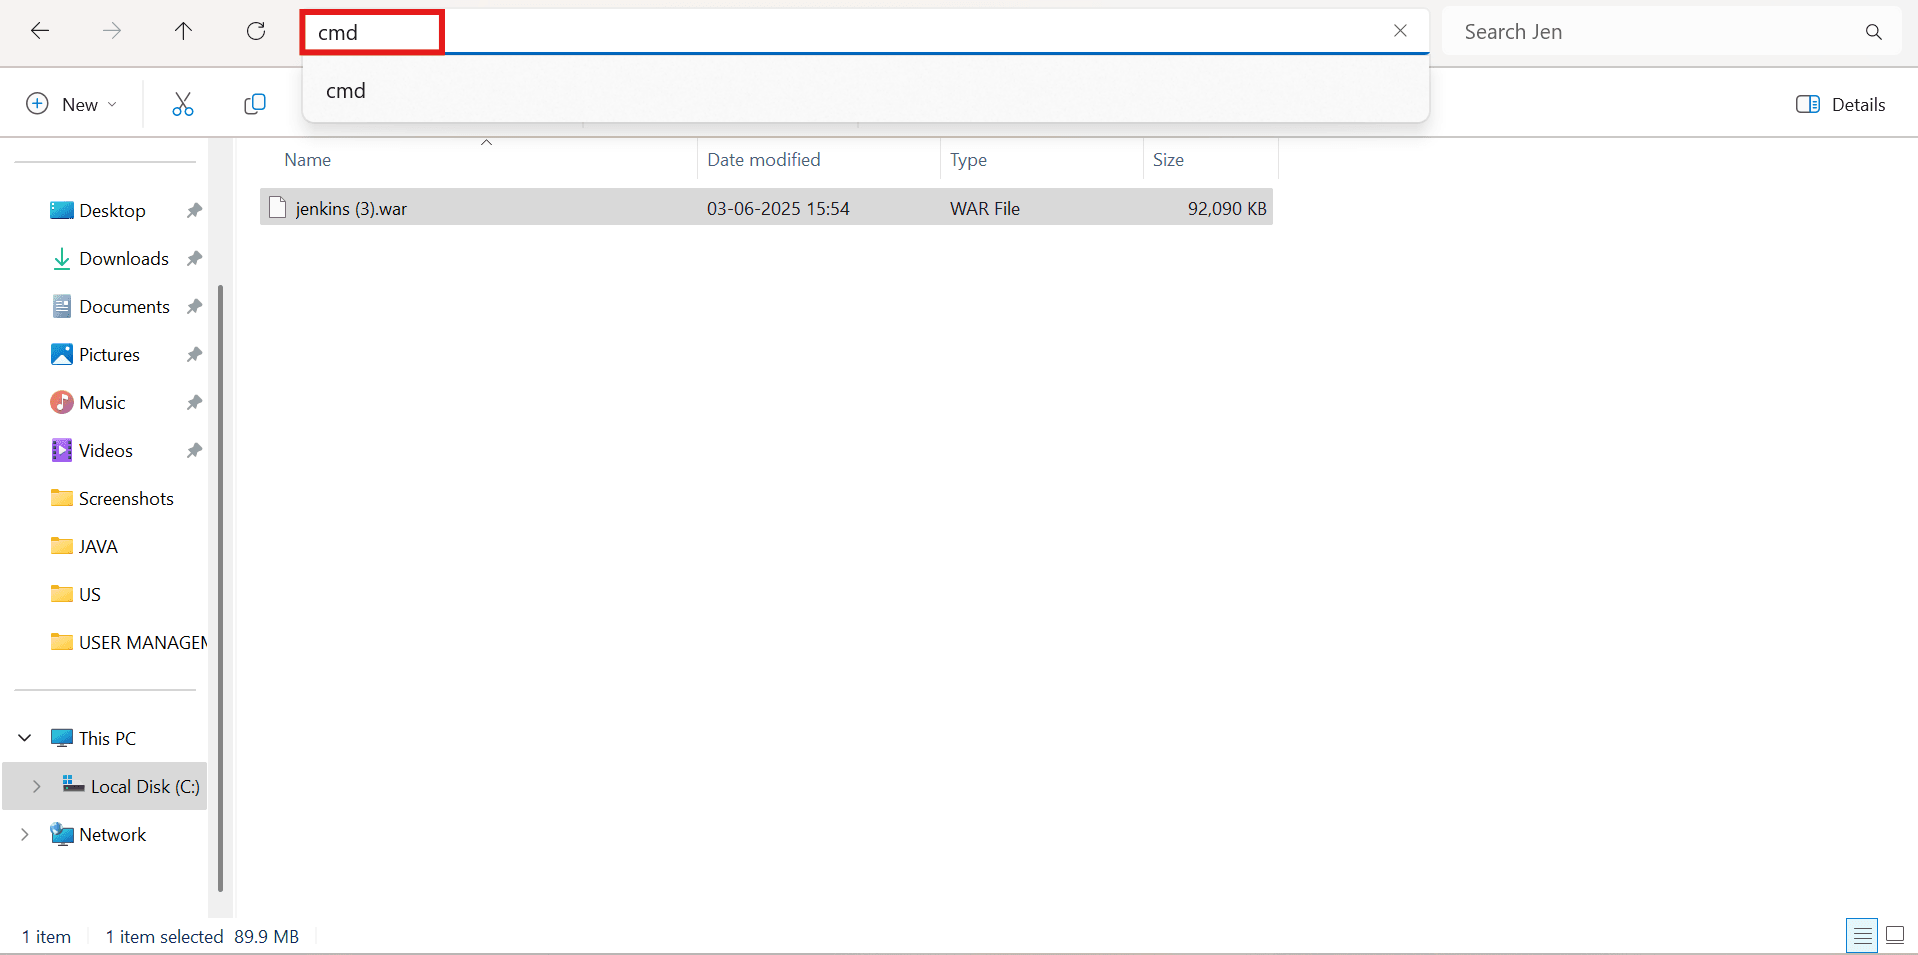
- Navigate to the Downloads folder, then open Command Prompt from that path by typing cmd in the address bar and pressing Enter.
- After Opening command prompt in the Downloads folder, run the following command to start Jenkins :java –jar jenkins.war
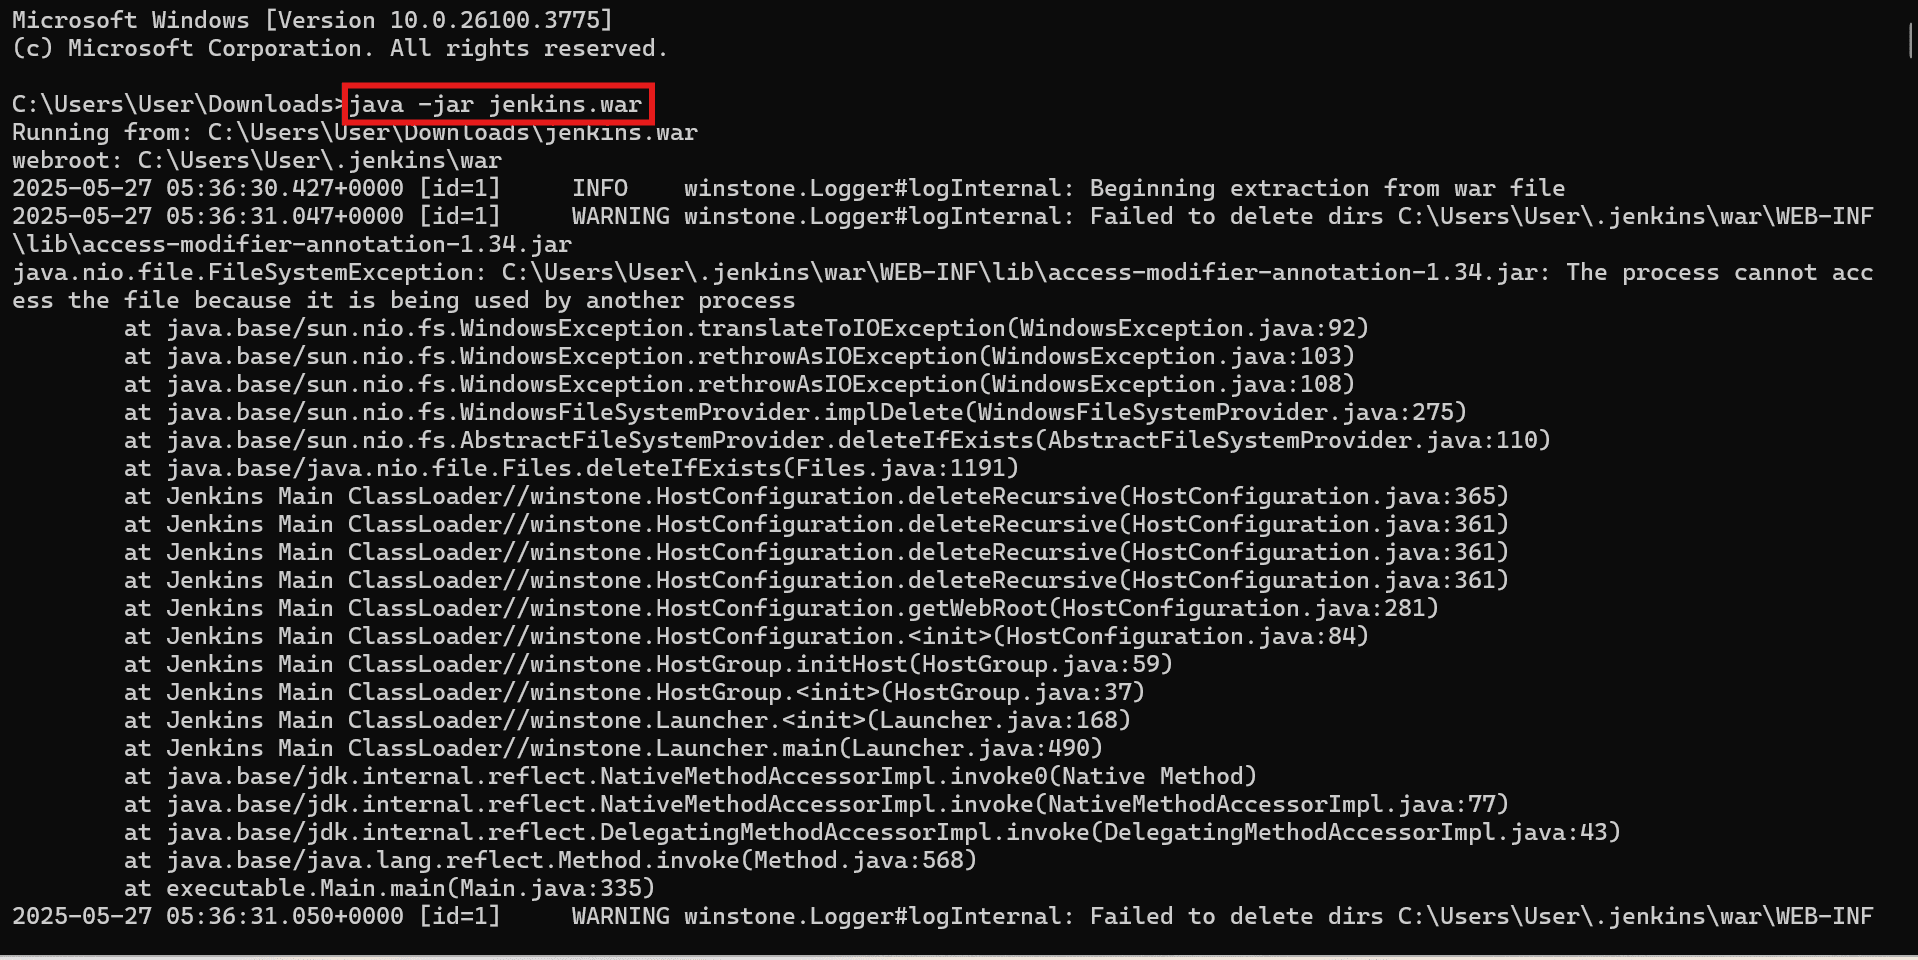
Note: Users will receive an Administrative Password displayed in the Command Prompt window after running the command java -jar Jenkins.war. This password must be entered during the Jenkins sign-in process. Do not close or cancel the Command Prompt window after running the command; instead, minimize it and allow Jenkins to continue running in the background.
- Open Google Chrome and in the address bar, type localhost:8080 and press Enter.
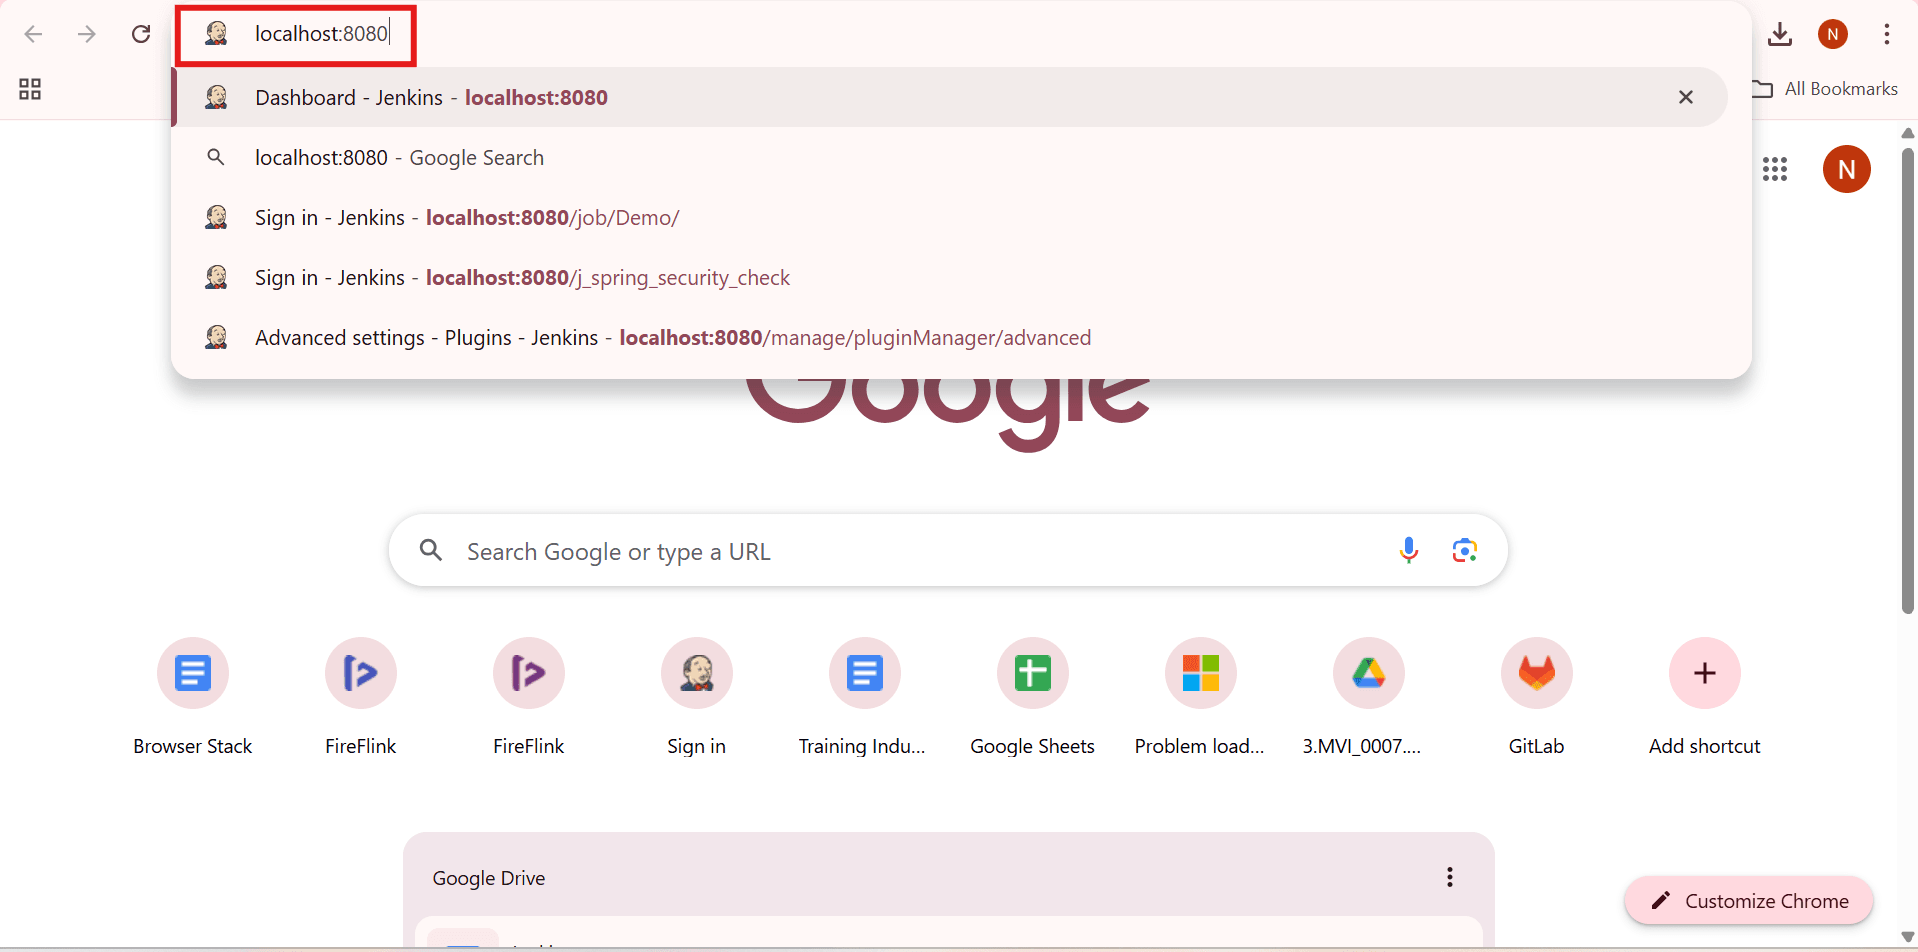
Note: When the Administrative page appears, paste the Administrative Password into the passkey field. This is the password that was copied while running the java -jar jenkins.war command.
- This will open the Jenkins setup page in your browser.
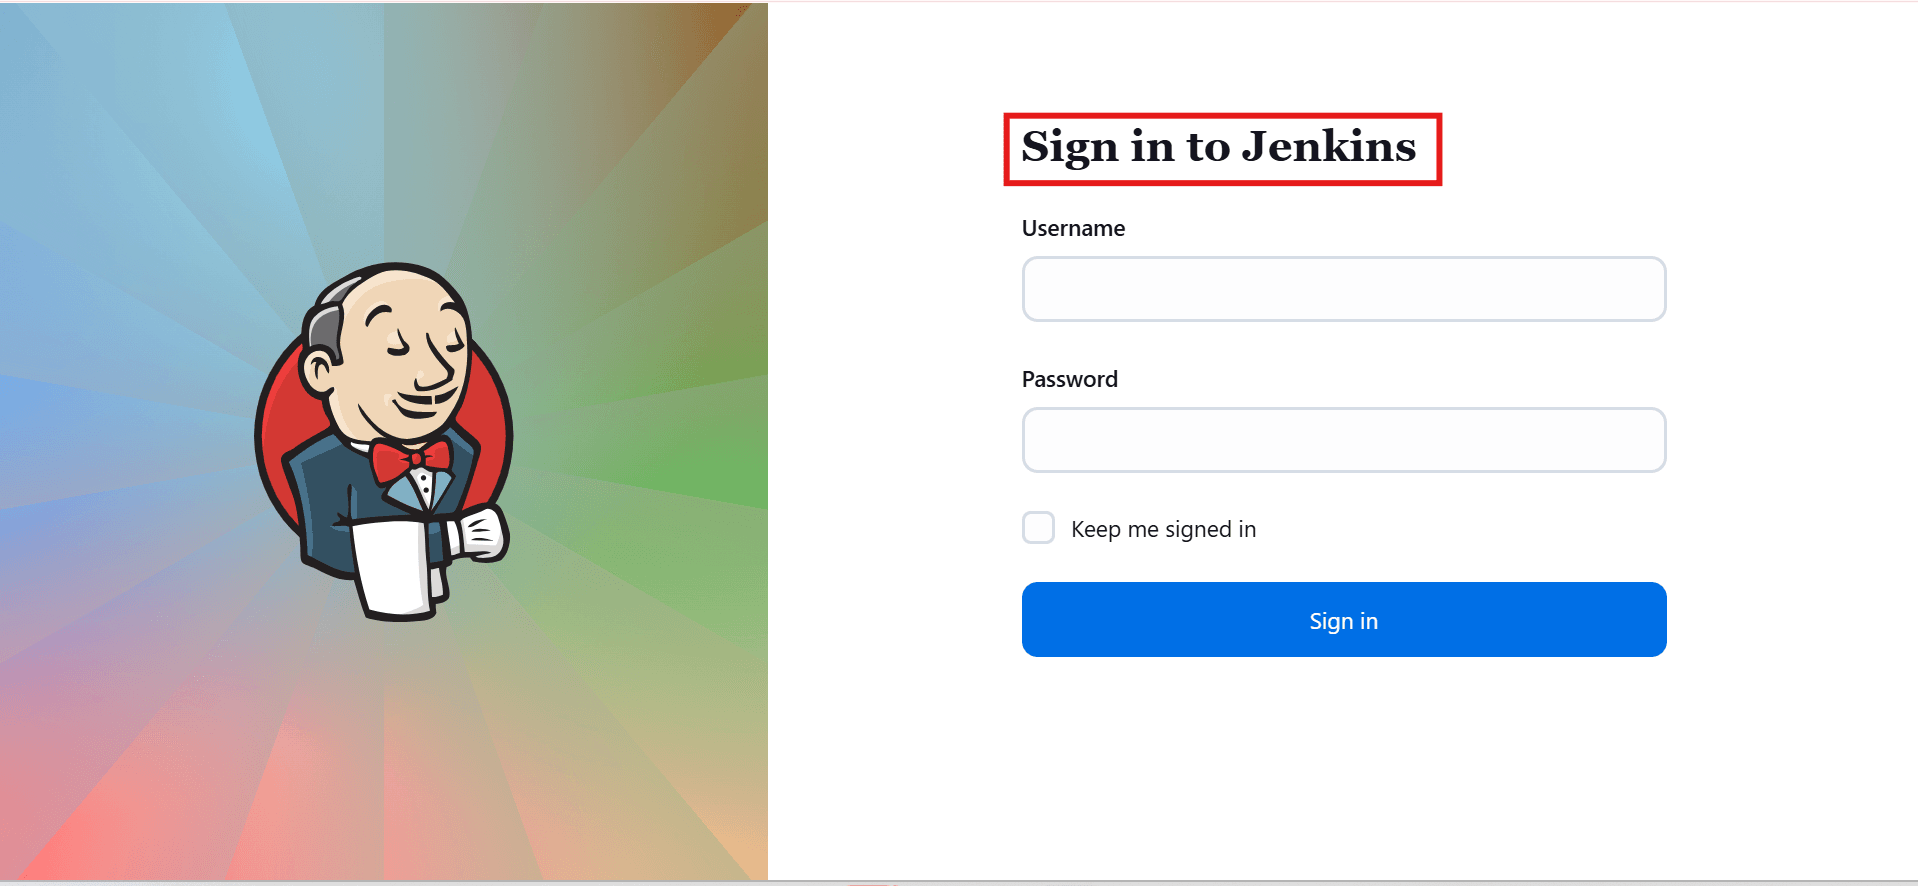
Process for Installing the FireFlink Plugin in Jenkins
- Once signed in, the Jenkins home page will be displayed, and you will be directed to the Dashboard section.
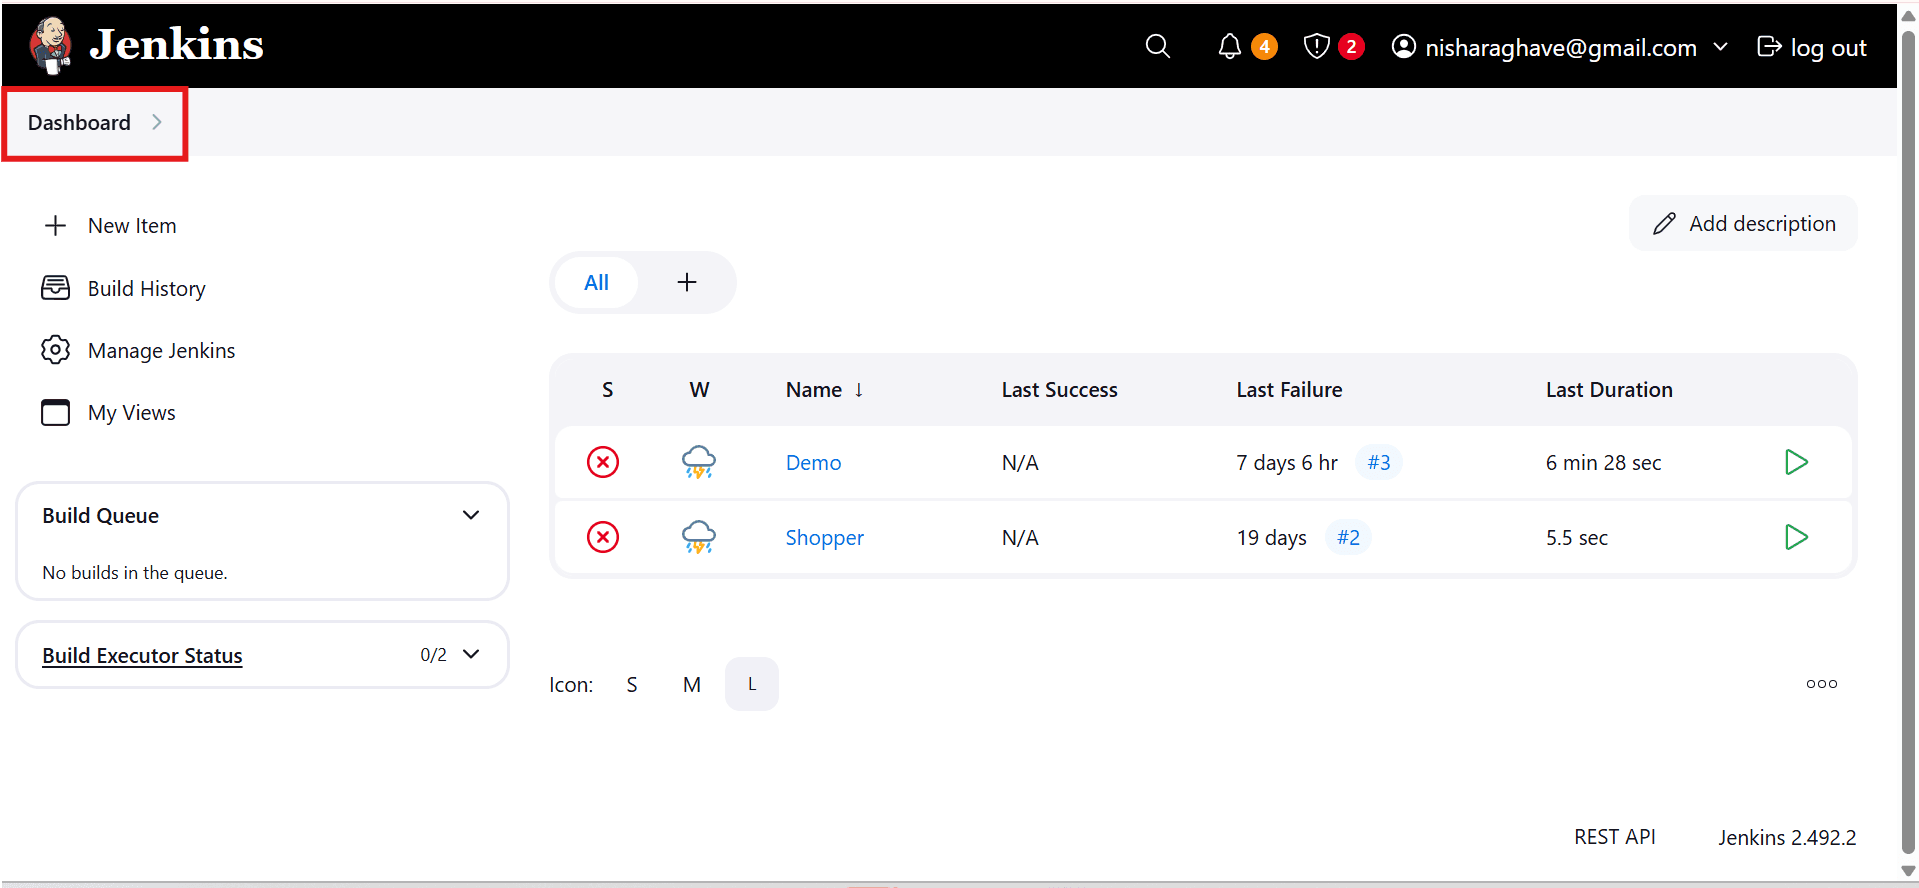
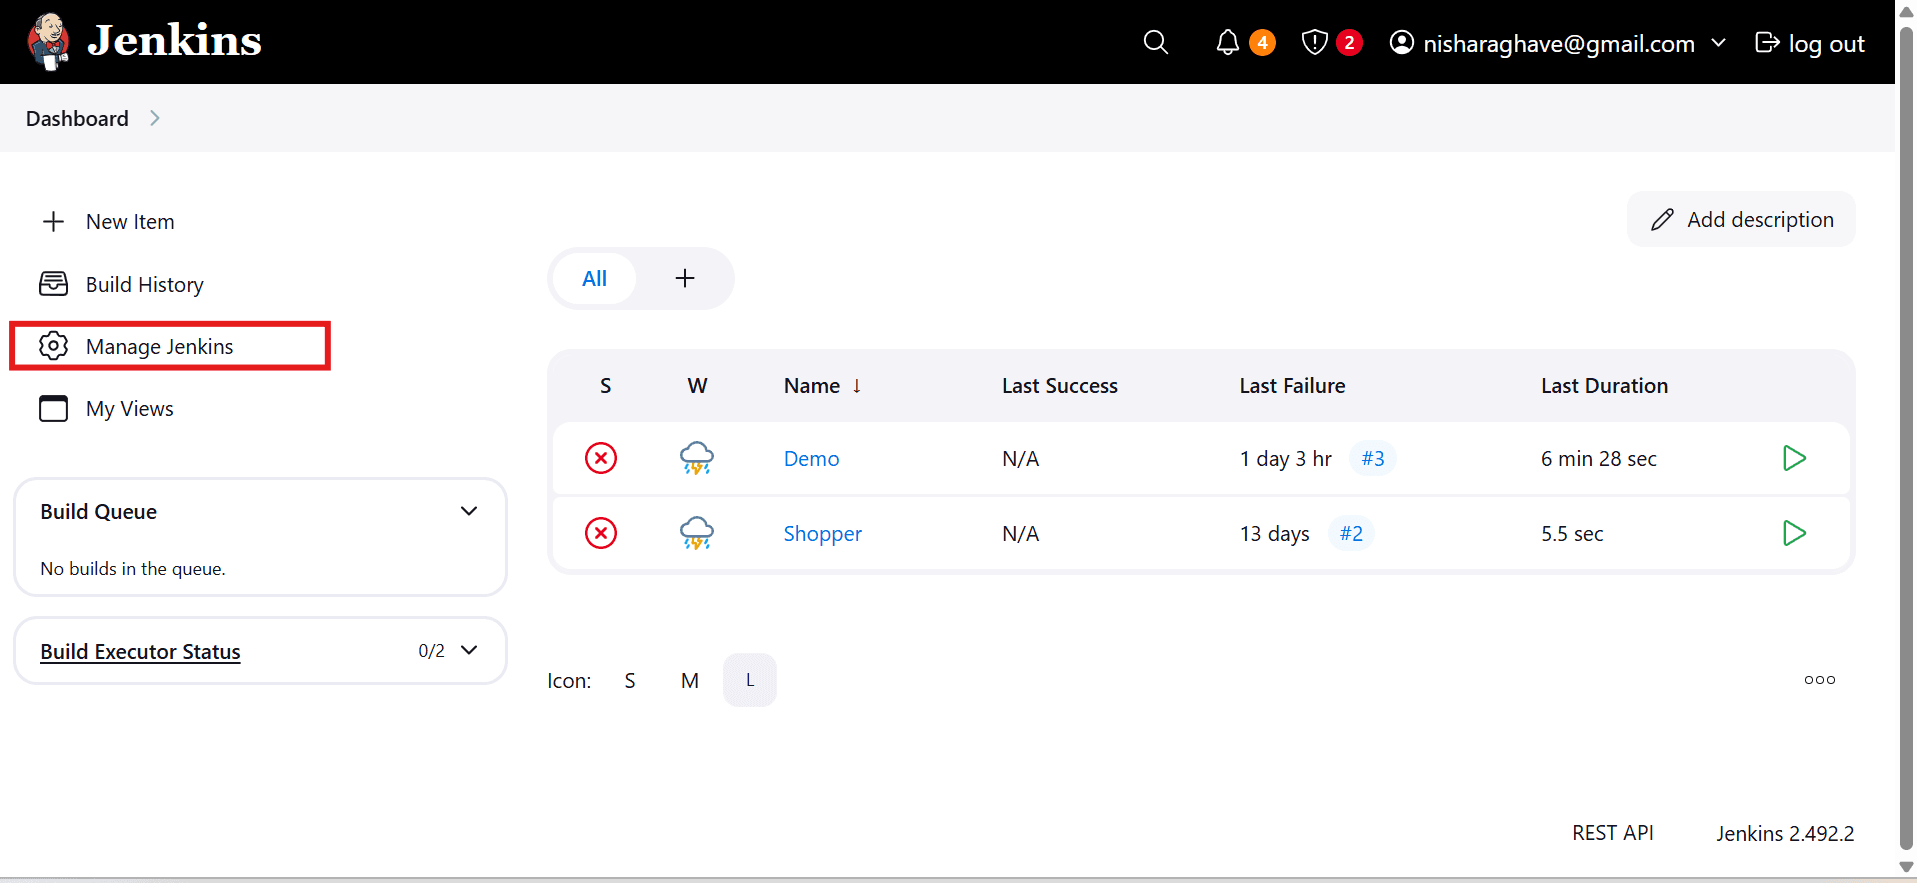
- Click on "Manage Jenkins".
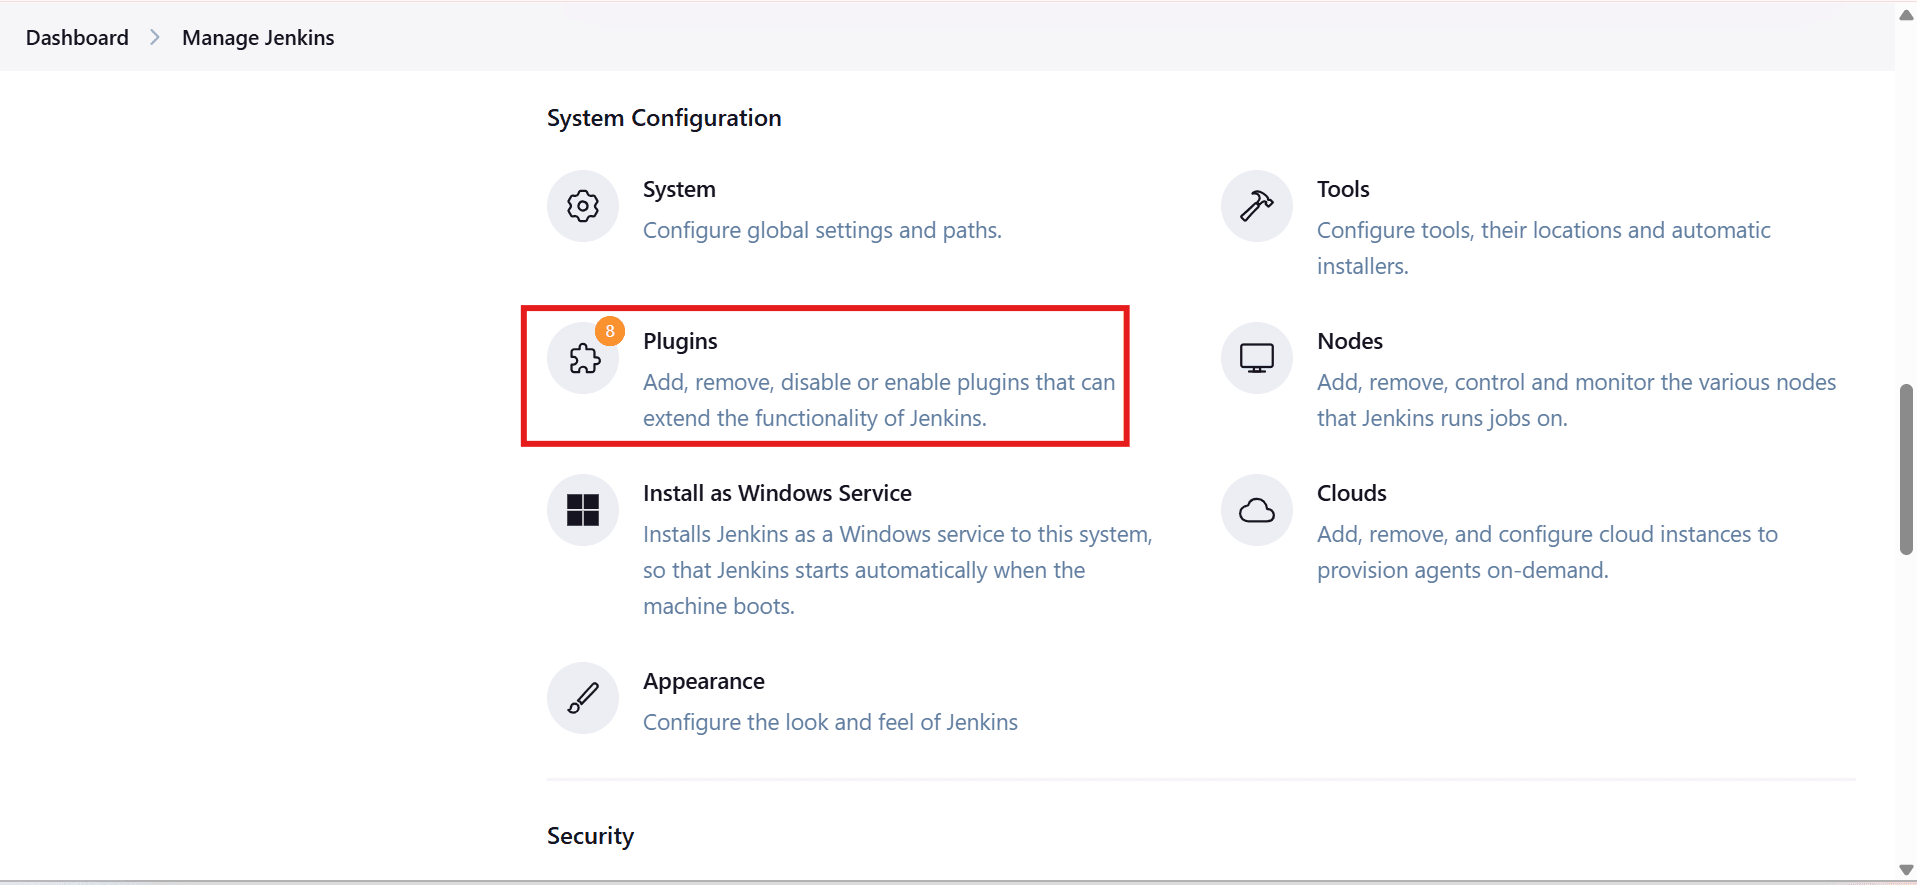
- Scroll down to locate the 'Plugin' section under System Configuration, then click on it to proceed.
- Click on "Advanced settings".
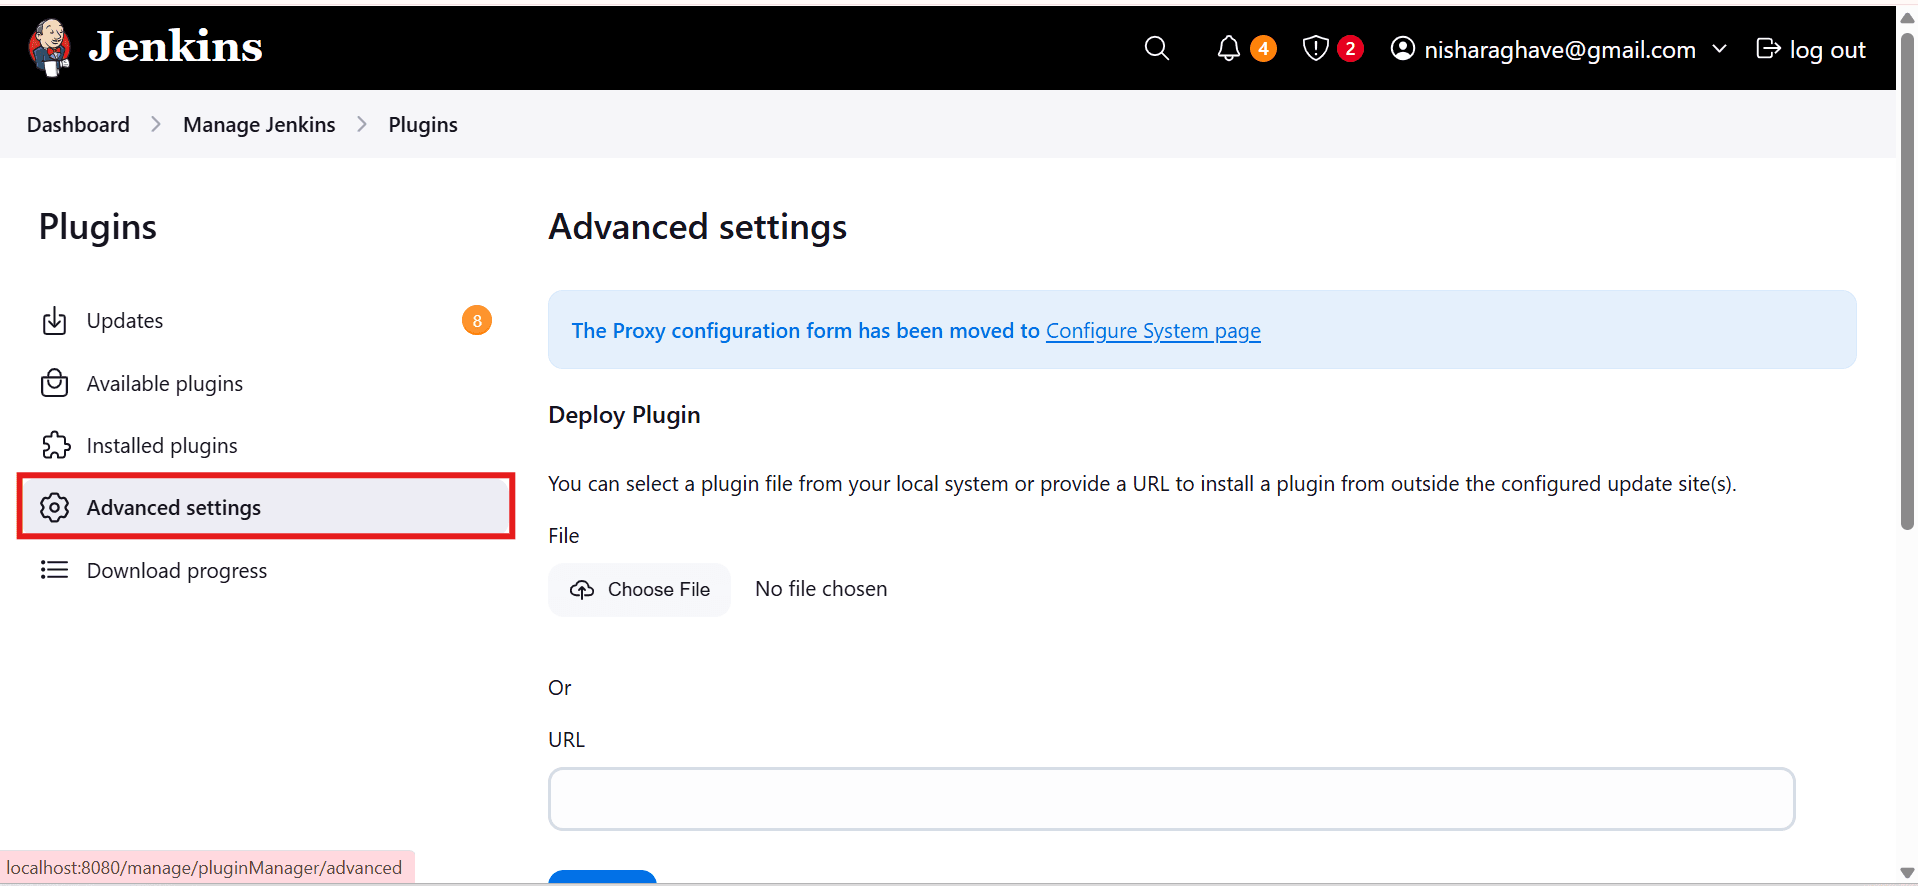
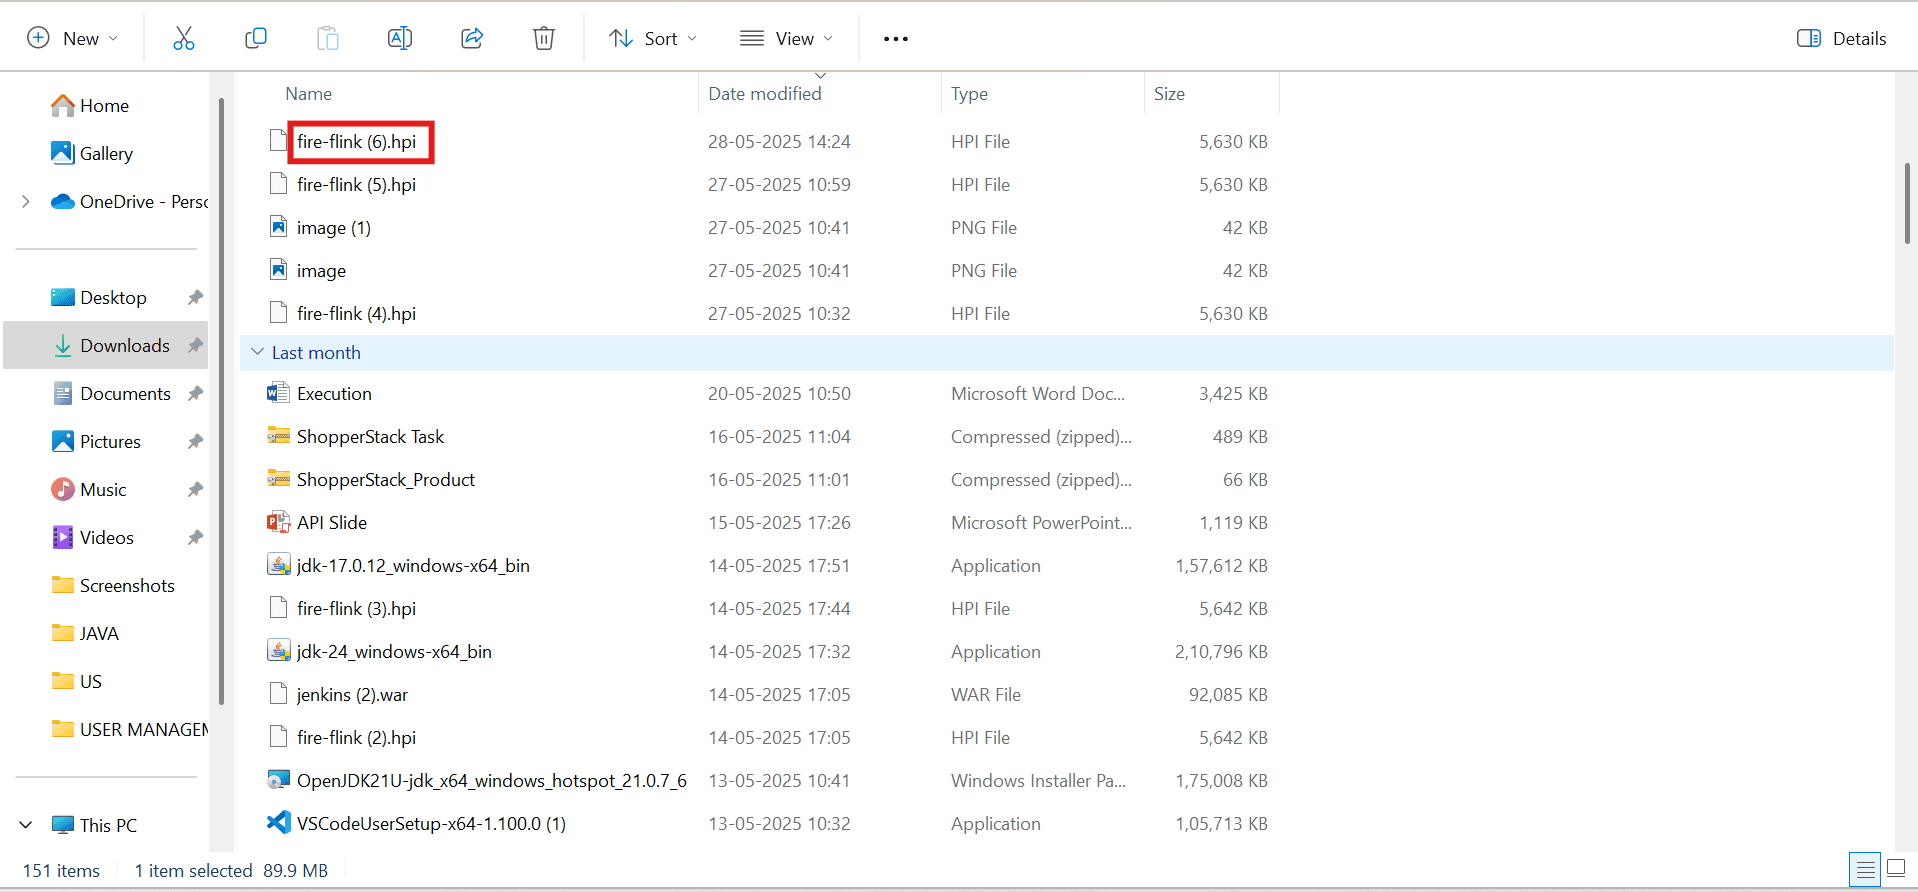
- Click on "Choose File," select the .hpi file that was downloaded when User clicked on Jenkins (typically located in the Downloads folder).
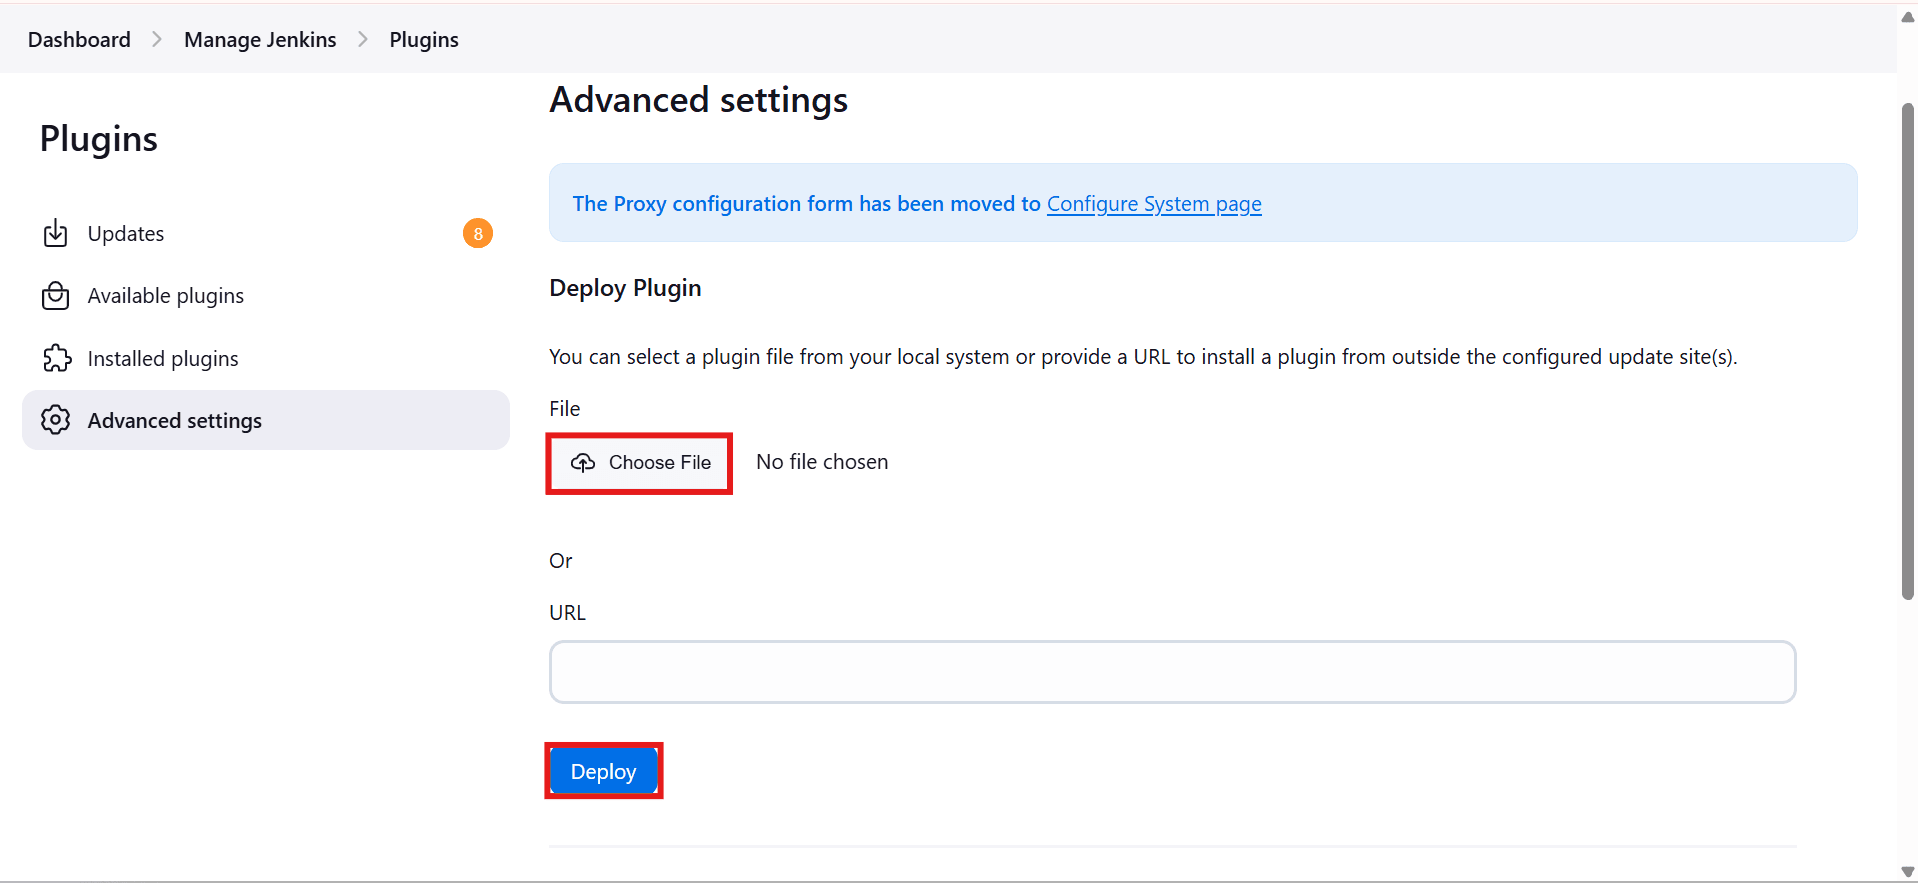
- Click on the "Deploy" button.
- It will show the installation status.
- Users can directly use the FireFlink plugin or restart Jenkins.
Verifying the Installation of the FireFlink Plugin in Jenkins
- Navigate to the Installed section.
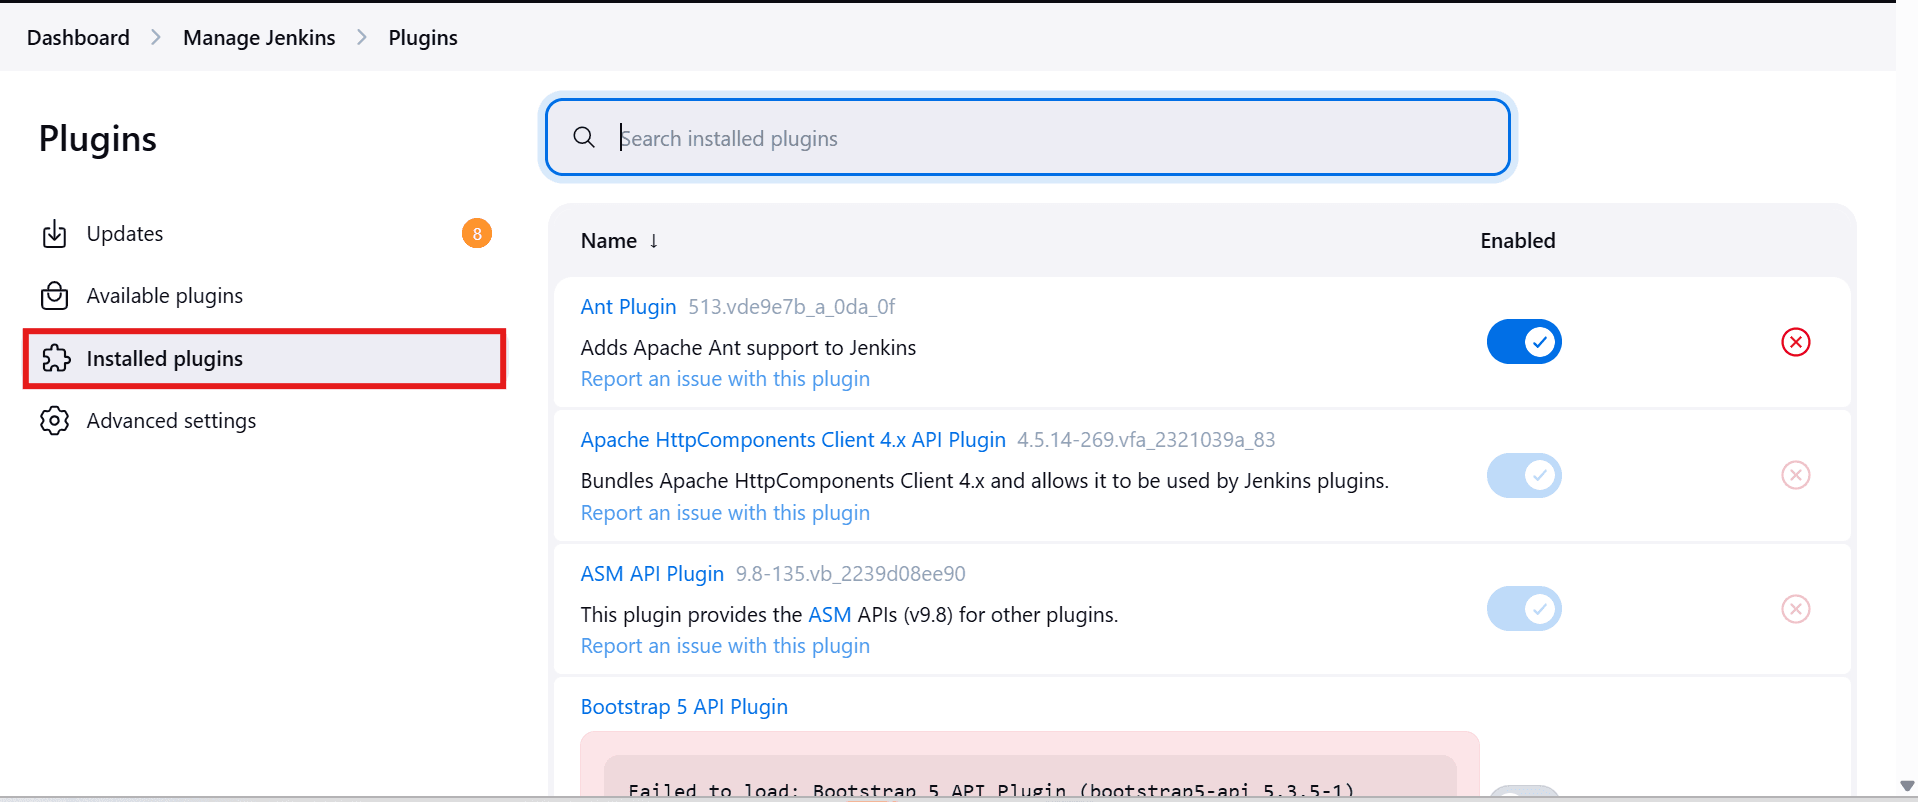
- Filter FireFlink plugin in the search box.
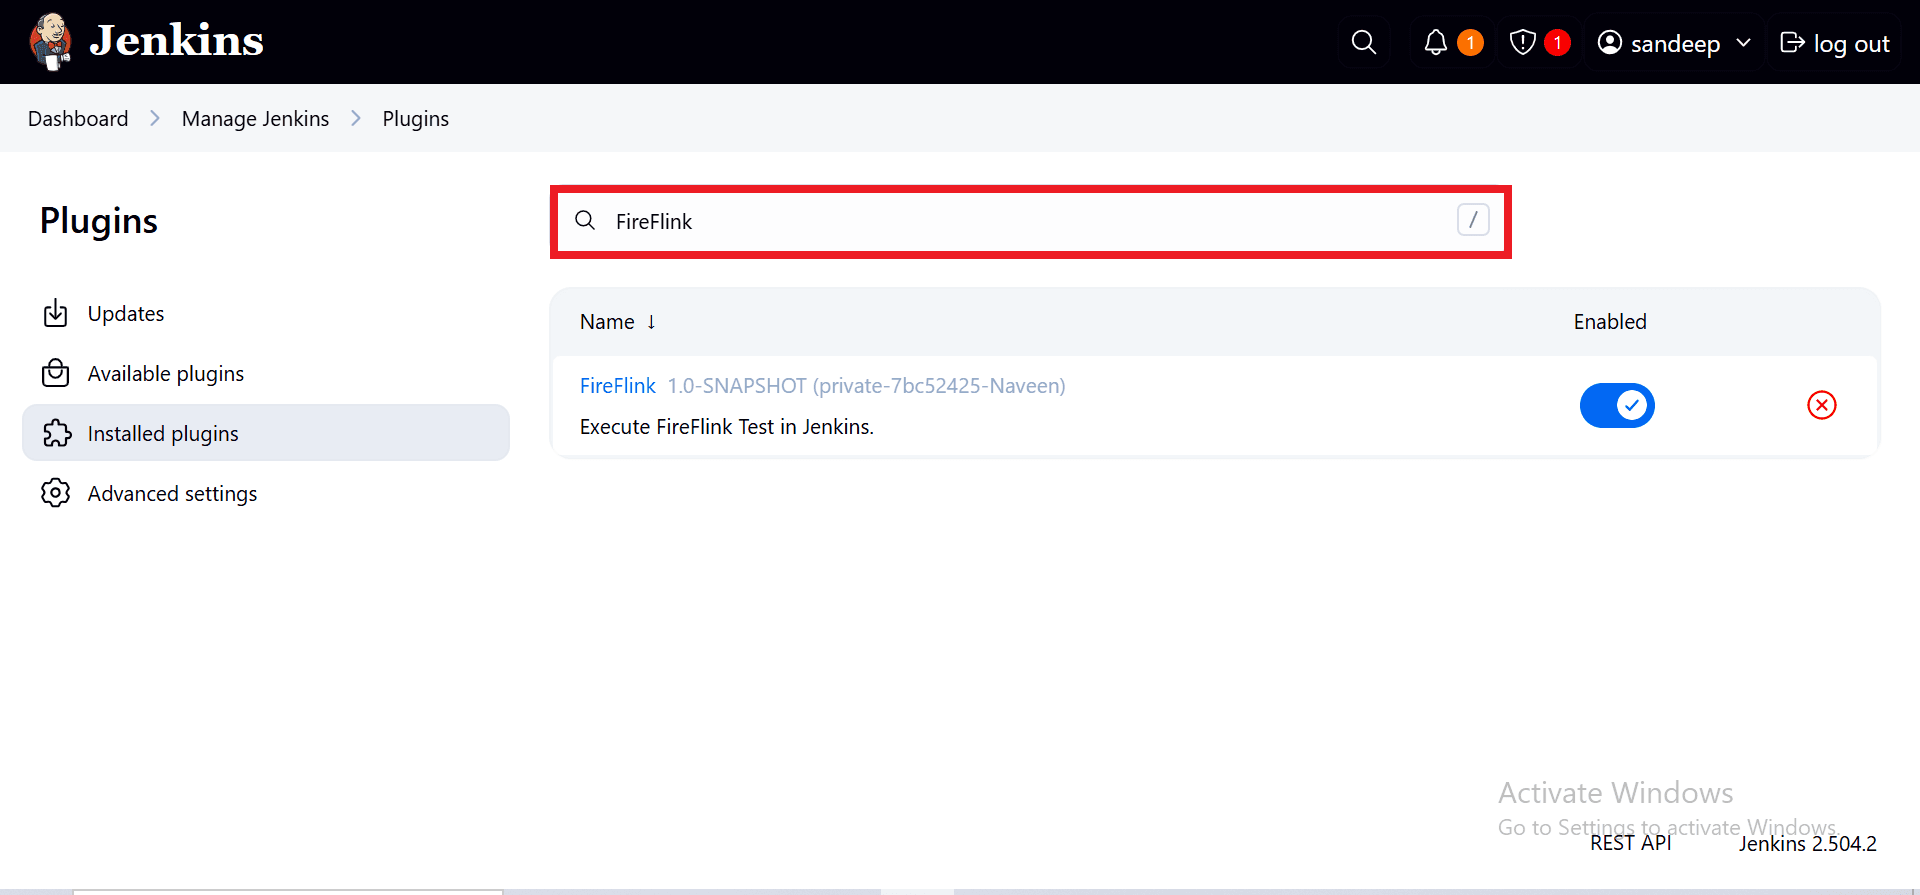
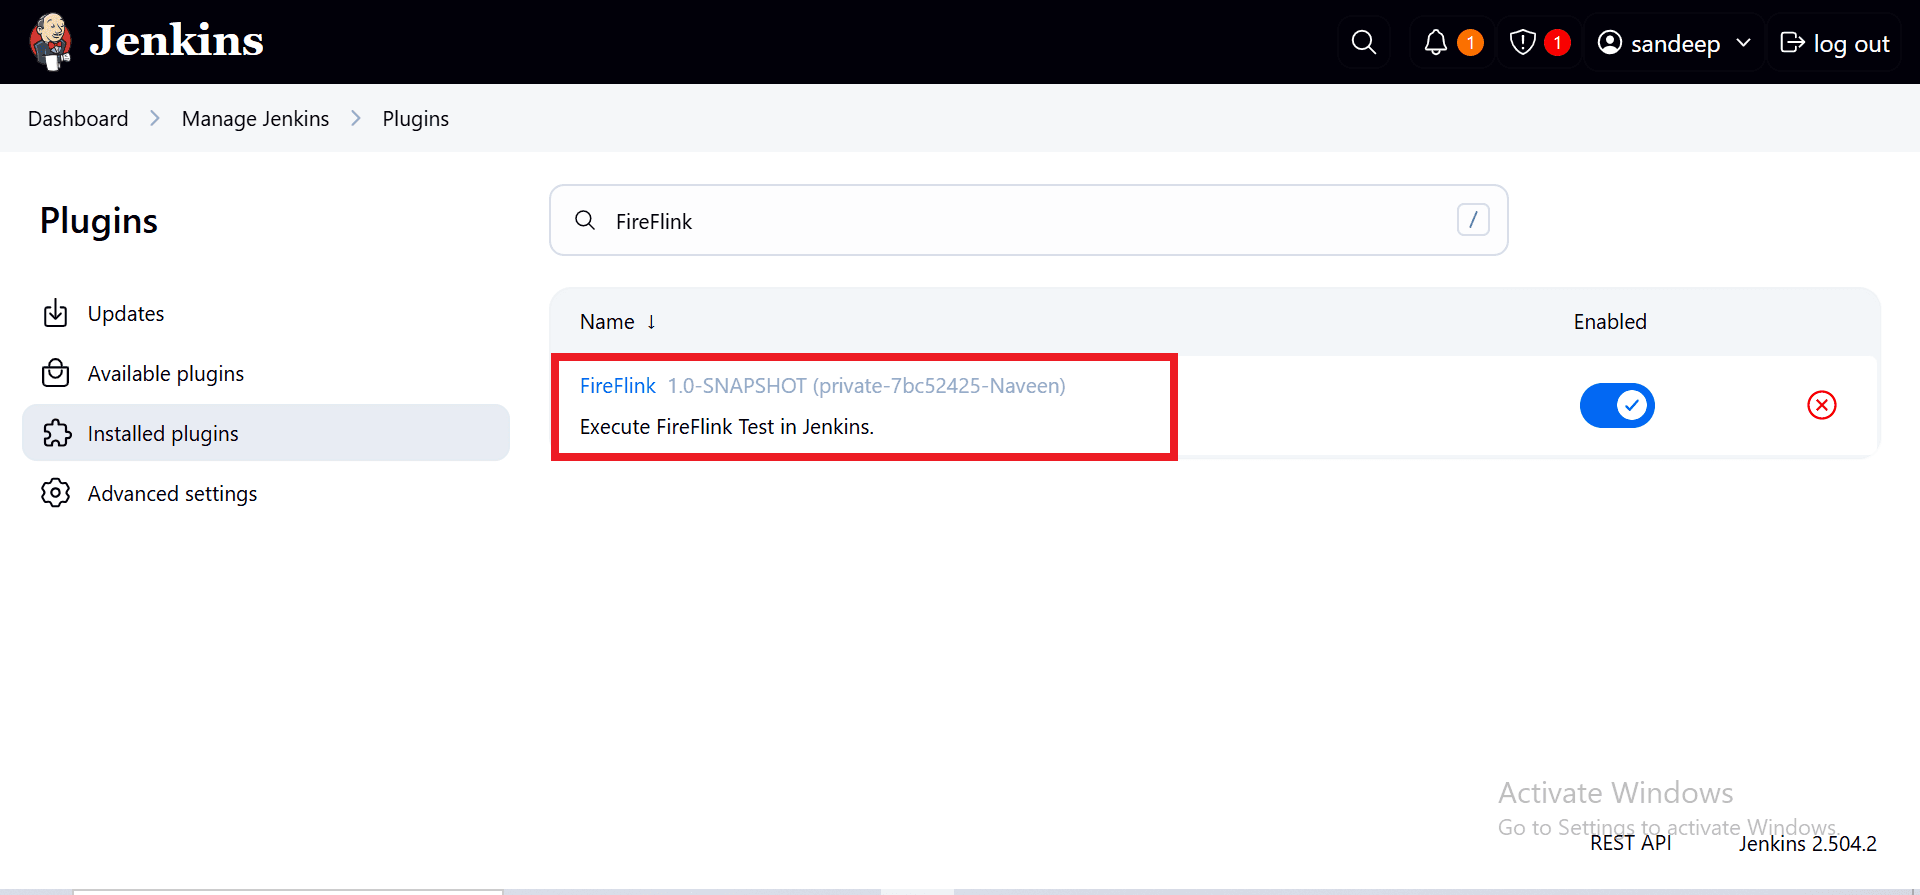
- If installed, the installed plugin can be displayed.
Creating a Job using a FireFlink plugin
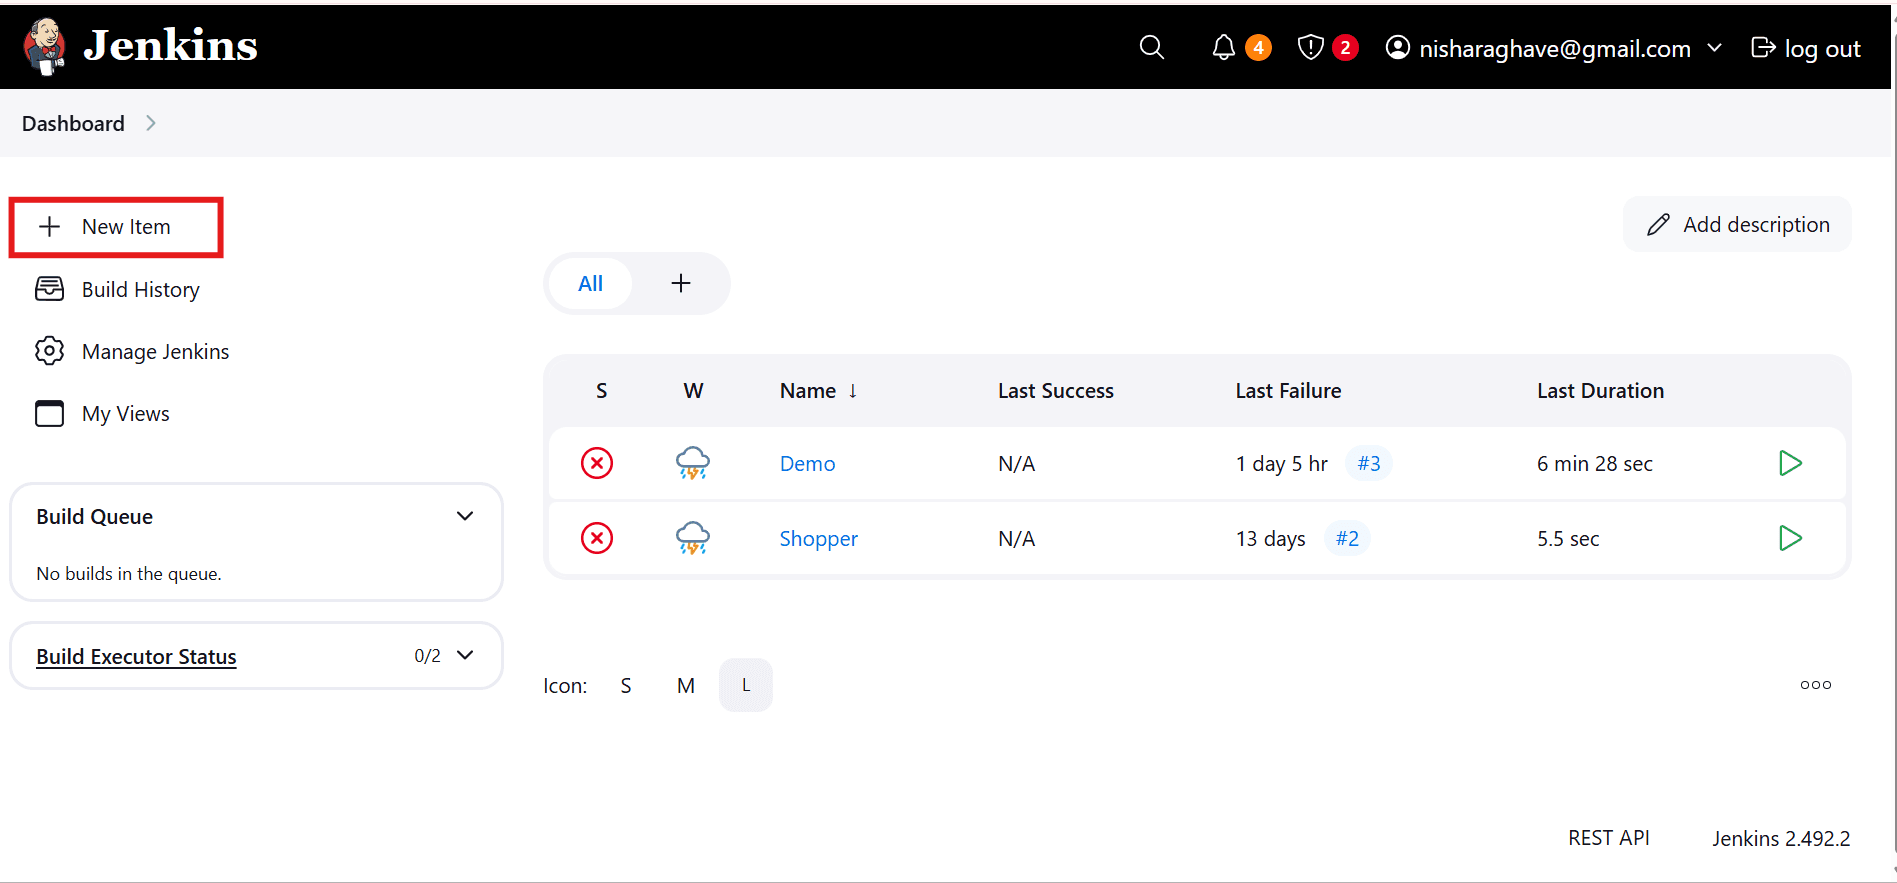
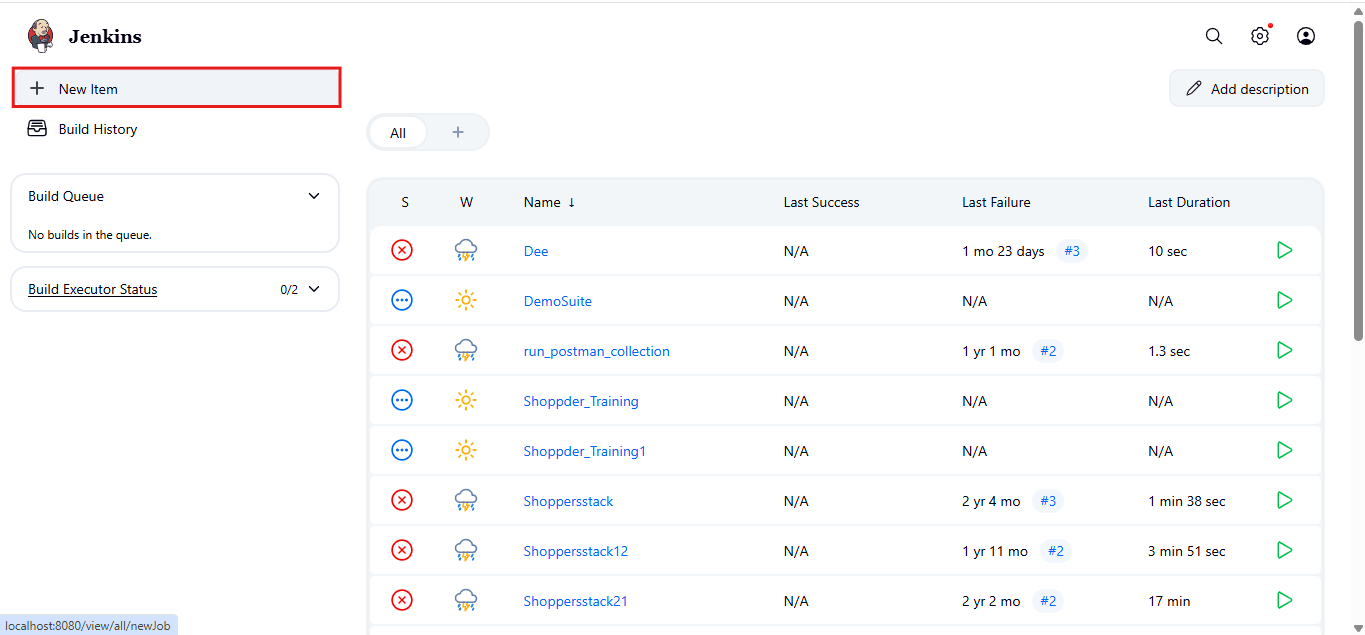
- Click “New Item” in the left navigation.
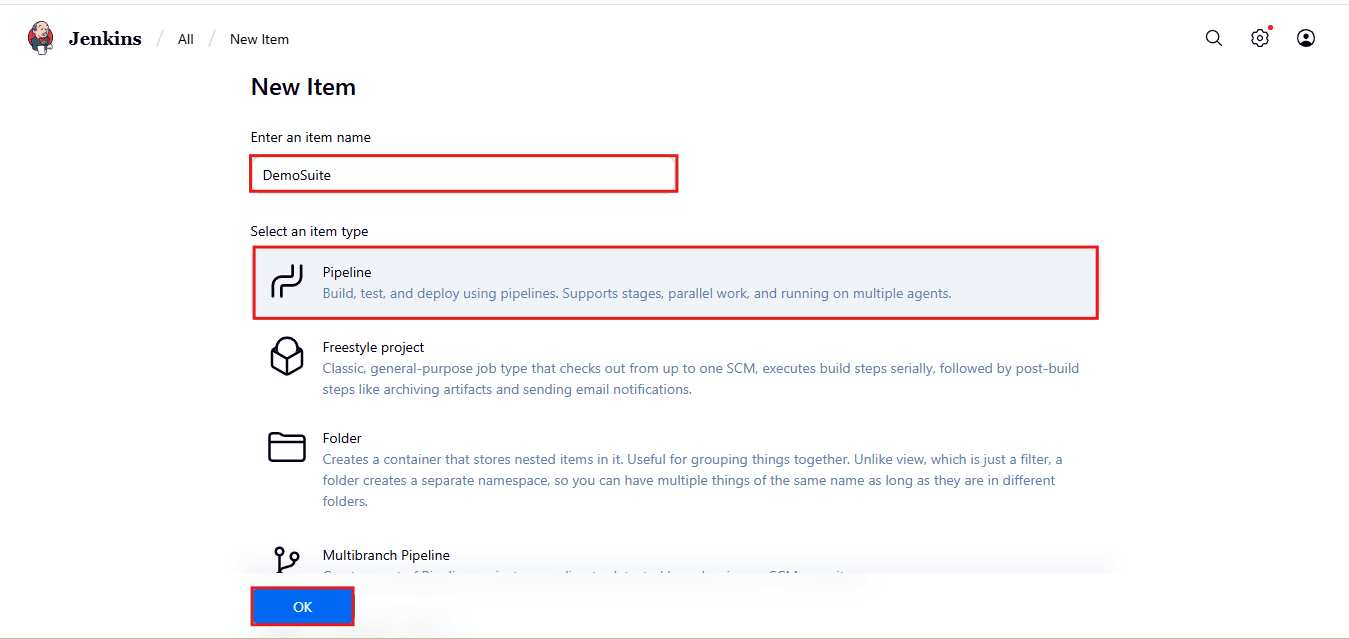
- Enter a job name in the "Enter an item name" text field provided.
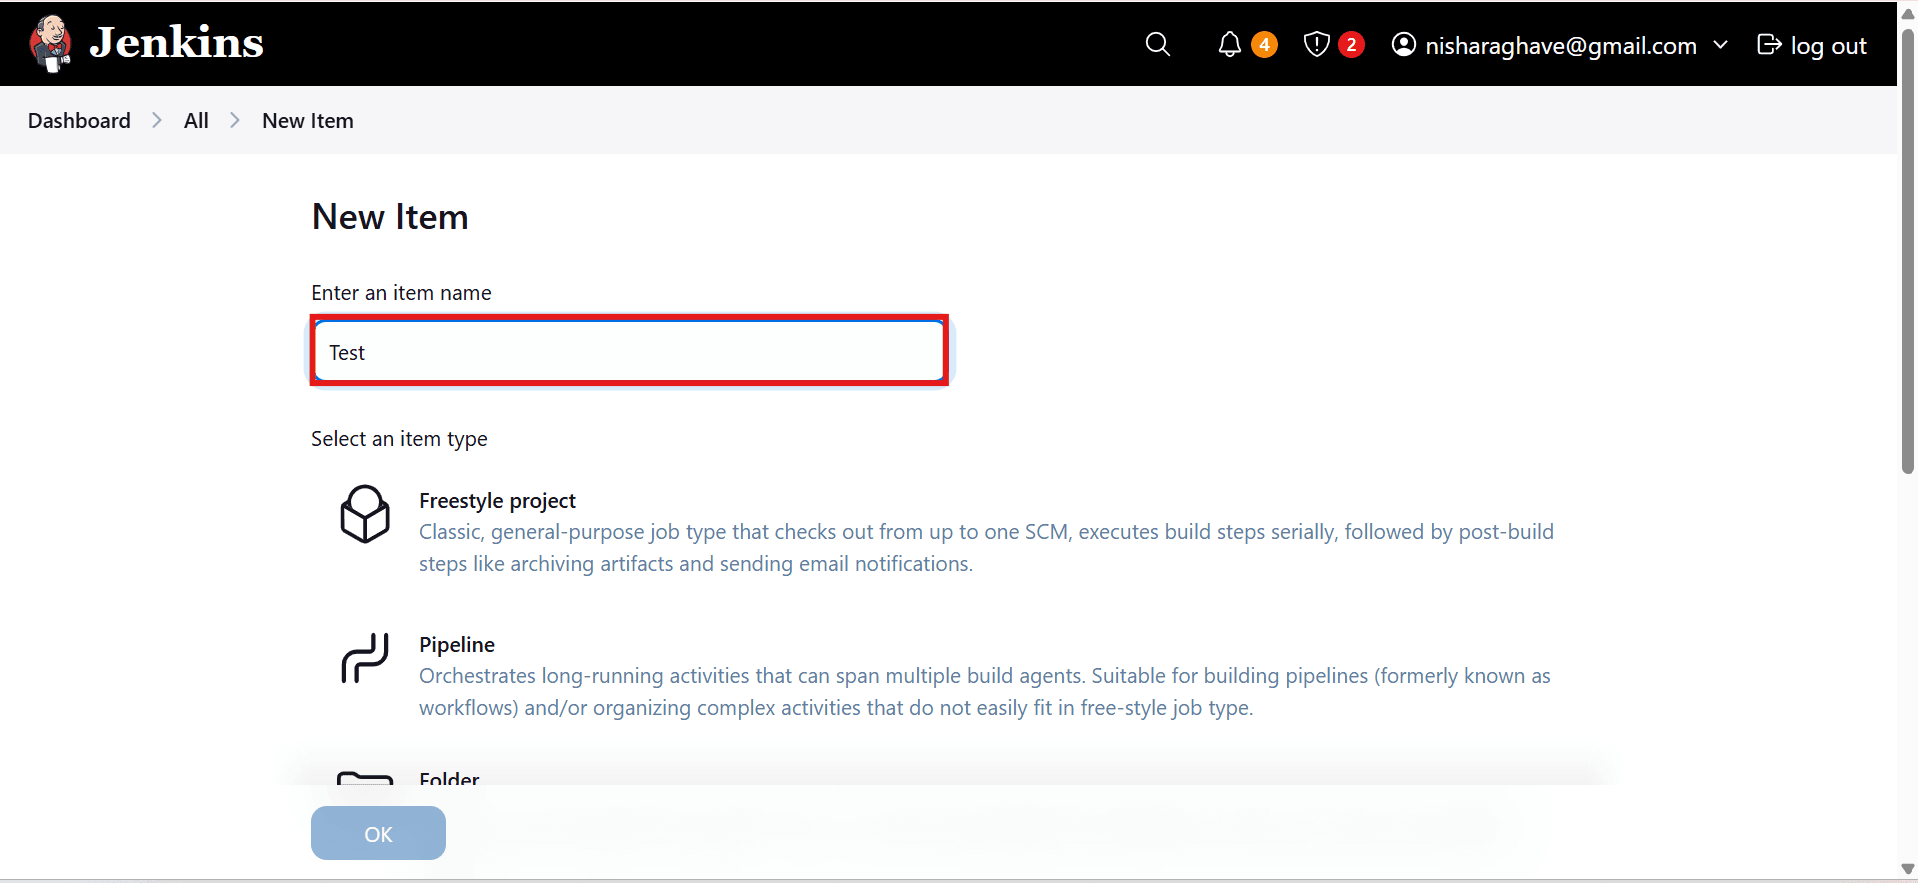
- Select the project type as "Freestyle project".
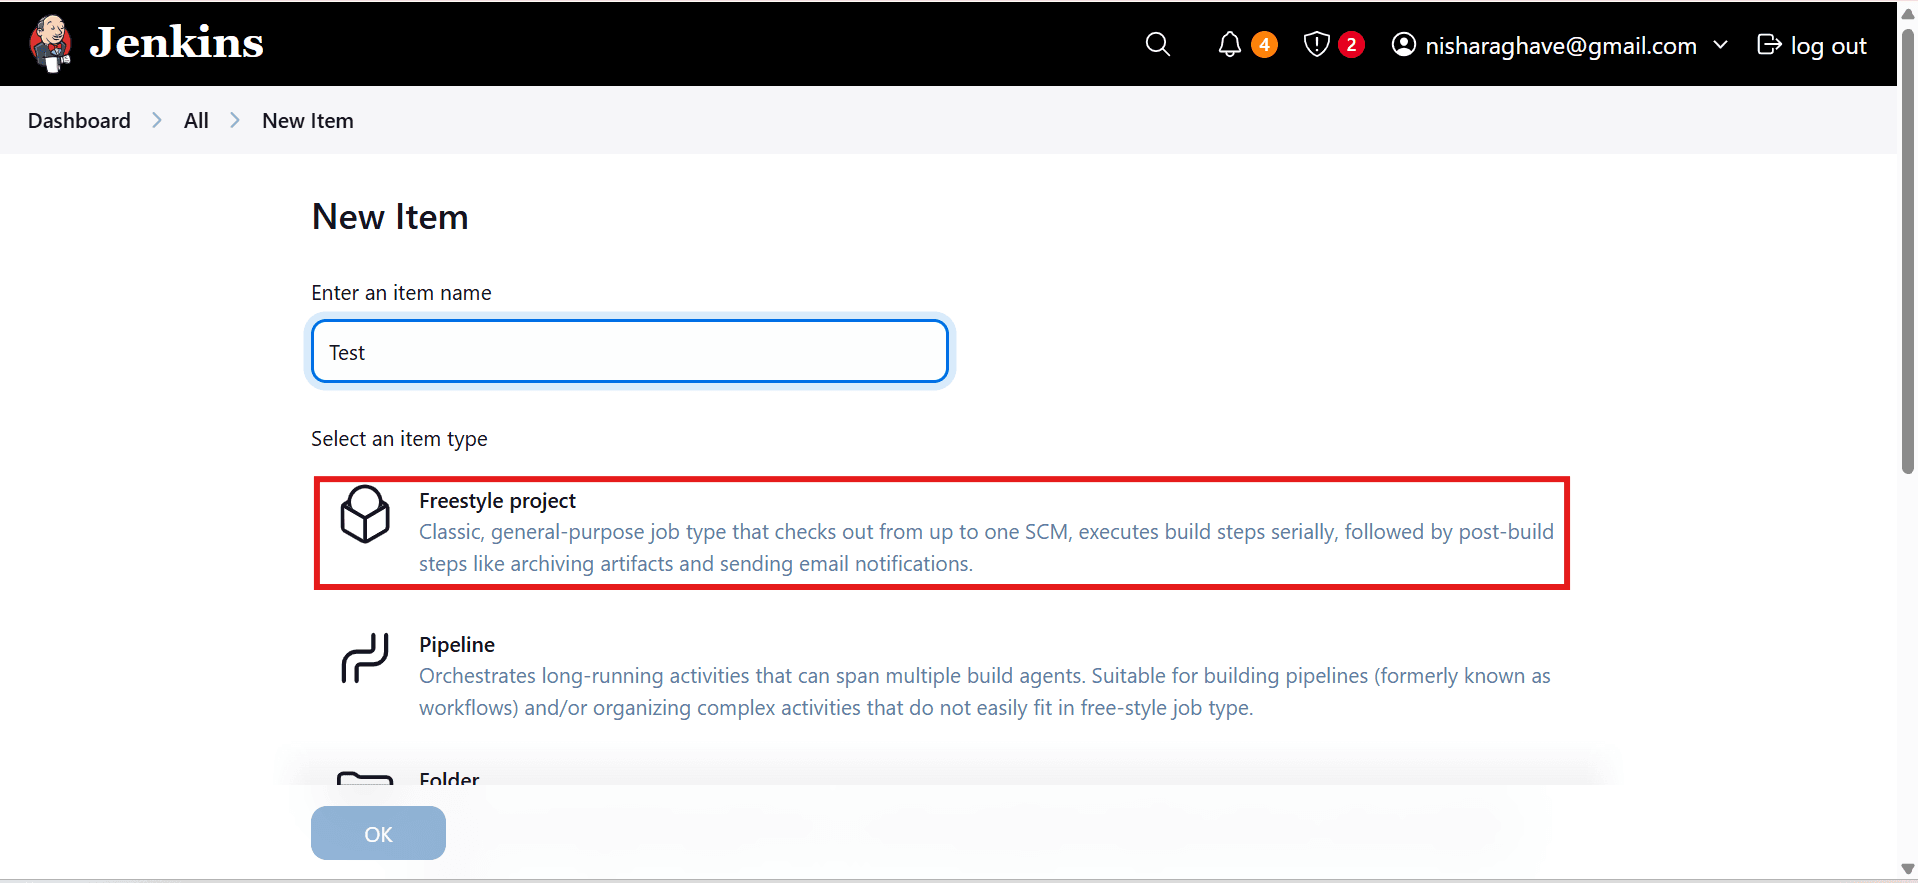
- Click the "OK" button to create a job.
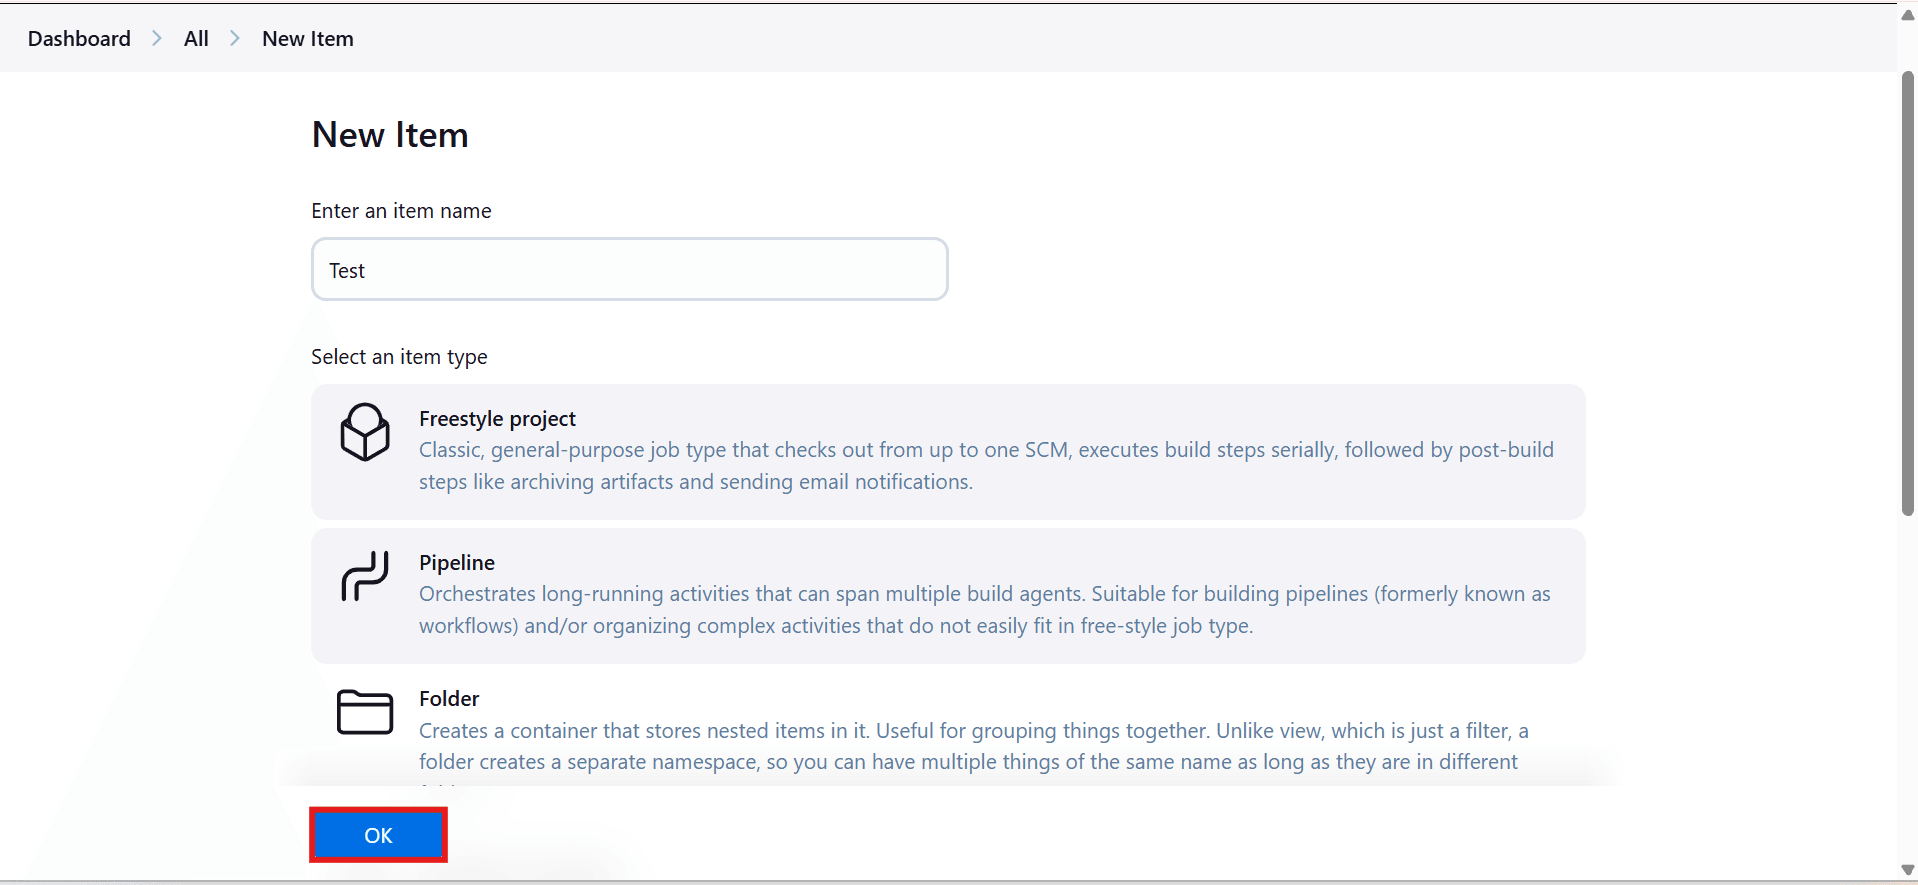
- After clicking "OK," you will be navigated to the configuration page, indicating that the new job has been successfully created.
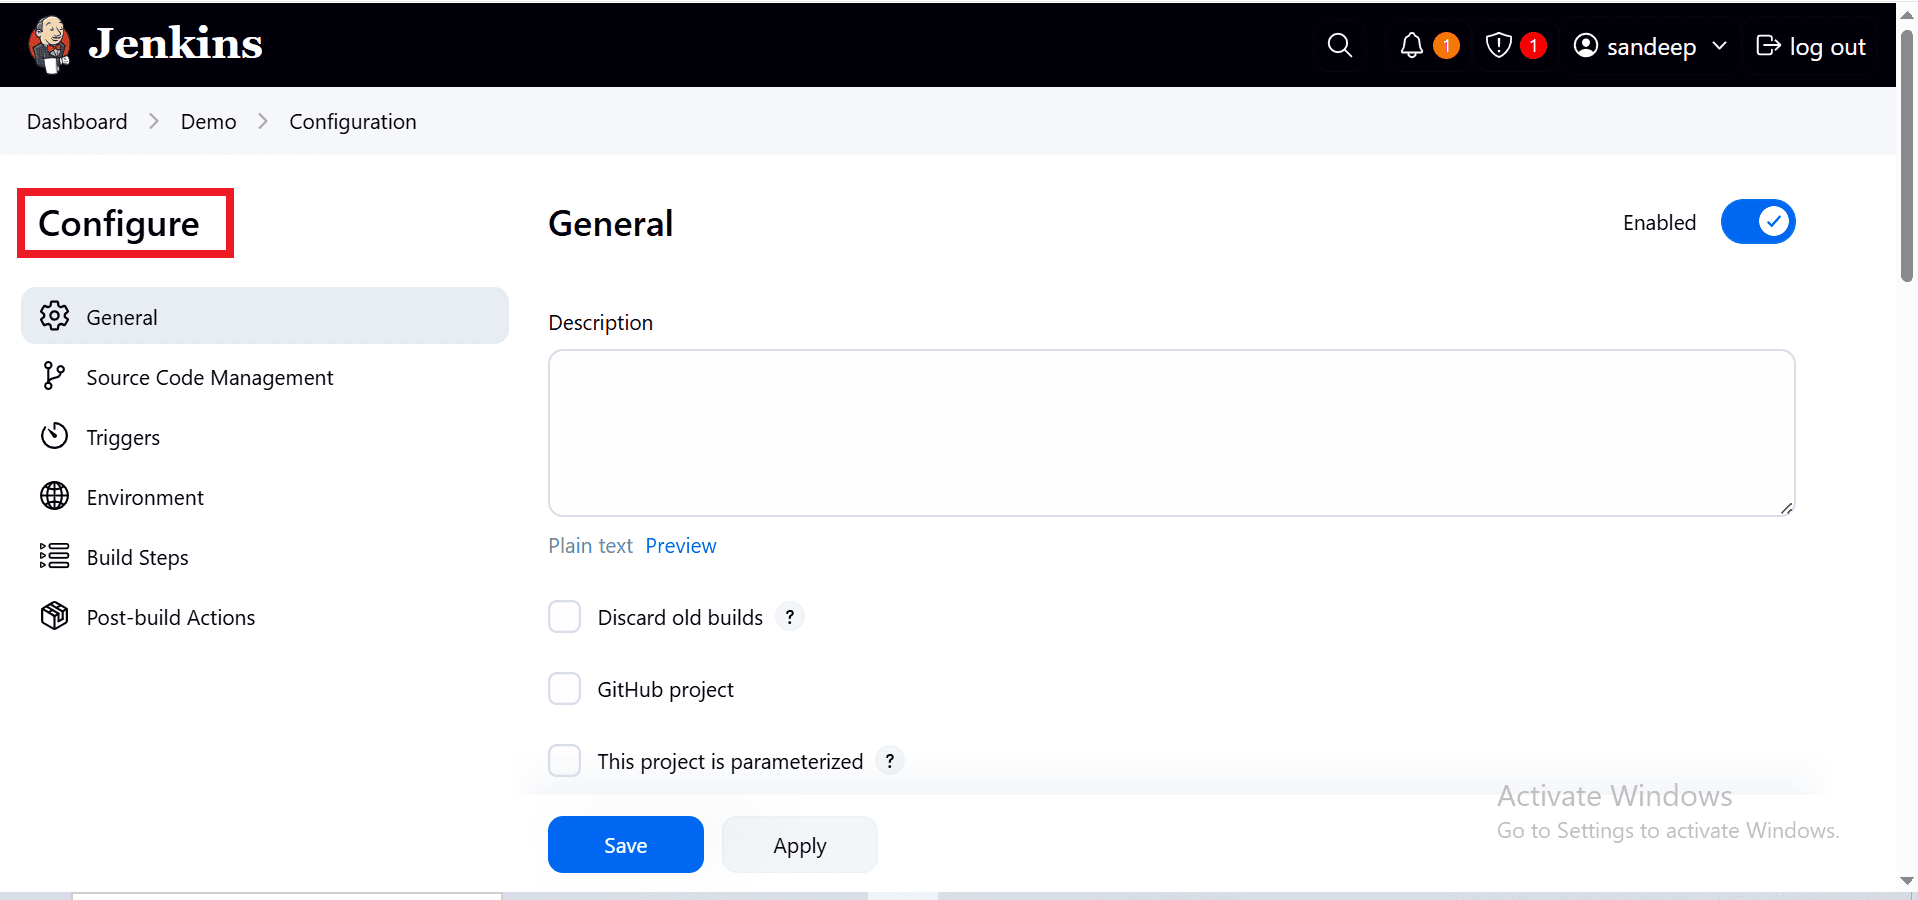
Configuring the build environment
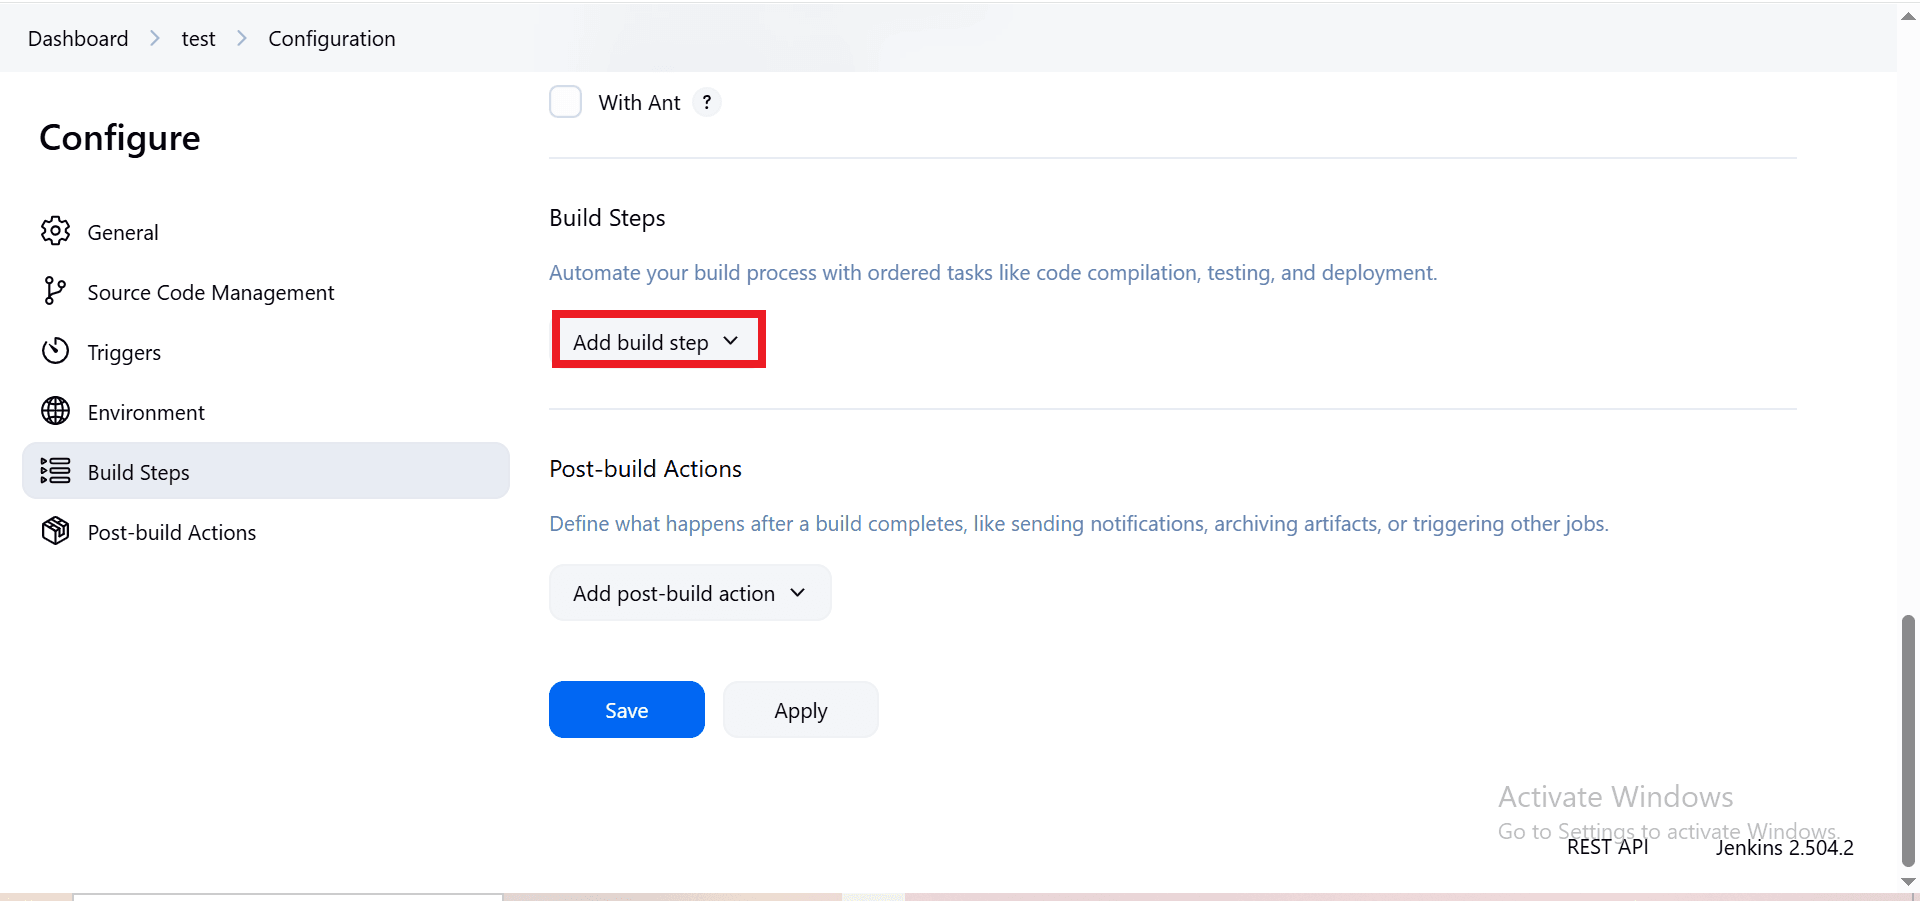
- Select build steps.
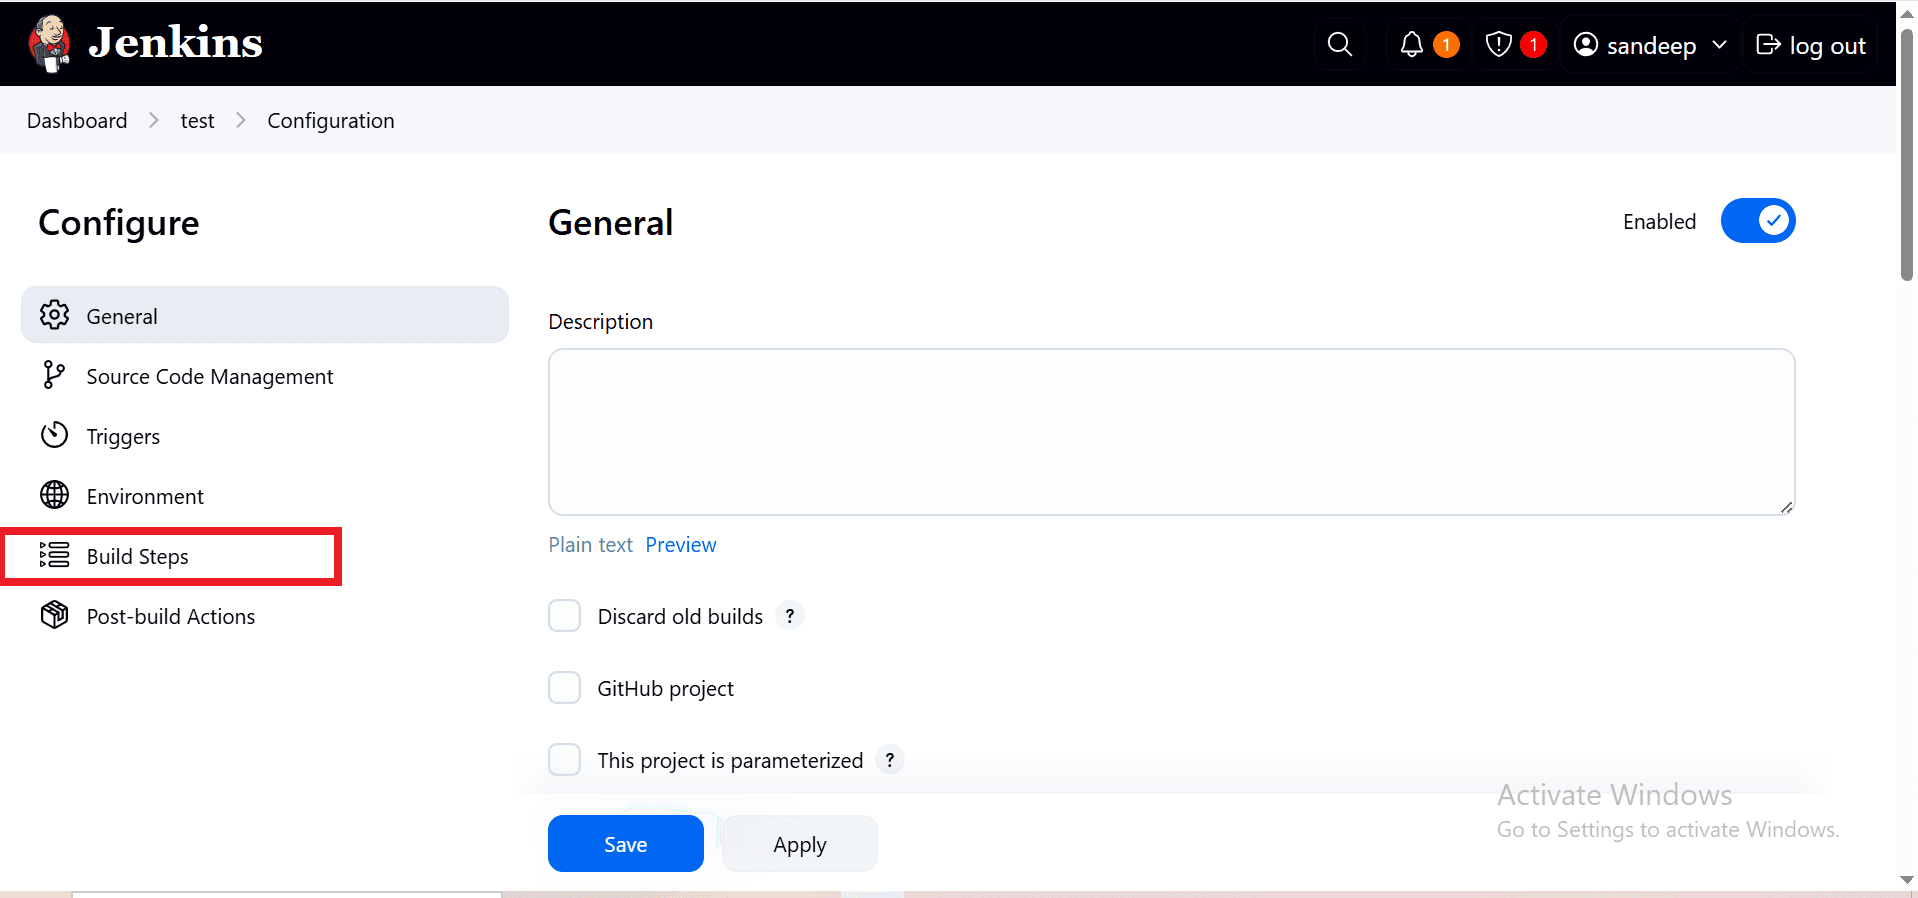
- Click on the Add build step dropdown.
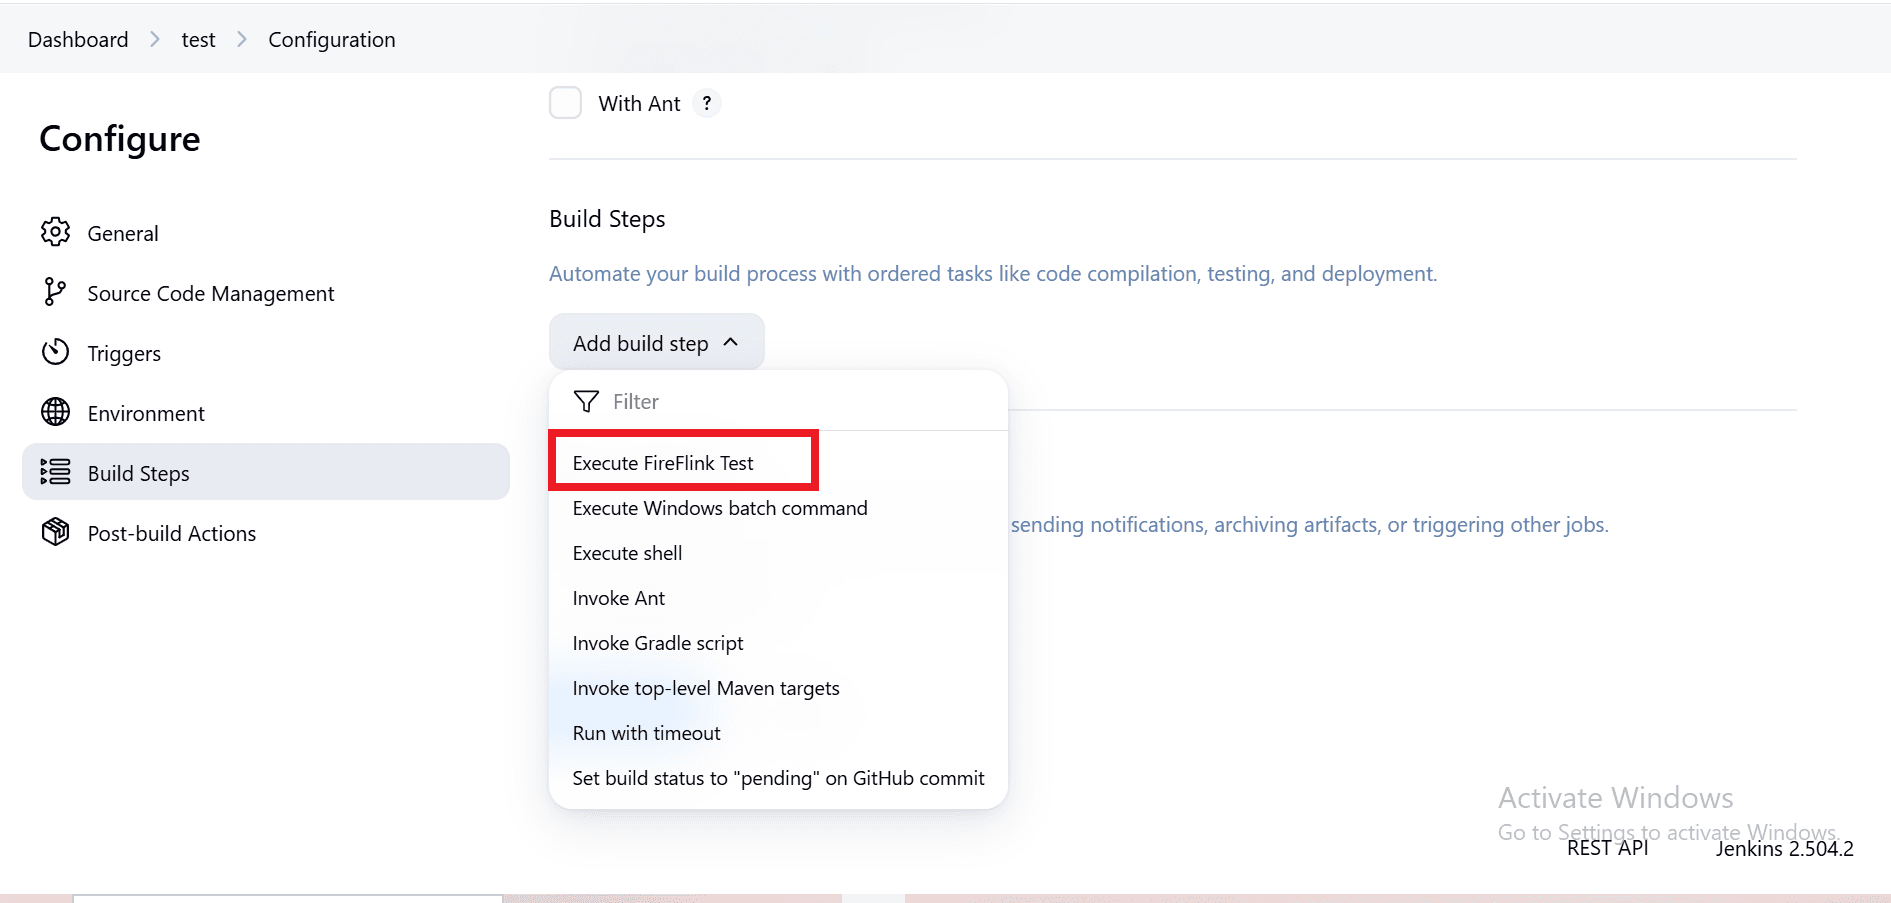
- Select "Execute FireFlink Test" from the dropdown.
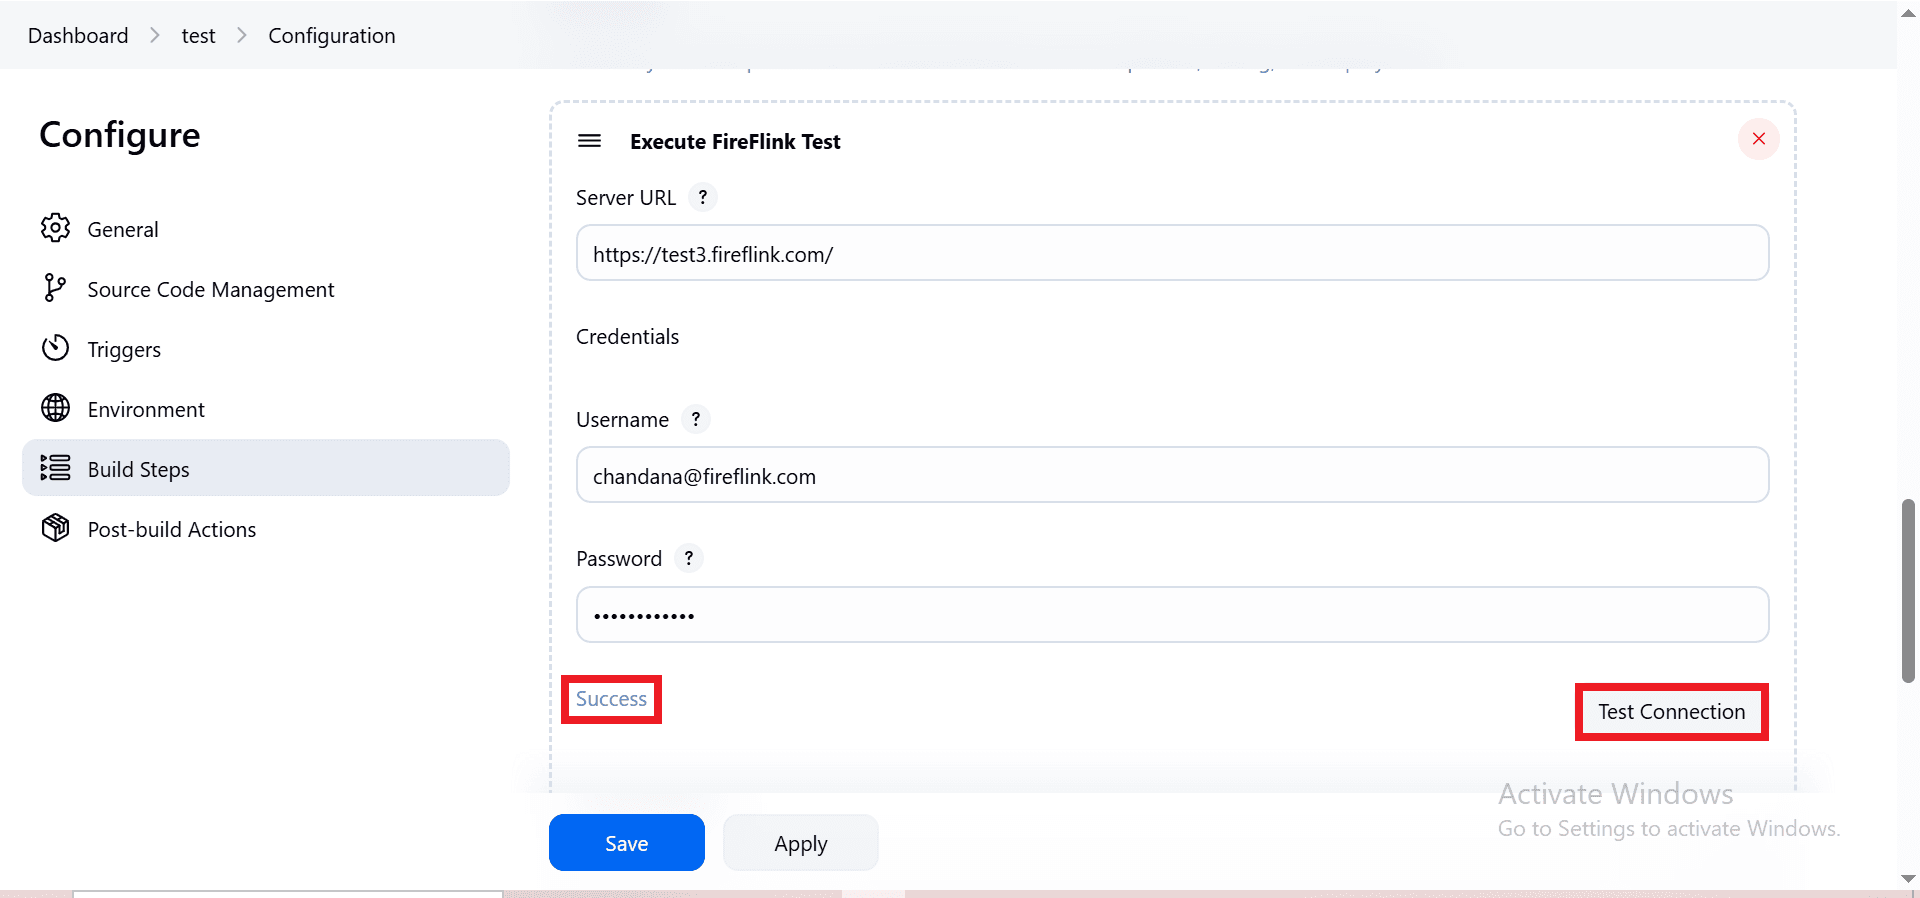
- Enter the server URL in the "Server URL" text field.
- Enter the username in the "Username" text field.
- Enter the password in the "Password" text field.
- If the credentials are valid, upon clicking on the "Test Connection" button, the message will be displayed as "Success".
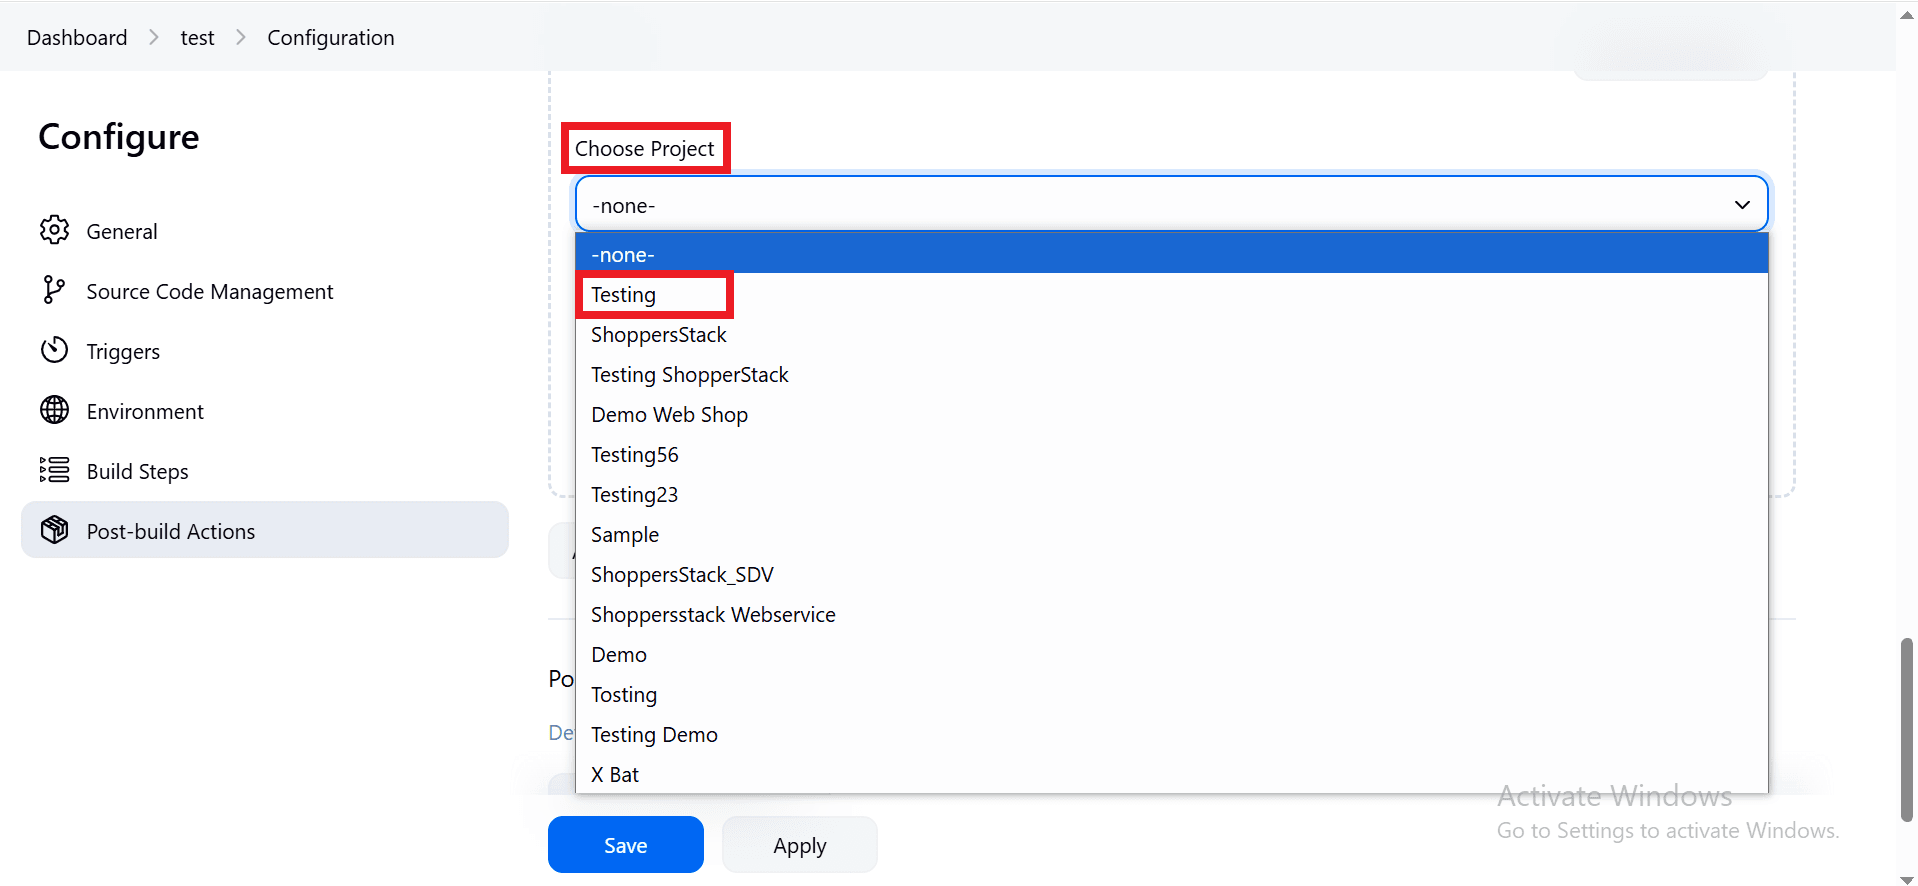
- Choose a project from the "Choose project" dropdown.
- Choose a suite from the "Choose suite" dropdown.
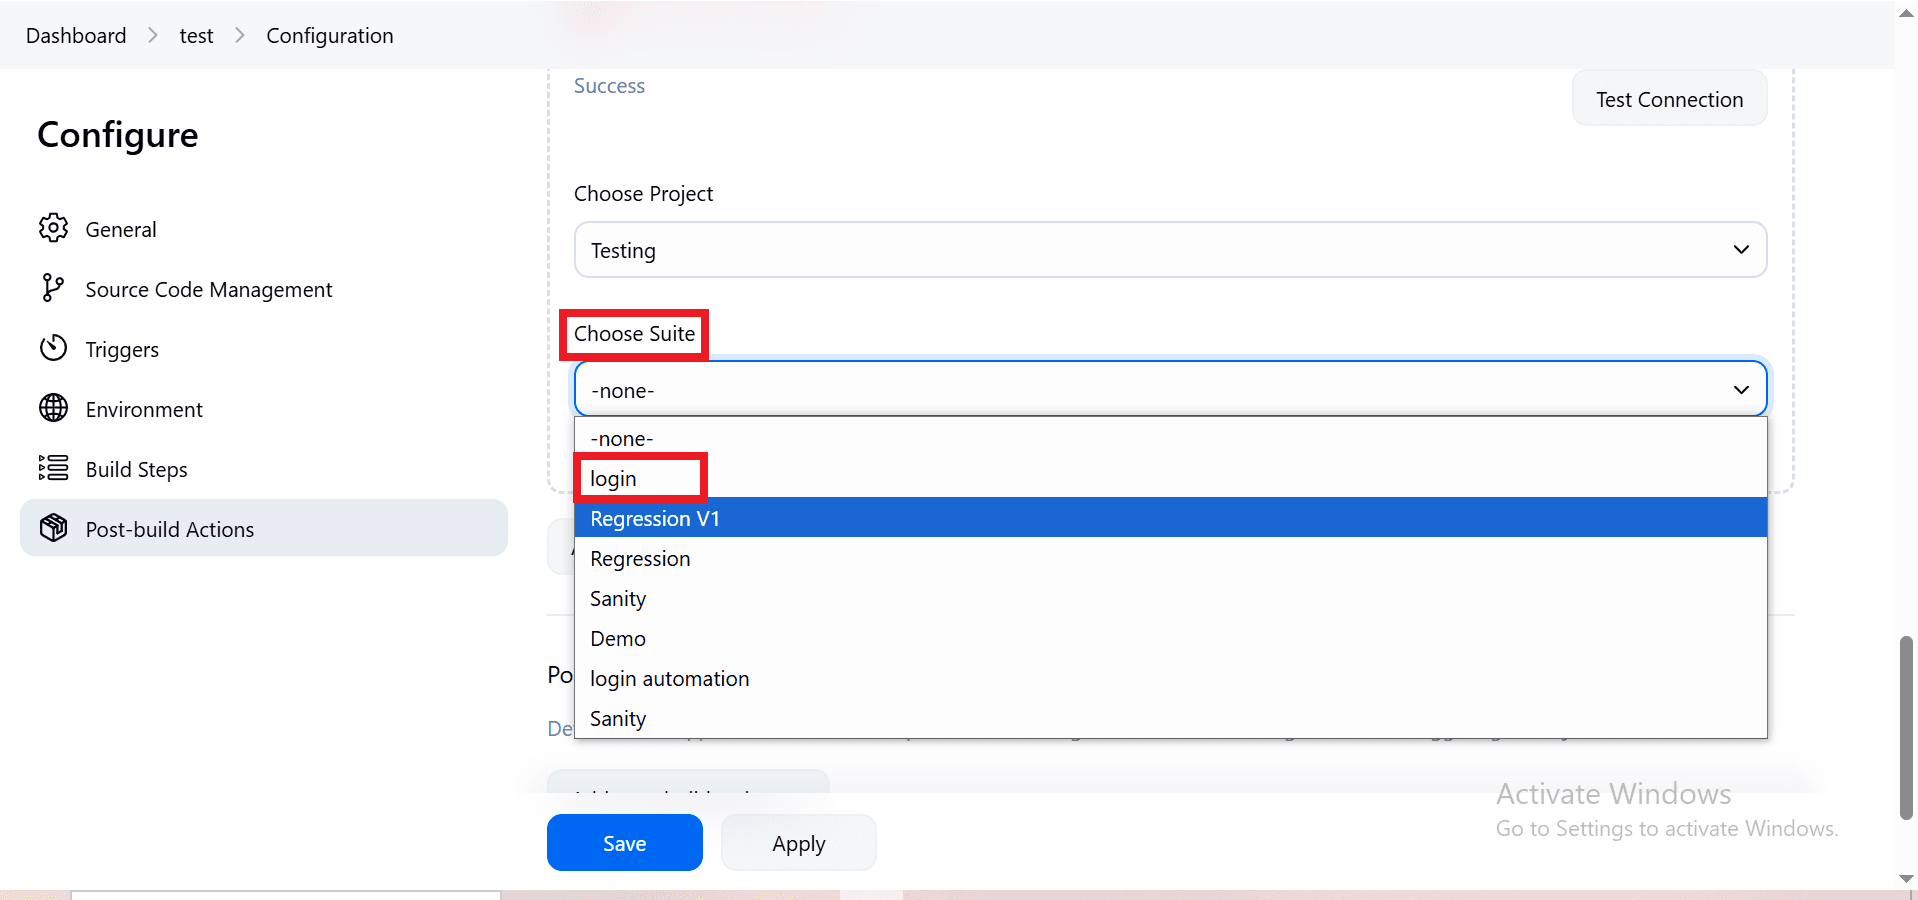
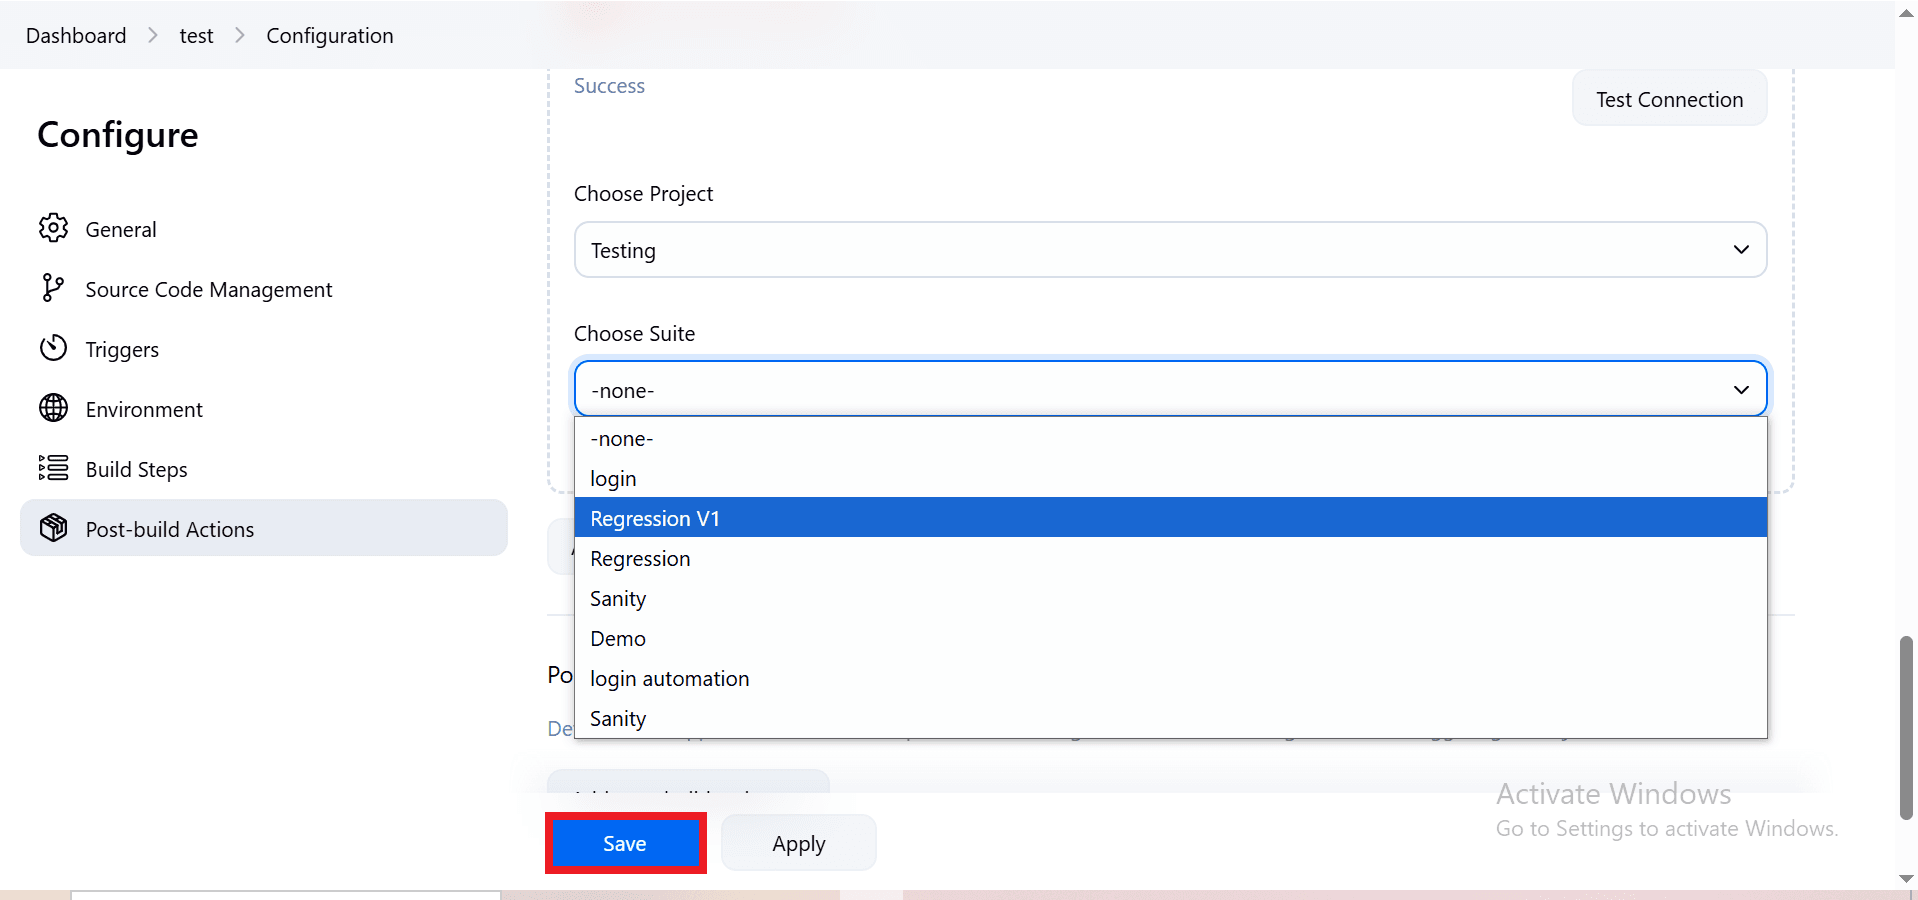
- Click on the 'Save' button.
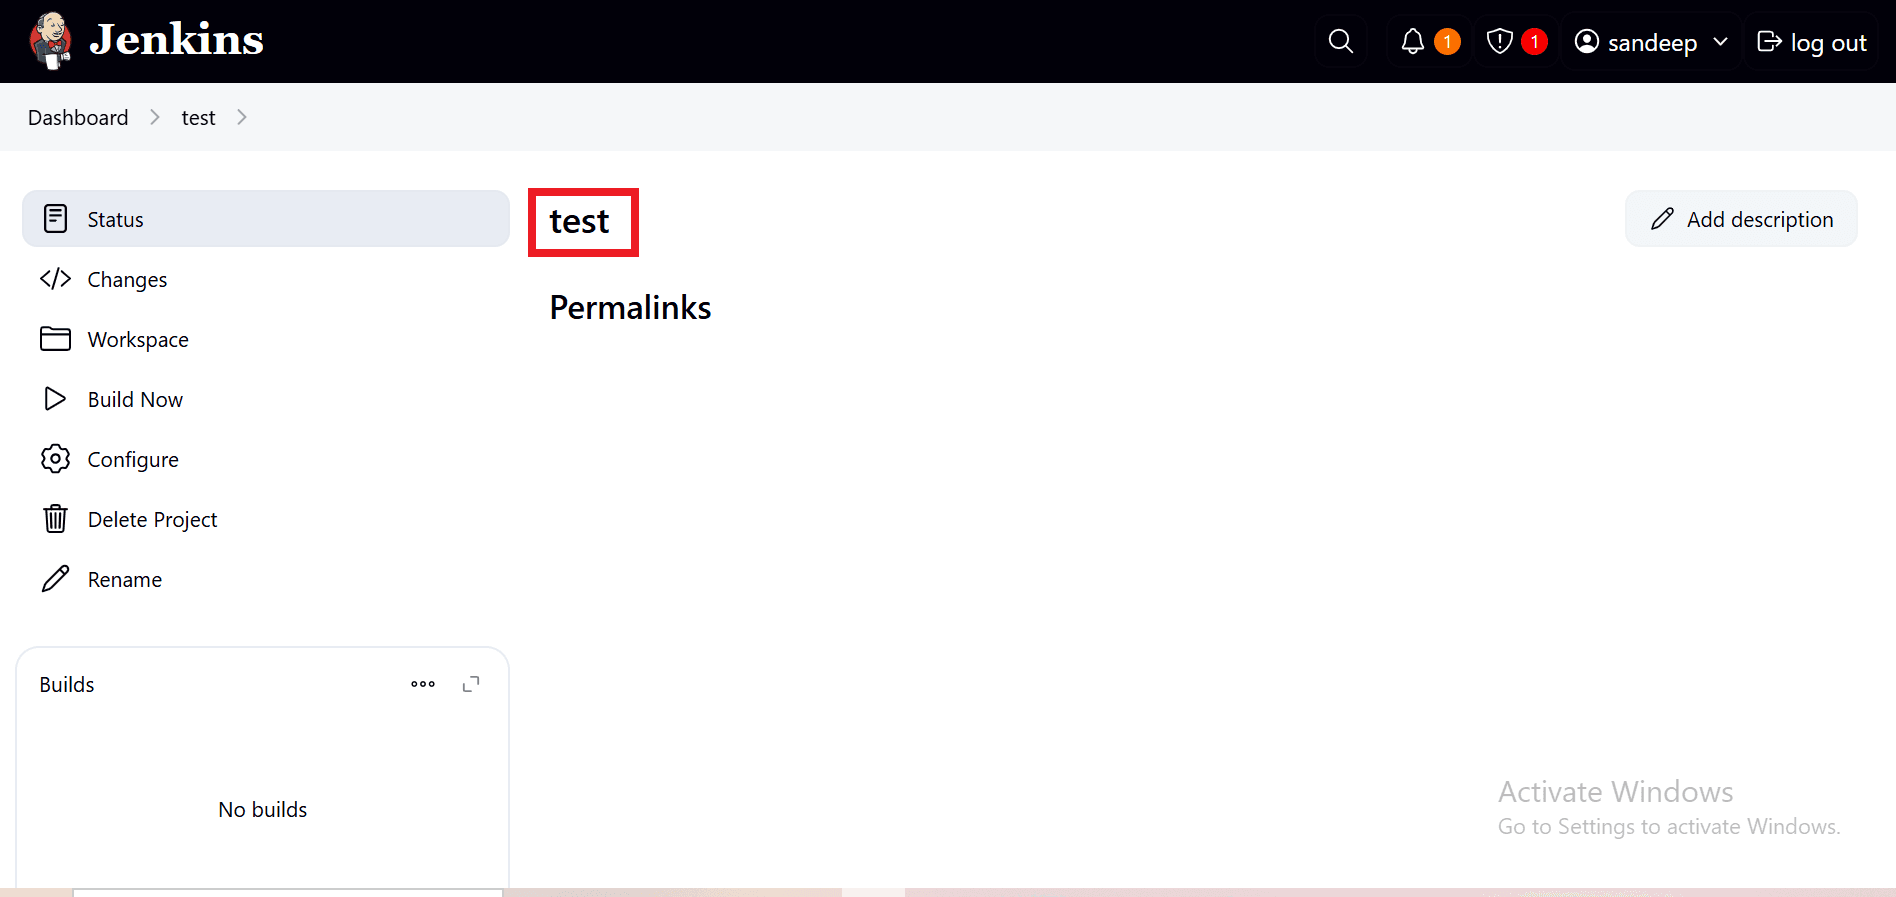
- With the click of the save button the user will land on that project page.
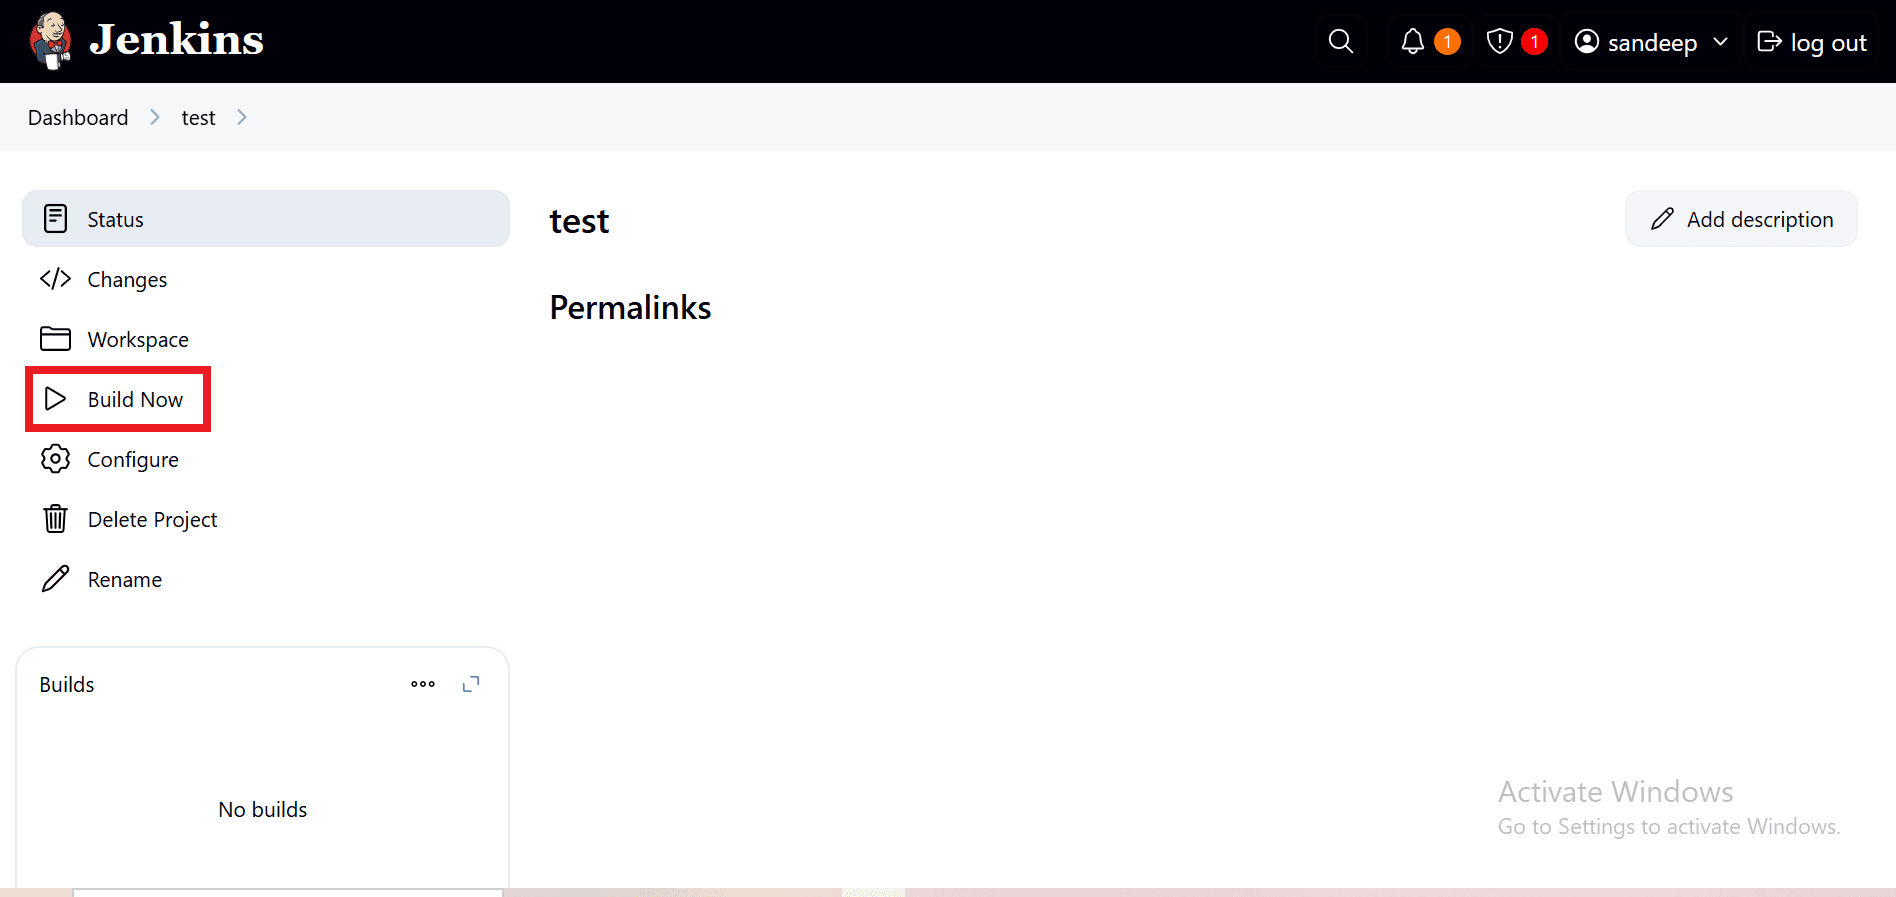
- Click on the "Build Now" button in the left panel.
- Click on a build entry in the Build History section.
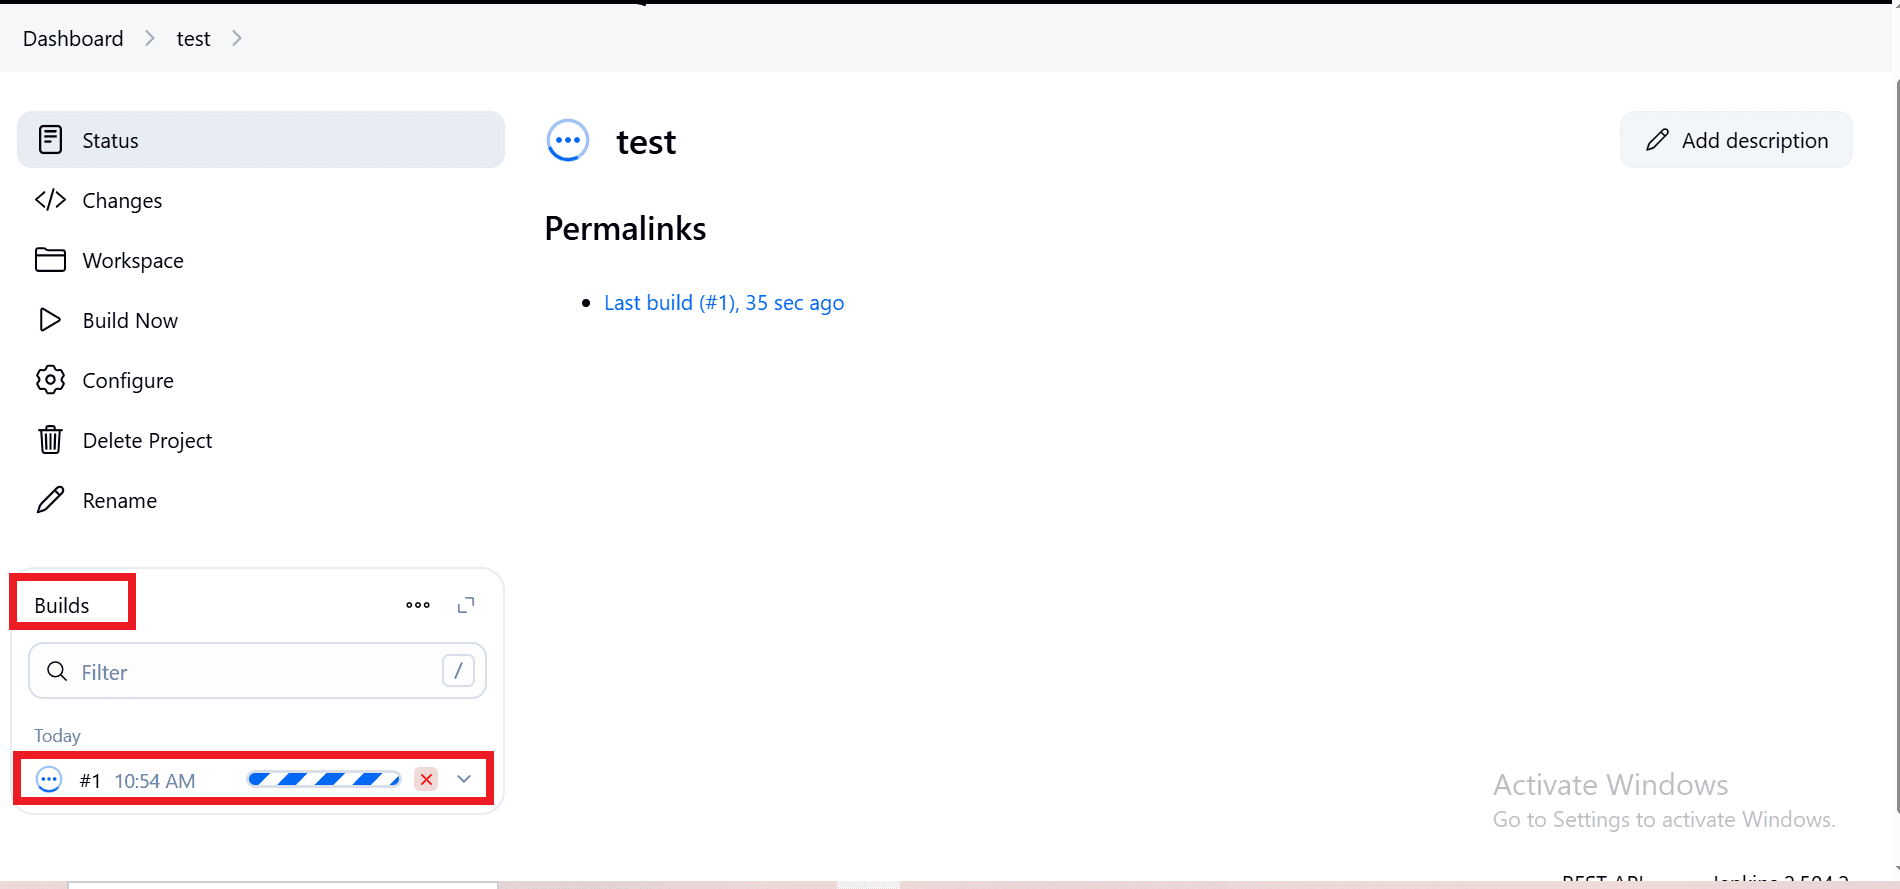
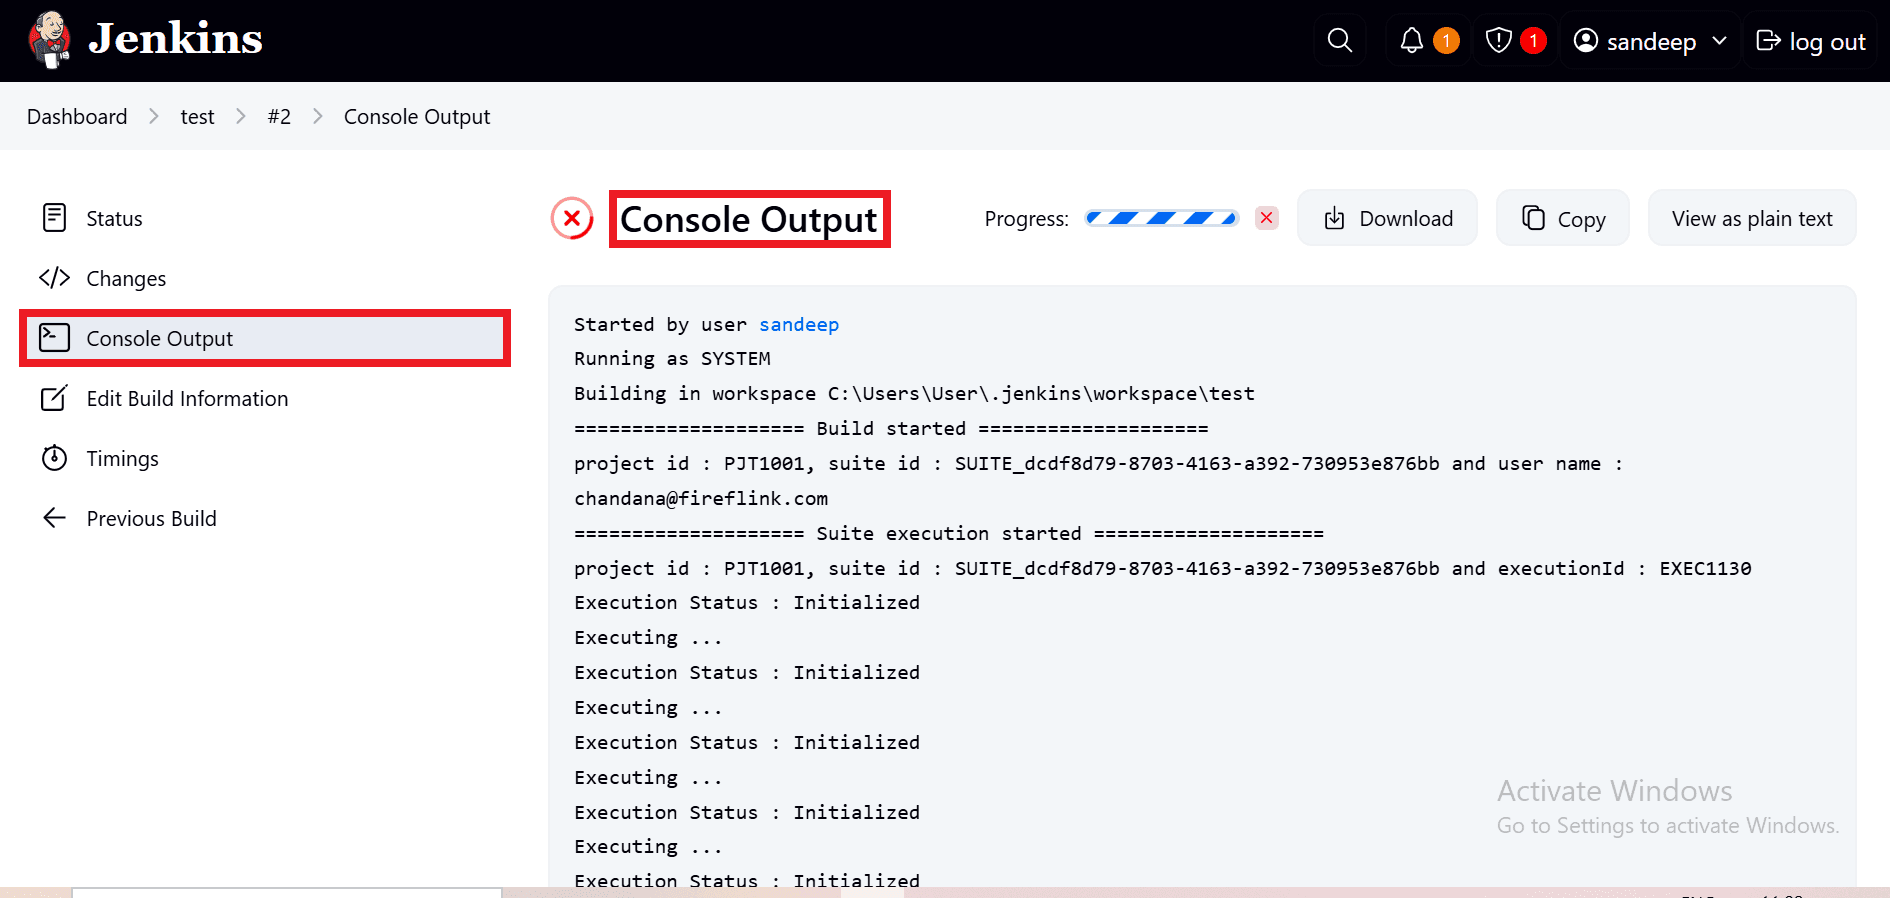
- Click on the "Console Output" to view the console output of the suite executed.
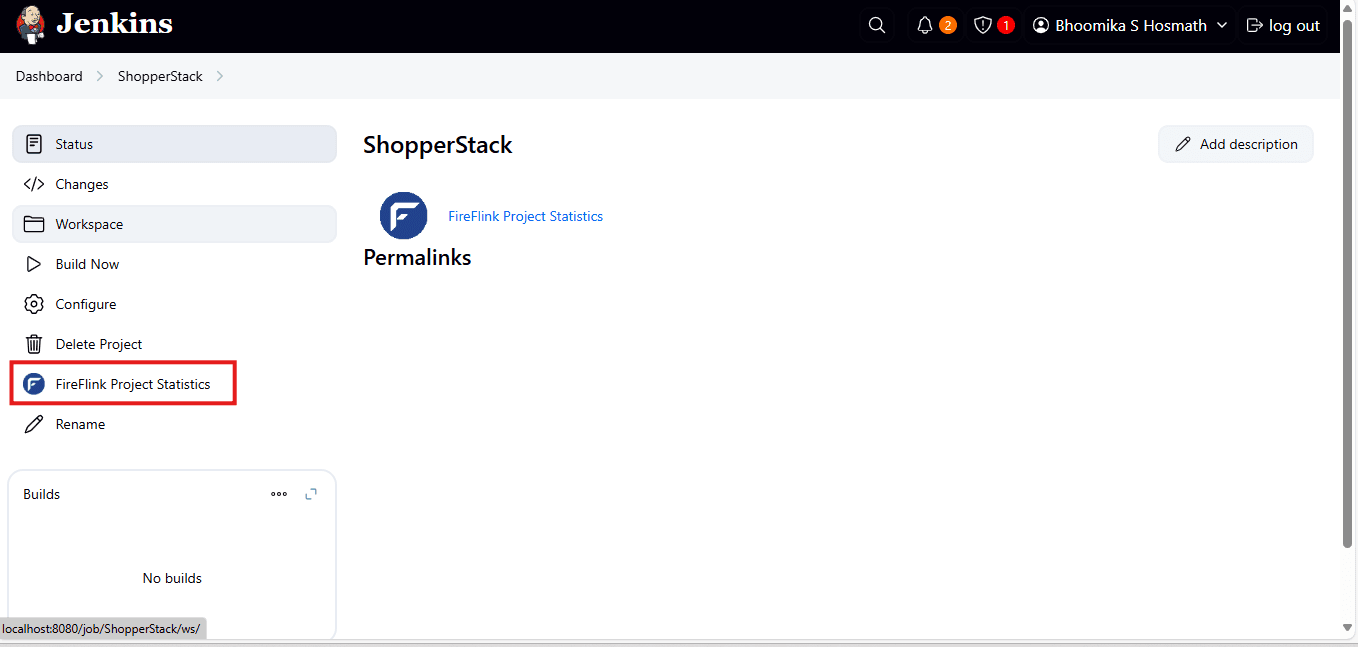
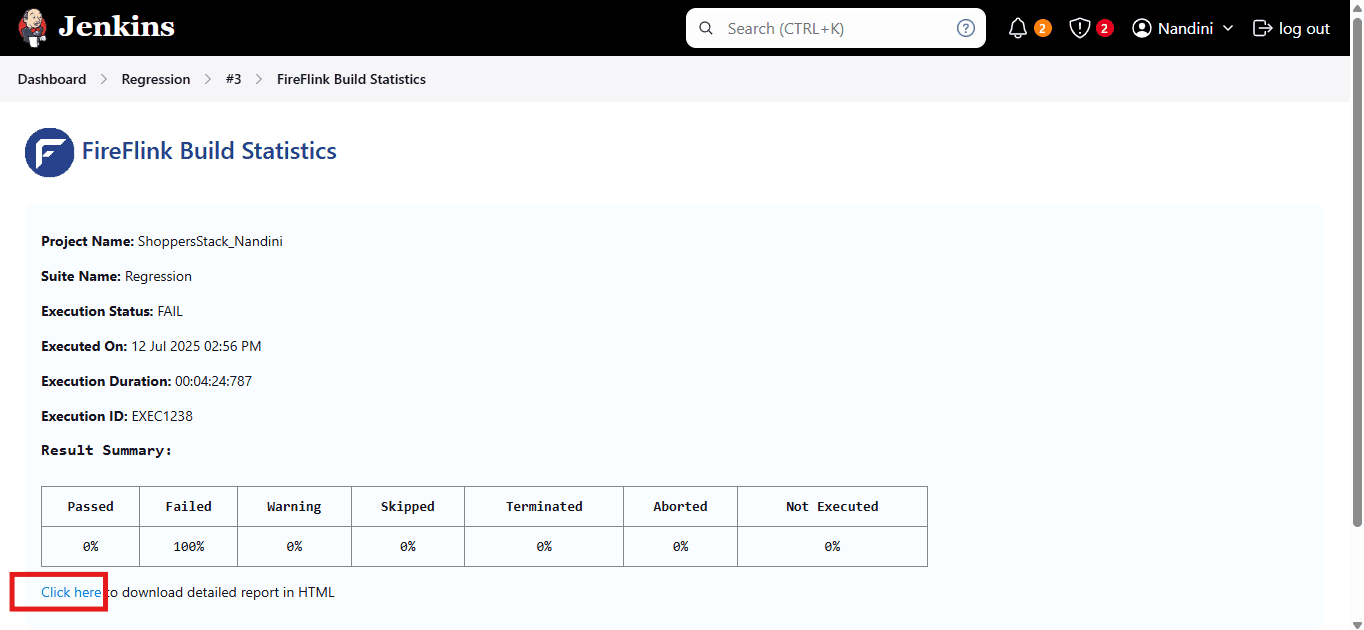
- Click on "FireFlink Project Statistics" in the left panel, to view the FireFlink build statistics result as below.
- The "FireFlink build Statistics" result will be displayed as below.
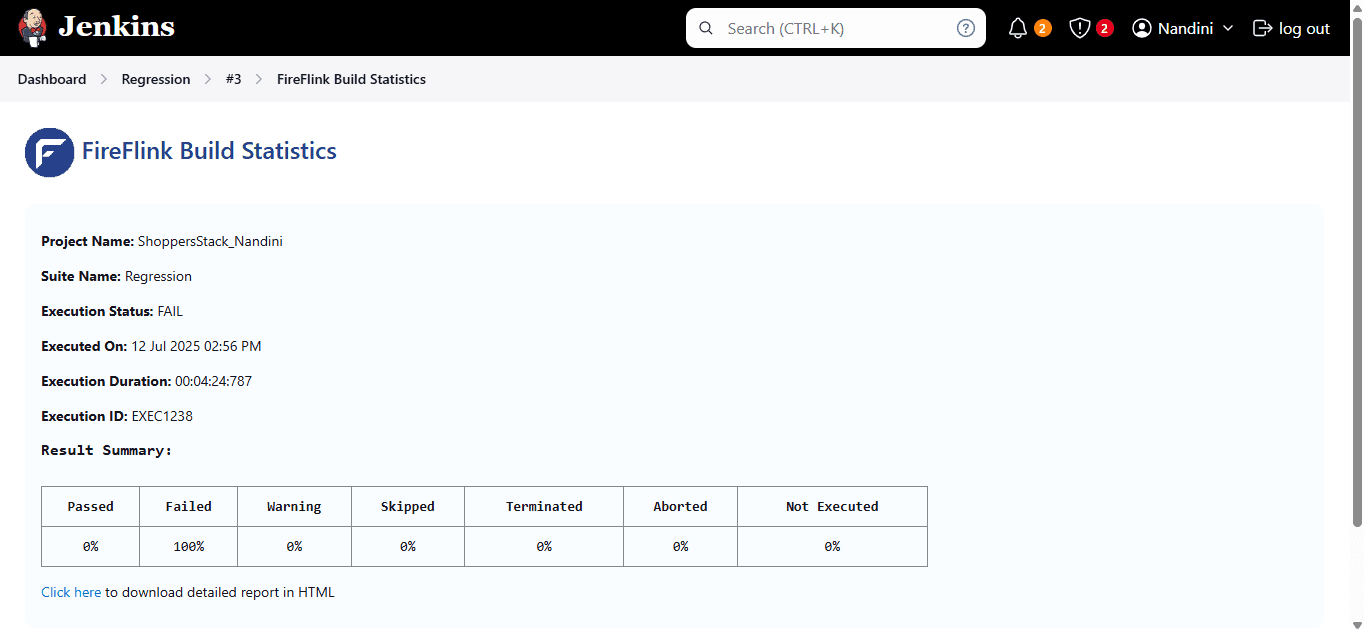
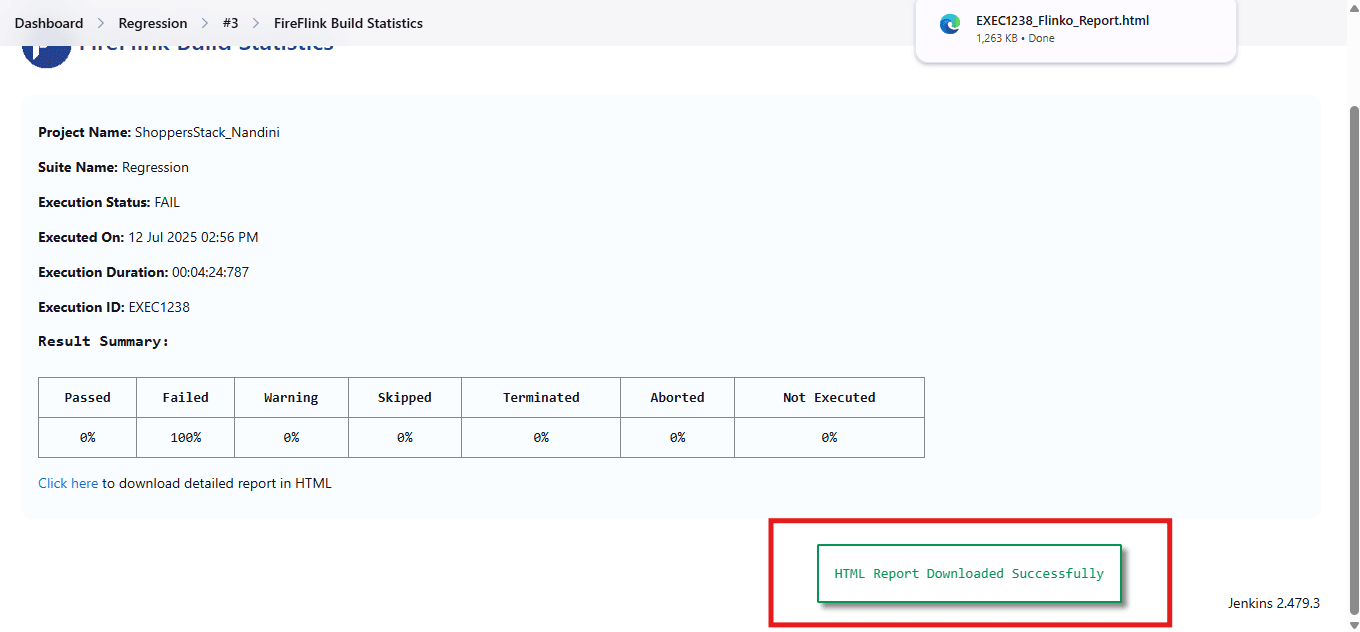
- Click on the “click here” link to download the html report.
- “Report downloaded successfully” popup will be displayed as shown below.
- "The HTML report appears as shown below."
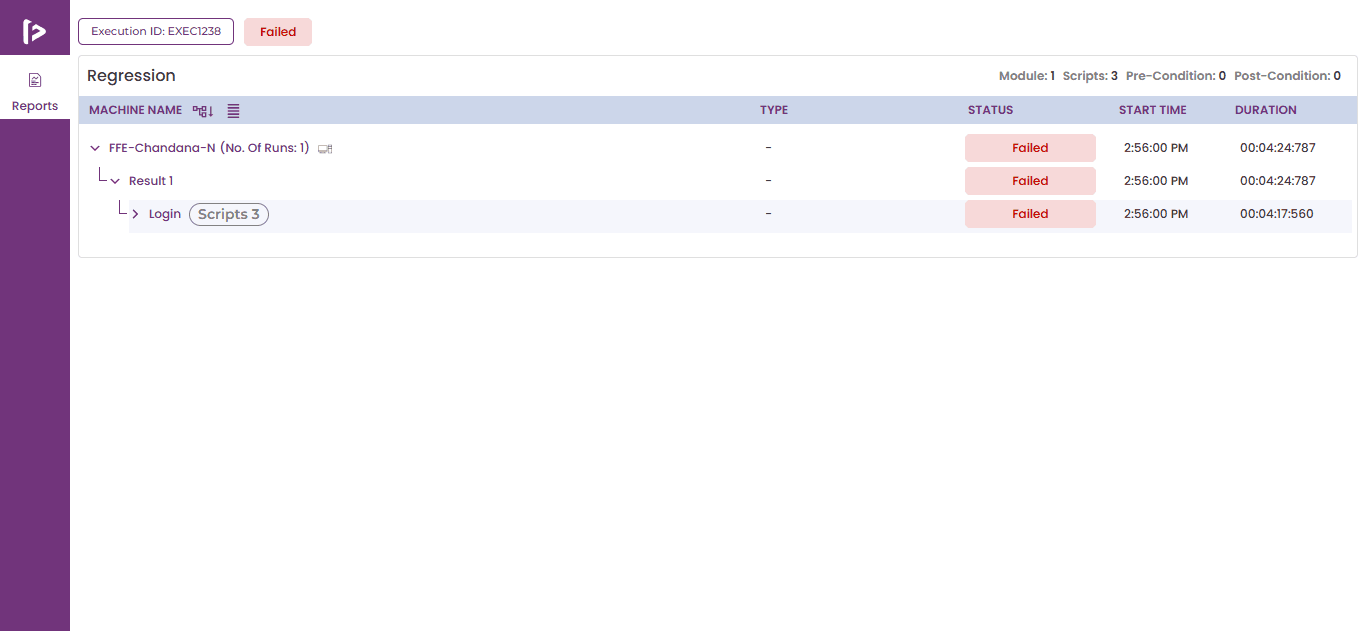
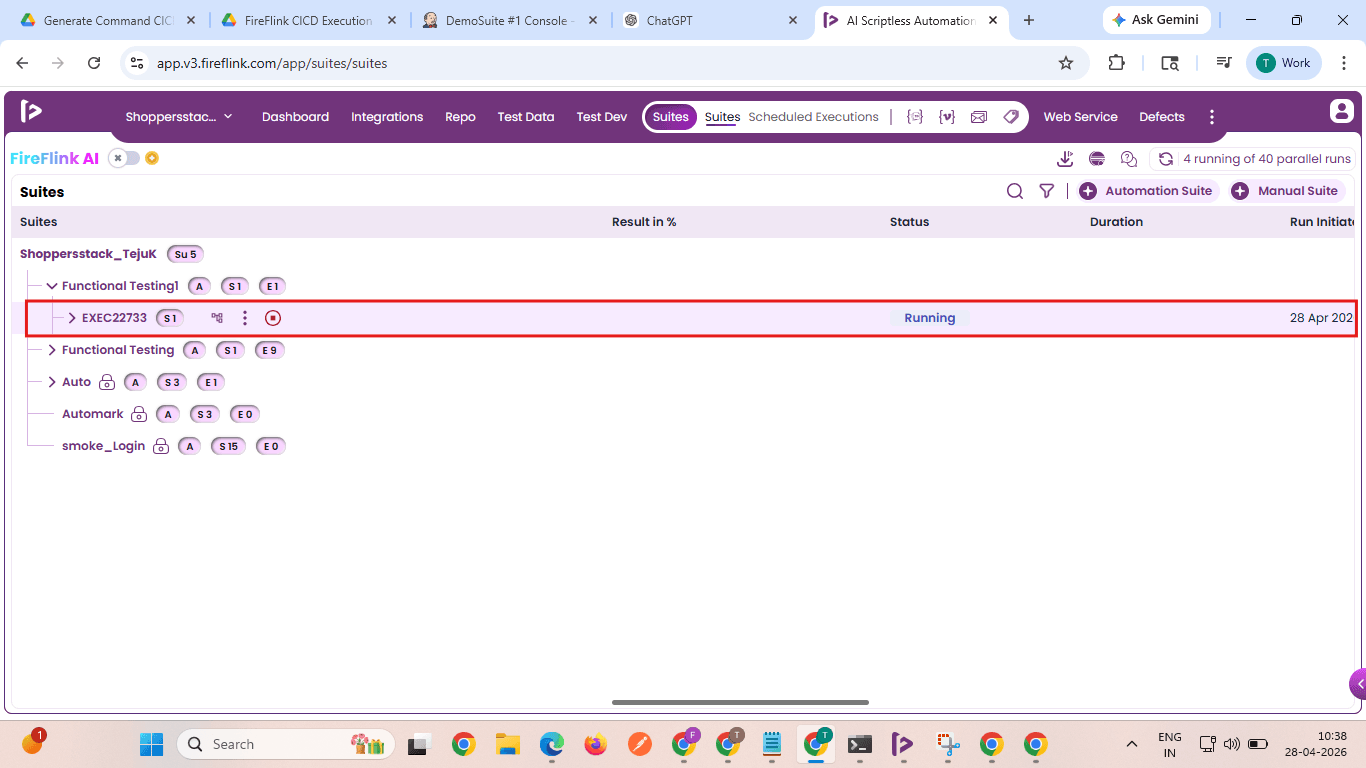
Note : The Suite Triggered Will be displayed in the “Execution”Section in the “FireFlink”
Generate Command
- Command Generate in FireFlink is a feature that allows users to generate a ready-to-use cURL command for executing a specific automation suite outside the FireFlink UI.
- This doesn't require instance creation in FireFlink Platform. Instead, this command encapsulates all required details such as license ID, project ID, suite ID, and execution configurations like wait times, delays, and termination settings.
- Once generated, the command can be copied and used in external environments to trigger automated execution, making it suitable for integration with CI/CD pipelines as well as API tools like Postman.
- This eliminates the need for manual execution and enables consistent, repeatable, and automated test runs across different platforms.
Pre-requisites
Before using the Command Generate feature in FireFlink, ensure the following conditions are met:
- A valid FireFlink URL is available and accessible
- The user has valid login credentials with appropriate access (Edit or Full access required)
- At least one automation suite is created within the project
- A machine is configured and set as default, and it is powered on
- The FireFlink client is running, and required ports are active for execution
- The CI/CD tool (e.g., Jenkins, GitHub Actions) must support executing shell or script commands (cURL)
Navigation
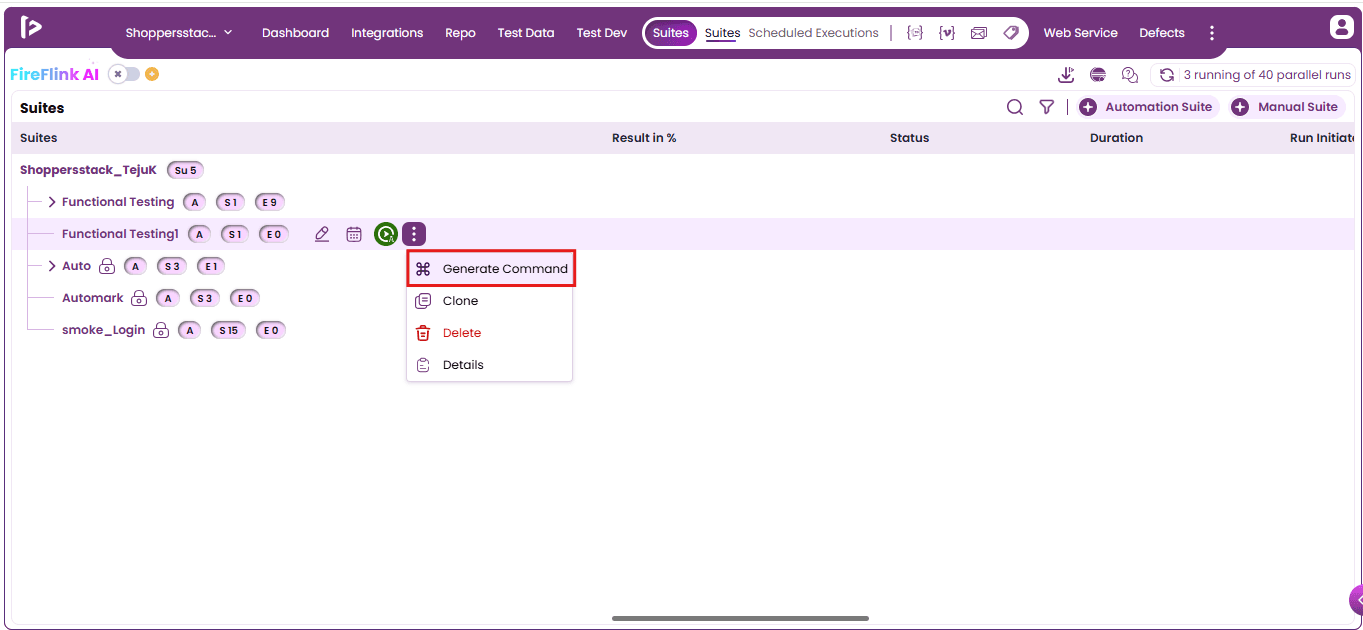
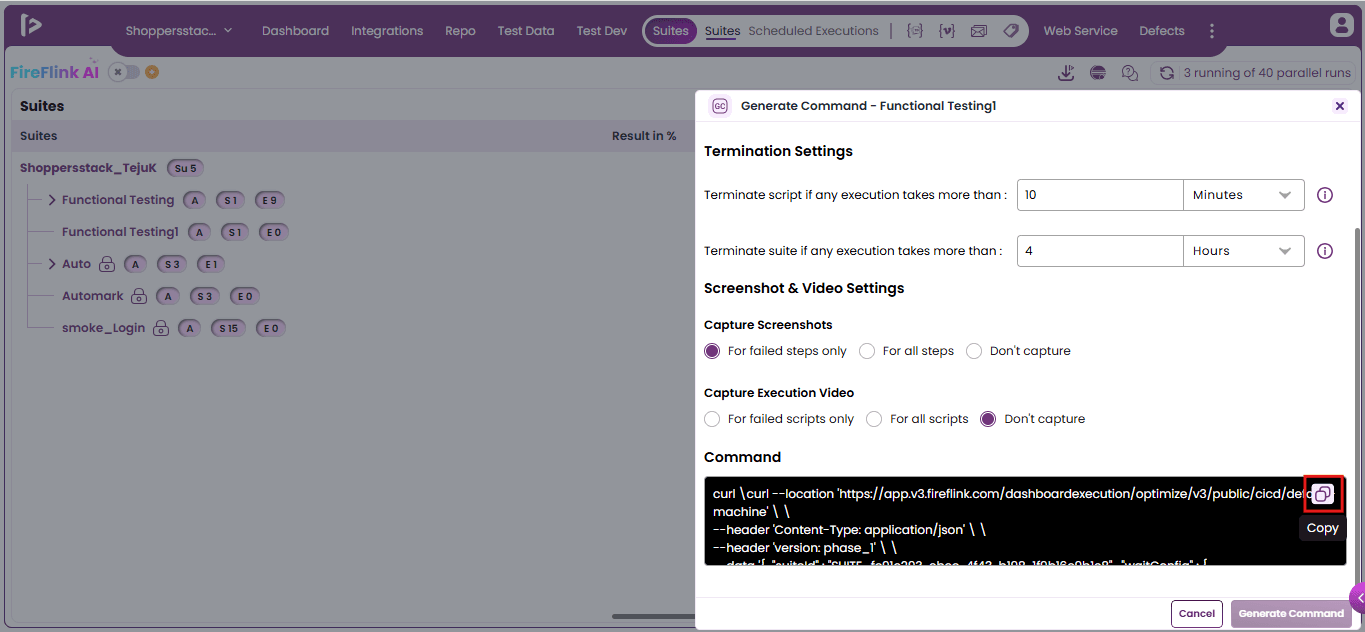
- Click on the “Generate Command” to generate the cURL on the suite.
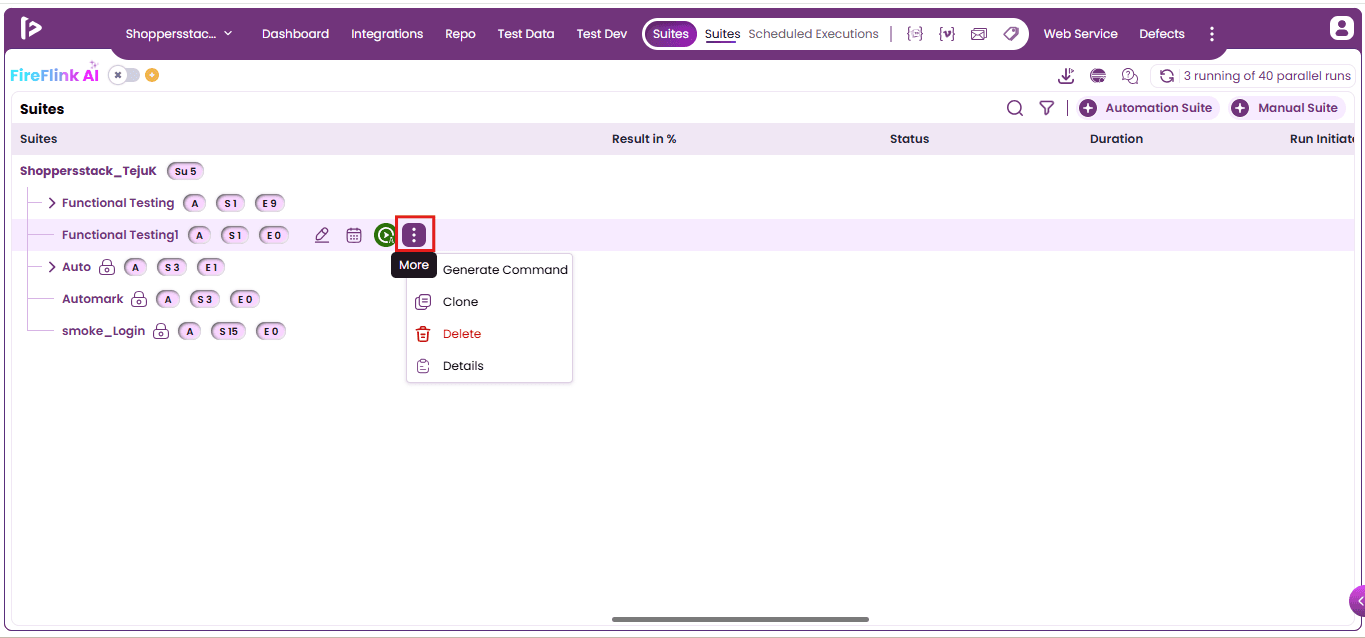
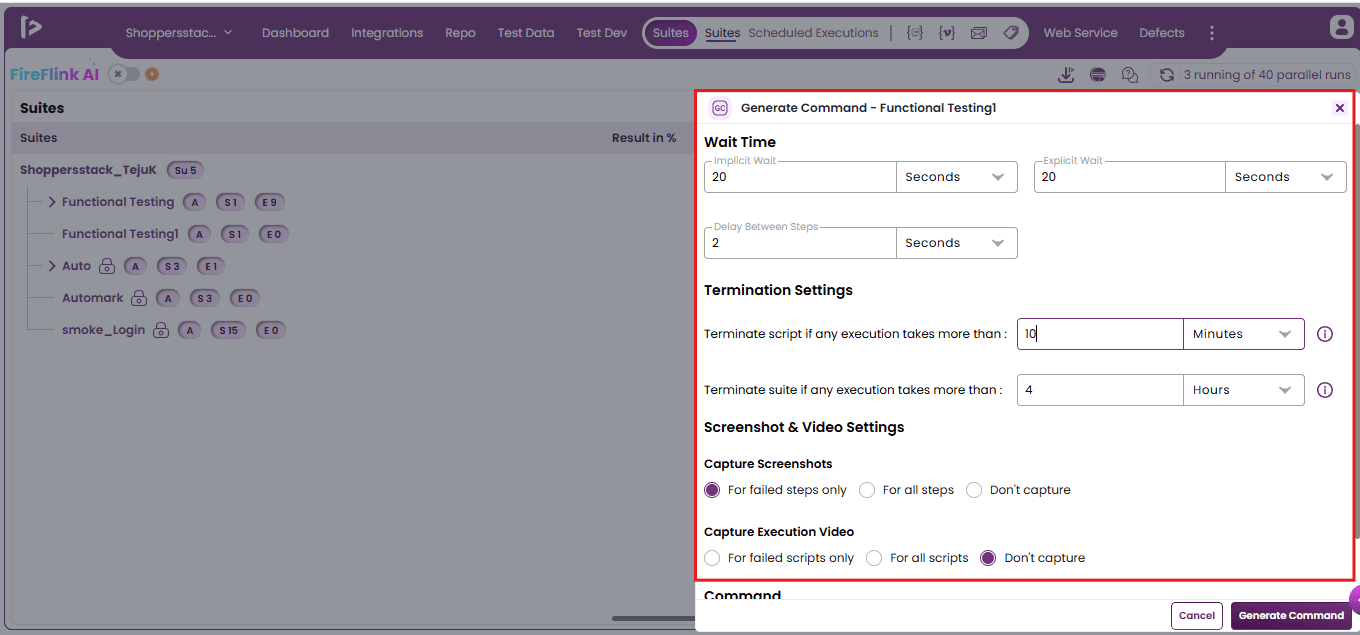
- In the Generate Command slider of FireFlink, enter the required execution details by providing values for Implicit Wait, Explicit Wait, and Delay Between Steps (with appropriate units), then configure Termination Settings by specifying limits for script and suite execution duration, followed by selecting the preferred Screenshot and Execution Video capture options; once all details are entered.
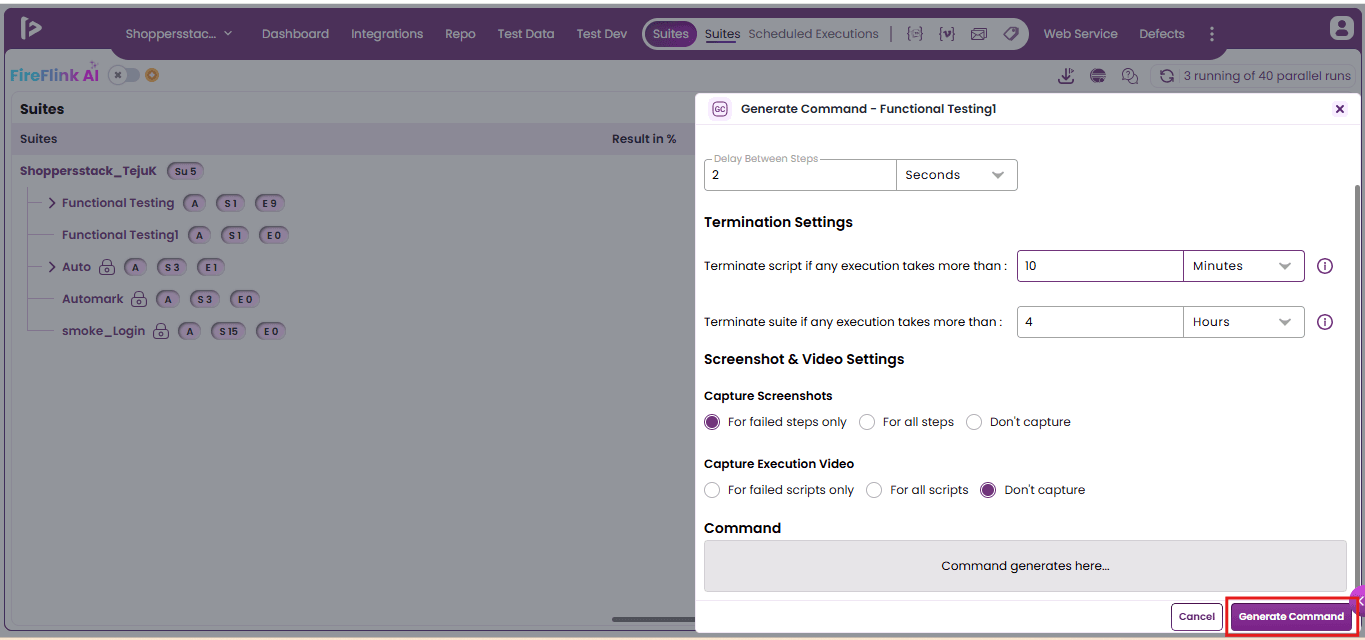
- Click on the “Generate Command” button.
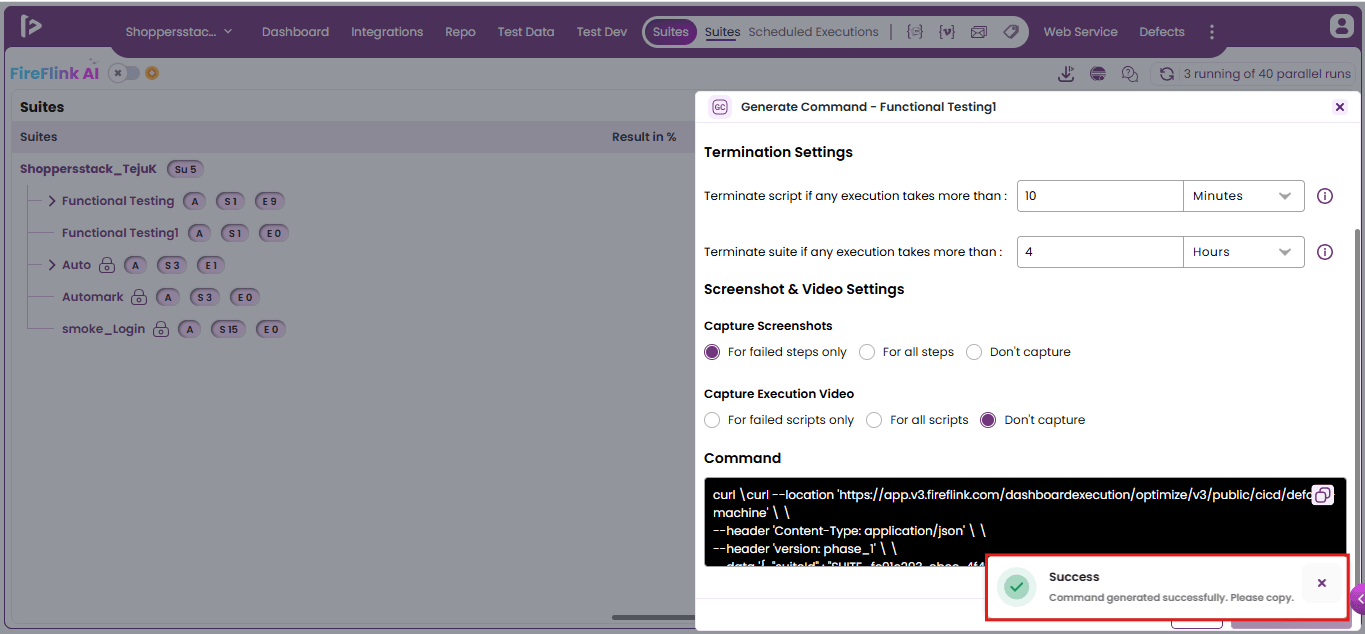
- The success message will be displayed once the cURL request is successfully created.
- Click on the “Copy” button to copy the Curl.
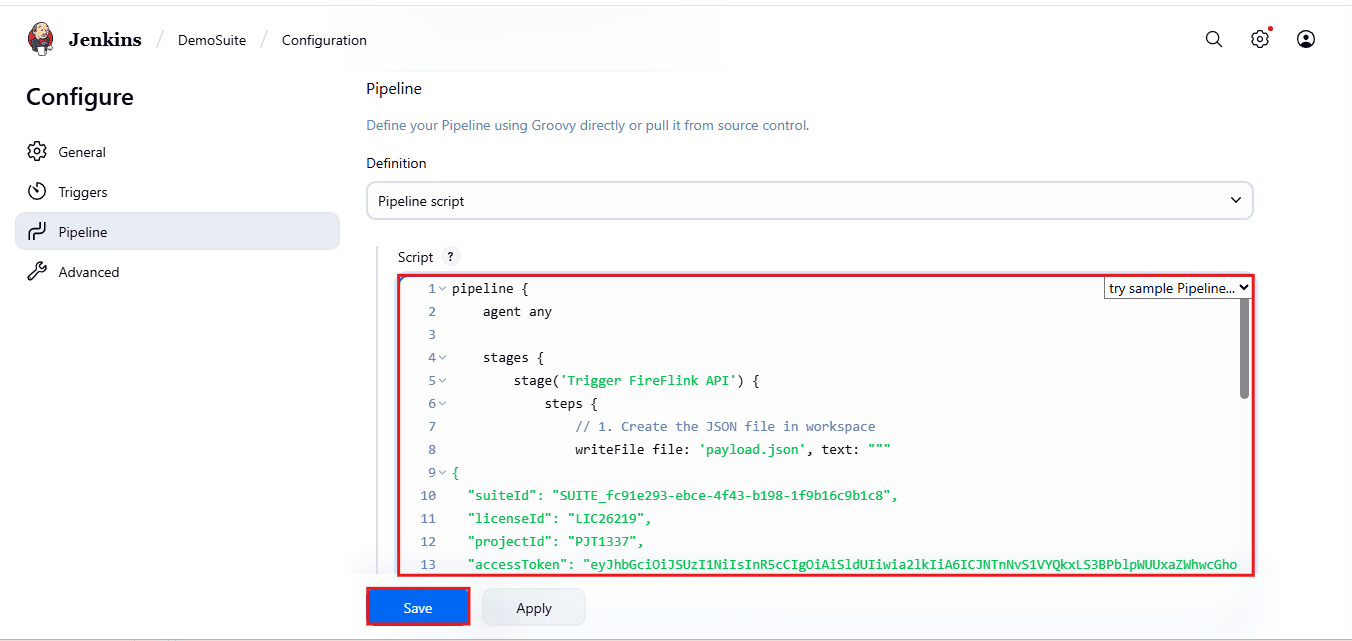
Note : After copying the generated cURL, convert it into a Jenkins pipeline script.
Use the script format provided in the link below. Link: Jenkins Pipeline Script Temp (Windows)
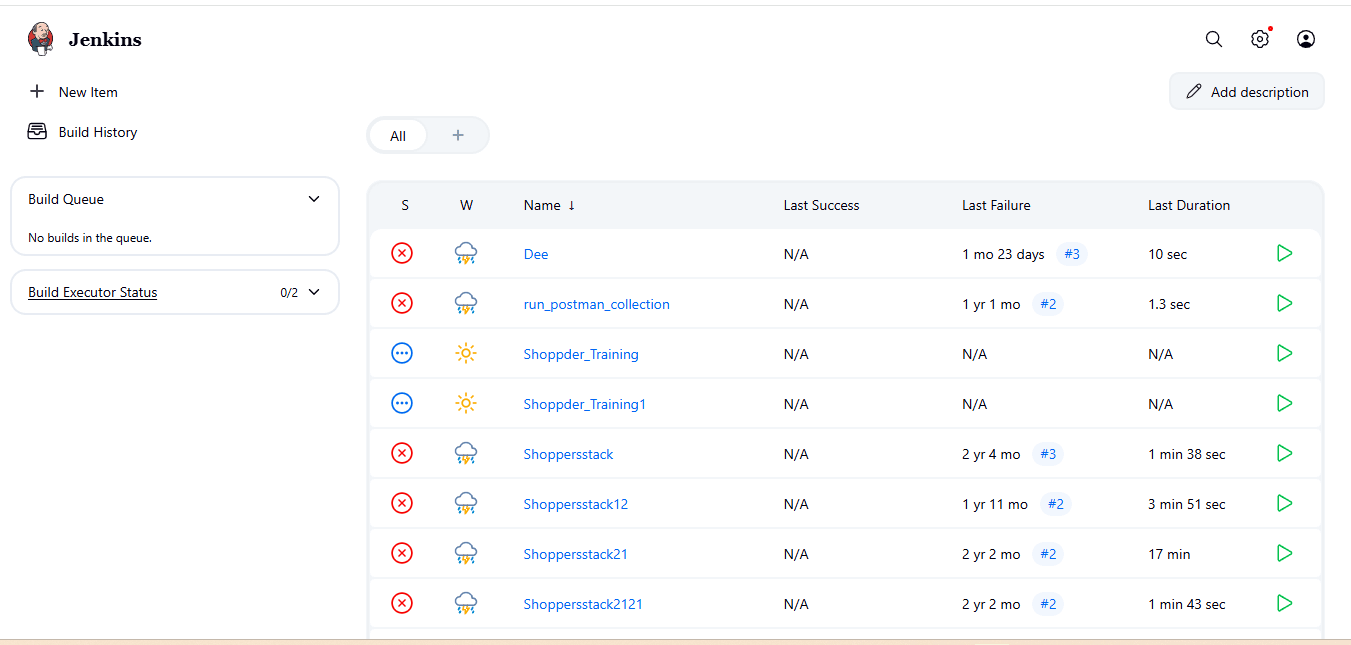
- Sign in to the Jenkins application.
- Create a new item by clicking on “+ New Item.”
- Enter the item name, select the “Pipeline” item type, and then click the “OK” button.
- After creating the item, click on the “Pipeline” section.
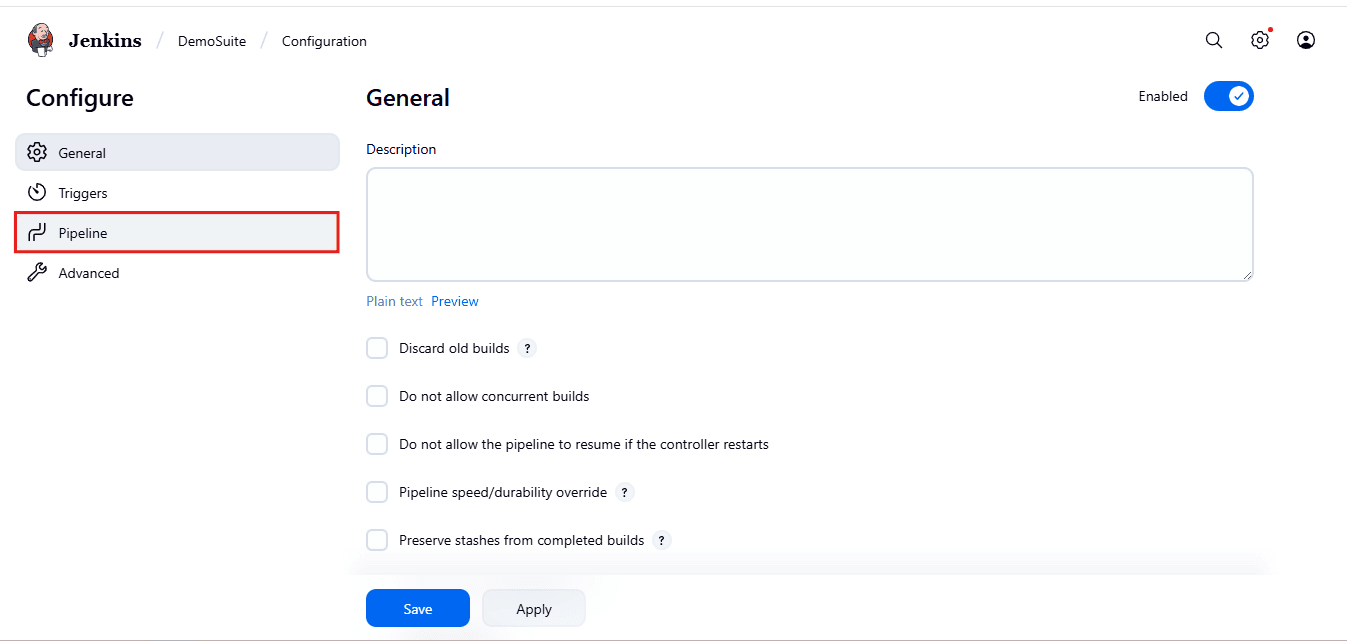
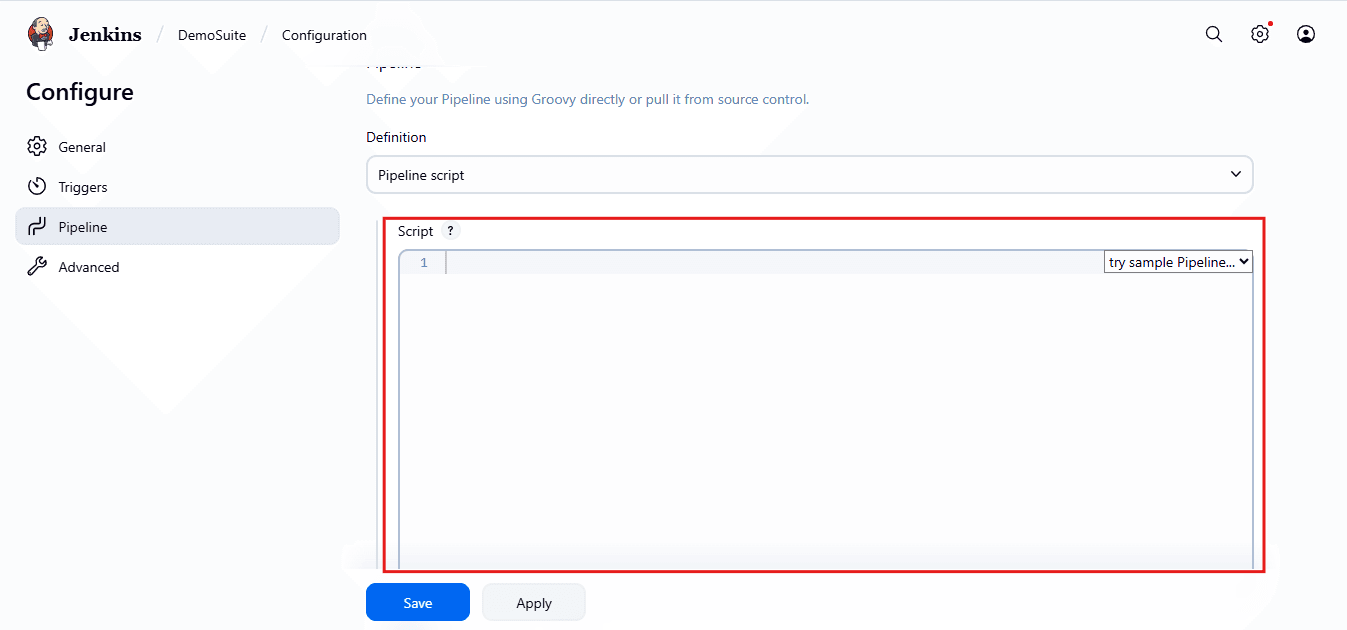
- Click in the script area and to paste the generated code.
- Paste the converted code into the script area.
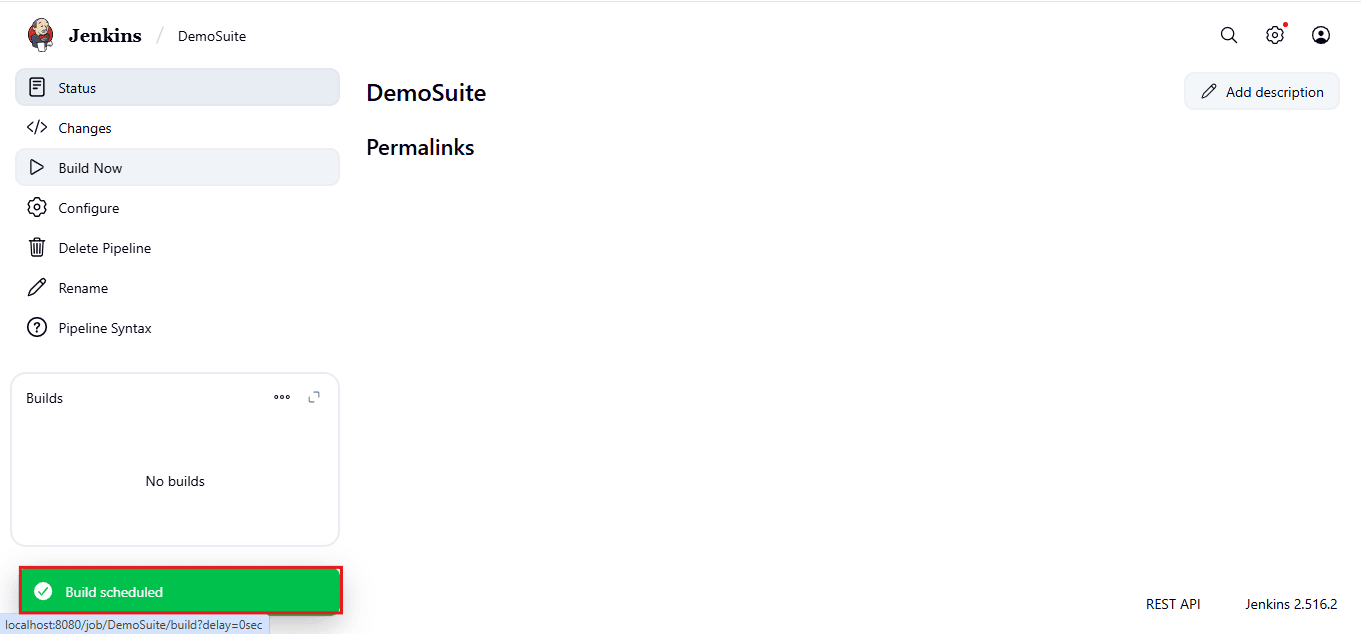
- To trigger the execution, click on the “Build Now” button.
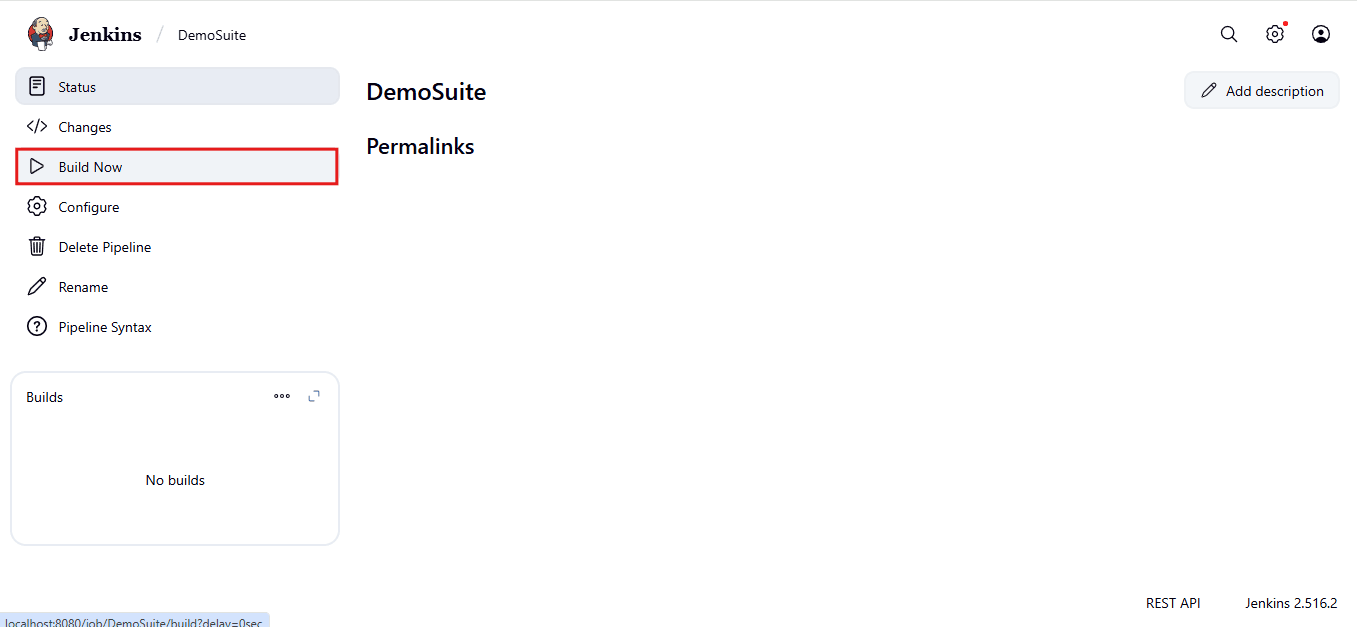
- A Build scheduled message will be displayed.
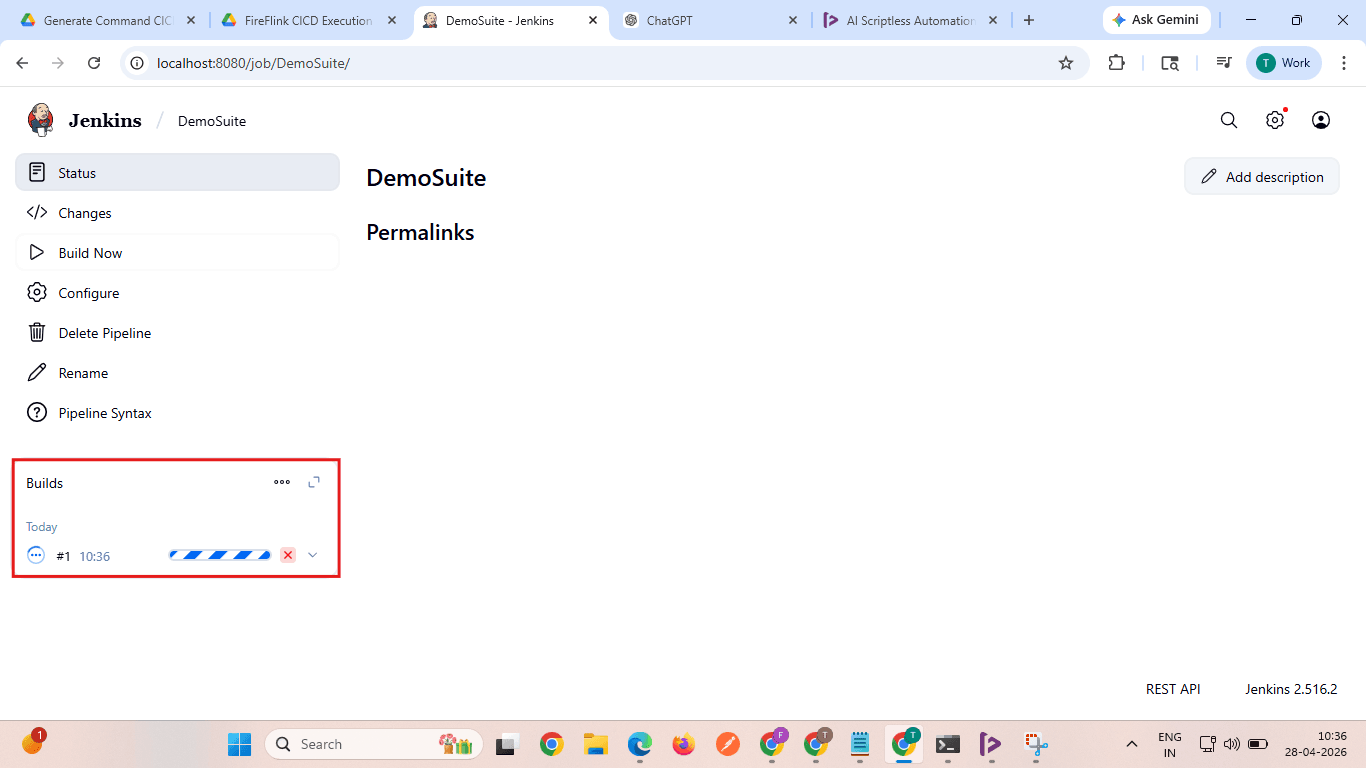
- Once the build is triggered, click on the “execution bar”.
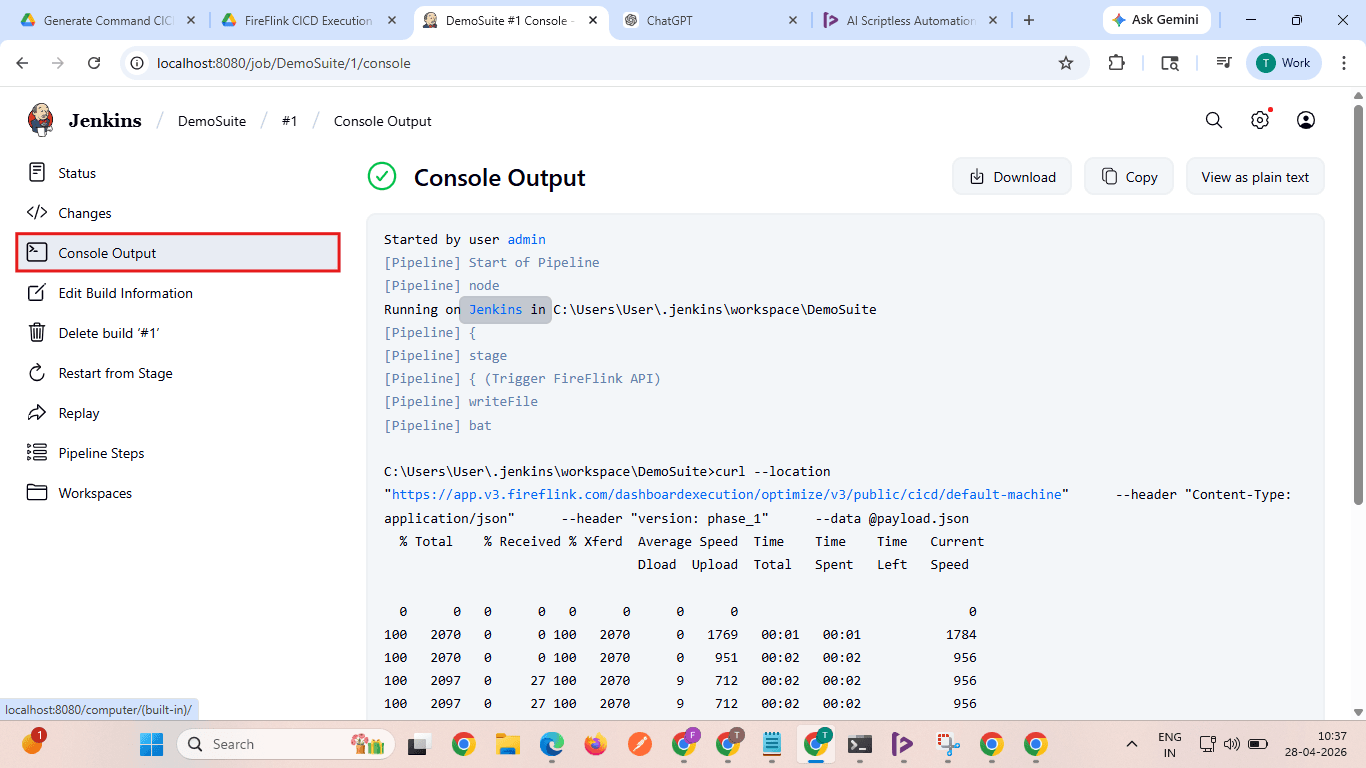
- Click on the “Console Output”.
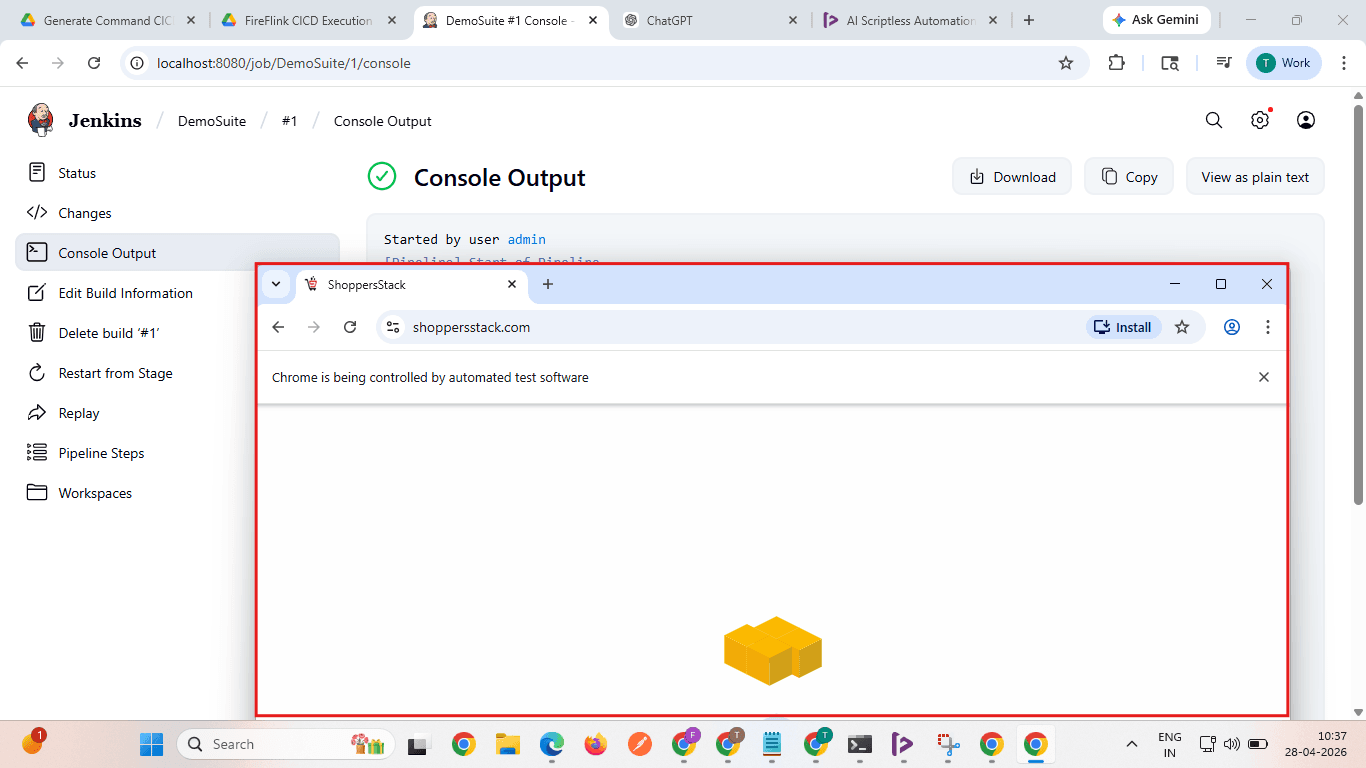
- The execution will start.
- Scroll up the page to find the newly generated execution ID.
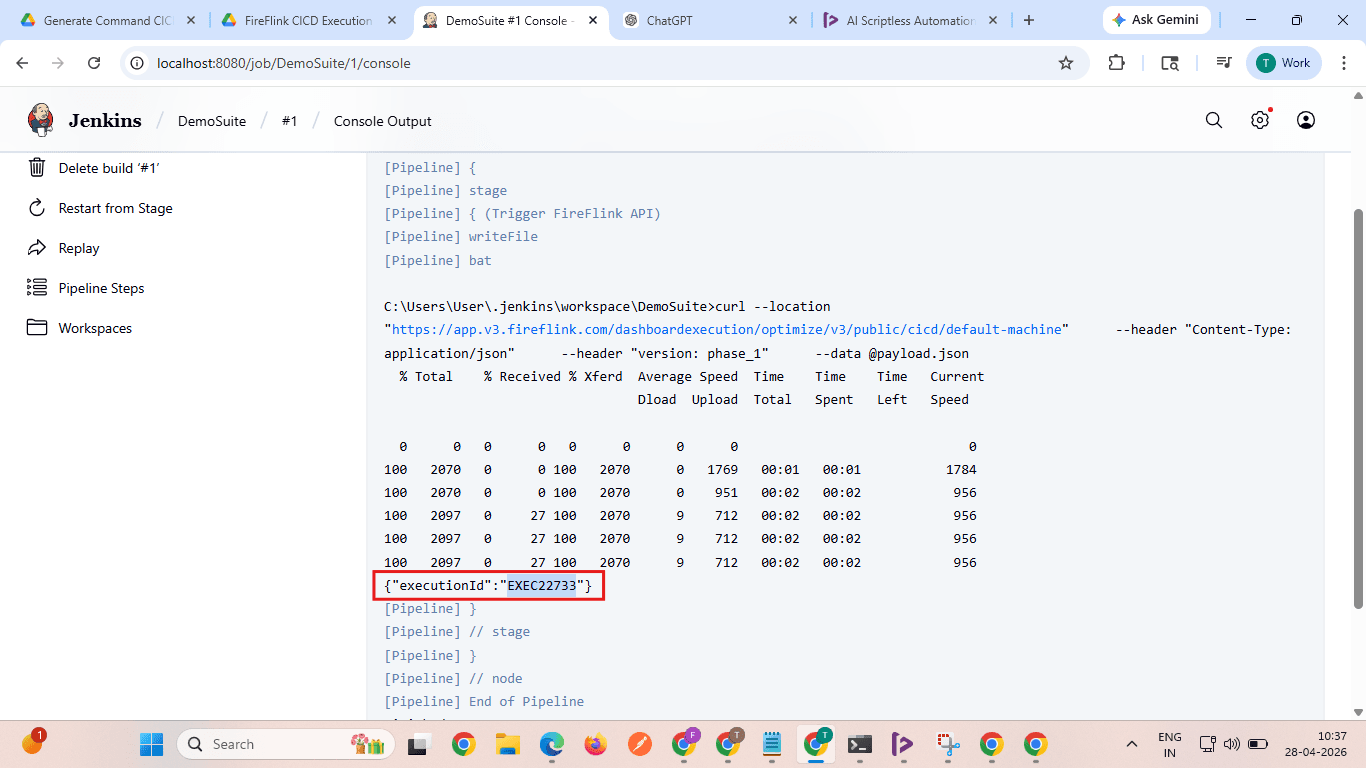
- The same execution ID will be generated in FireFlink, and the execution status will be displayed.